
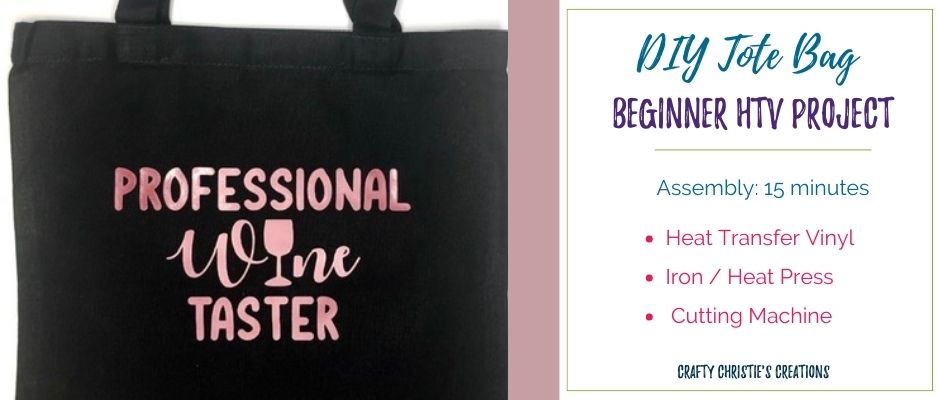
If you’re new to heat transfer vinyl this post is for you! For a beginner heat transfer vinyl project, I recommend using a design that is all one color. Layering HTV can be a bit challenging in and of itself. If you’re in need of a design, you can use the same one as me! Fill out the form below to download the professional wine taster in multiple file formats.
HTV, iron-on vinyl, heat transfer vinyl oh so many ways to say the same thing. HTV is mainly used on fabric. So think about making a t-shirt, tote bag, bandana, socks, pillow covers, or canvas wall art- these are all good examples of heat transfer vinyl uses.
HTV, iron-on vinyl, heat transfer vinyl oh so many ways to say the same thing. HTV is mainly used on fabric. So think about making a t-shirt, tote bag, bandana, socks, pillow covers, or canvas wall art- these are all good examples of heat transfer vinyl uses.
Supplies Needed:
Heat Transfer Vinyl
Iron / Heat Press
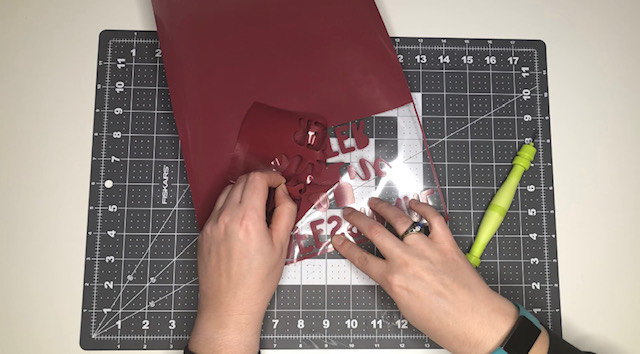
Step 1: Weeding the HTV
Once you have the design mirrored and cut it is time to weed and apply. Weeding, like pulling weeds?!?! No, weeding means pulling away all the extra htv that is not part of the design (weeding out the extra). I like to put an extra box around my designs so I’m not wasting material. Then I weed everything inside the box. Once, that is complete I cut the carrier sheet away from the rest of the sheet of vinyl. I like to do my weeding first because I find it hard to see the design on the vinyl. I’ve been known to cut my designs if I don’t weed first.
Step 2:Applying the HTV
It is time to dust off the iron and show it some love. I like to iron my fabric while my design is cutting. This gives the iron some time to get good and hot before using it on the vinyl. If you’re applying your vinyl to a shirt, check out this post for some tips. I’m making a tote bag so I need to ensure my design is centered. T-rulers and tape measures are my best friends for getting things straight and level.
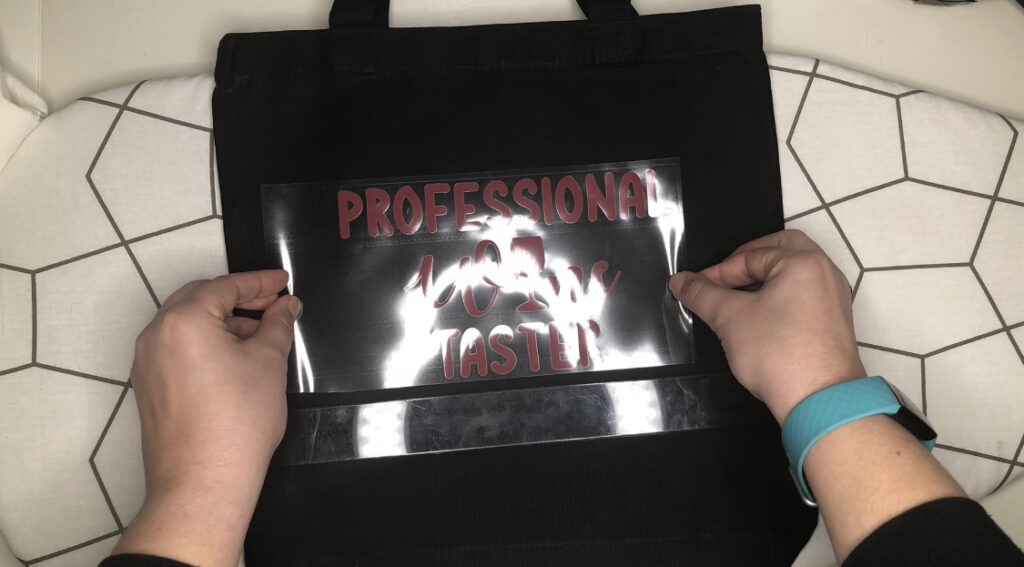
Step 3: Applying the Heat
Place your vinyl on the fabric with the carrier sheet on top (words should read correctly). Use a barrier like a pressing cloth or parchment paper to protect your iron from melted plastic and vinyl pieces. Press and hold in one spot for 20-30 seconds. By press, I mean, press down hard, use your muscles! Then pick up the iron and move to another portion of the design. Continue this process until the entire design has been pressed.
Now, slowly peel back the carrier sheet. If any part of the vinyl comes up with the sheet, carefully replace the vinyl and carrier sheet and press again (don’t forget your barrier cloth). Repeat this until the carrier sheet pulls off cleanly.
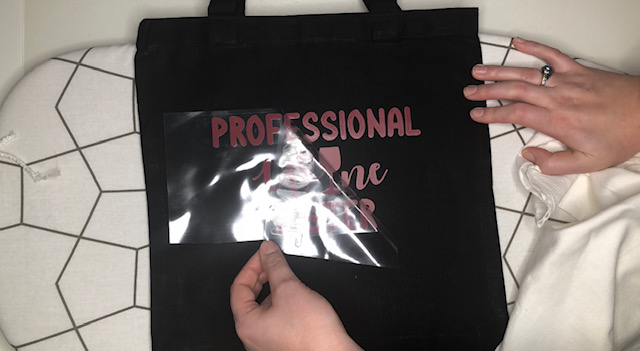
At this point, I like to reapply the barrier sheet and run my iron over the design as if I’m ironing out the wrinkles. This is just a final once-over to ensure every bit is melted into the fabric.
Pat yourself on the back, you have just completed your first heat transfer vinyl project!
I recommend doing a few of these single-color projects before progressing to layering.


