

Are you looking to add some Easter decor to your kitchen? There is no easier way to dress it up than by changing out the towels hanging on your appliances.
- The Supplies
- Setting up the Design in Silhouette Studio
- Cutting all the Pieces on one Mat
- Weeding the Design
- Preparing the Towel
- Applying the HTV to the Towel
Supplies:
Step 1: Preparing the Design
Off-screen, I changed the colors of the design to match the heat transfer vinyl I am going to use. This makes it easier for me to visualize the finished product.
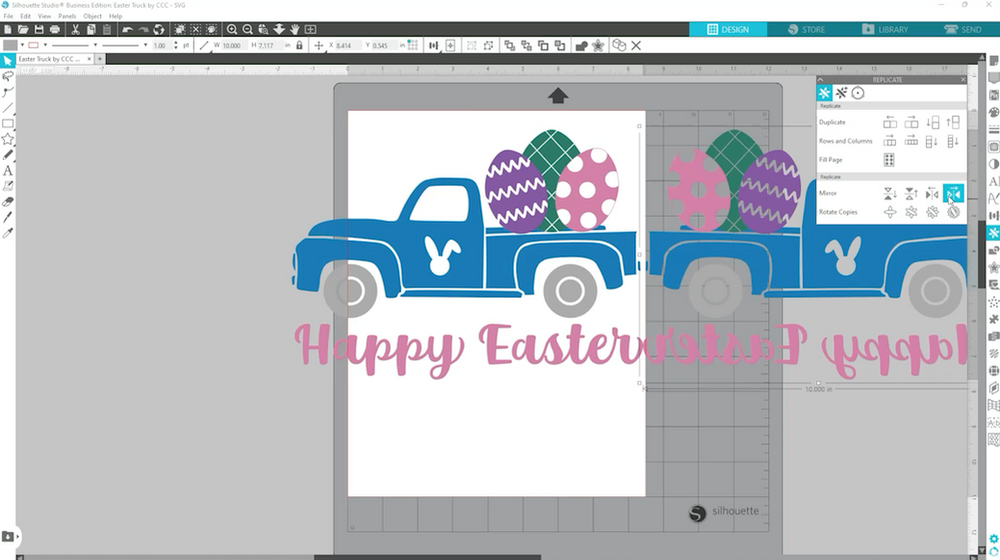
I measured the surface area of the towel after I folded it. I came up with 12.5 inches across and at least 12 inches tall as a working area. Group the design and make sure the aspect ratio is locked and then resize it to 10 inches wide to fit the towel.
While the design is still grouped, use the replicate panel to mirror the design since we are using htv. Now delete the original so we don’t get confused.
Step 2: Cut the Design
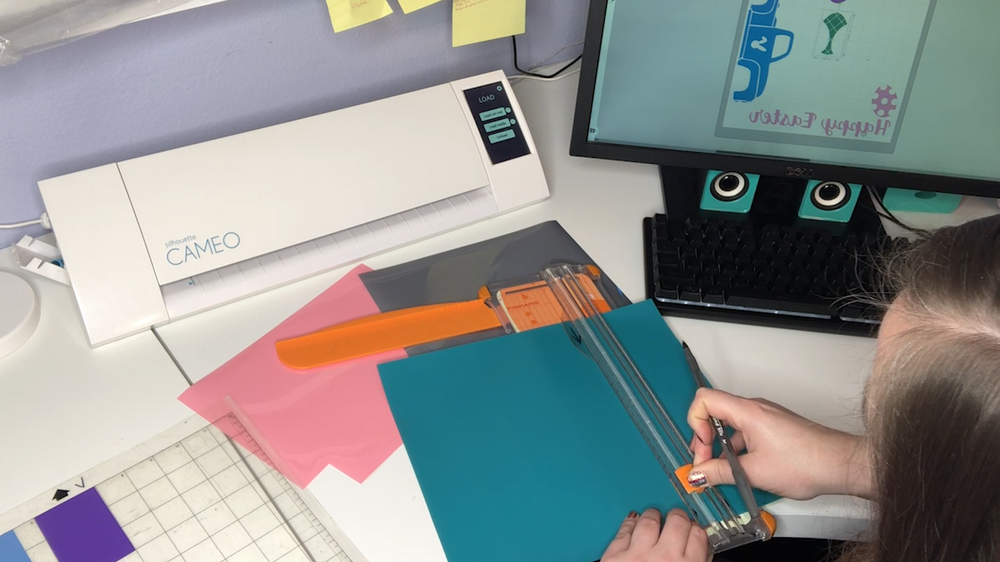
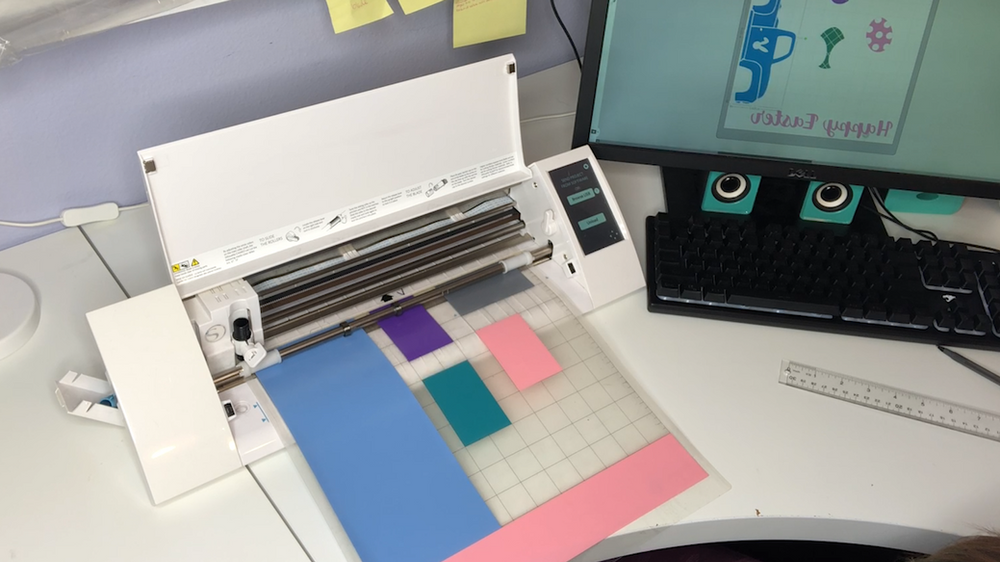
Set the media type to 12×12 so we can use the entire mat. Select each item and place it on the mat. Select each item and cut a piece of htv slightly larger than the design. I like using my paper trimmer to cut straight lines in my htv.
Using the grid lines, place the htv on the mat to line up where the design is on the screen. Repeat this process until each design has htv on the mat. Remember to place the htv with the shiny side down (the carrier sheet).
I like to use the flocked htv setting to cut my htv, pick the setting that works best for your material and machine.
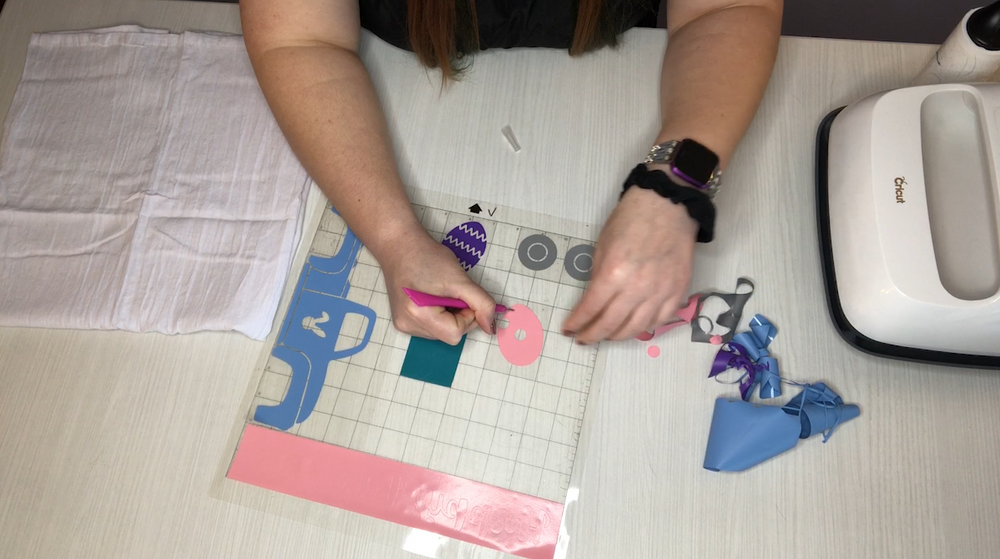
Step 3: Weed the Design
Since all the pieces are cut at once on the mat, we can weed the elements while still on the mat. I find this easier since parts are moving around. Pull away the extra htv, leaving just the design behind.
Step 4: Prepare the Tea Towel
Apply heat to the towel to remove all the wrinkles. Fold the towel down the center the long way and press this crease line. Now unfold and fold both sides into the middle and press these lines. Lastly, fold the towel in half and press the top edge. All these lines will give us the lower quadrant of the towel so we know where to apply the design.
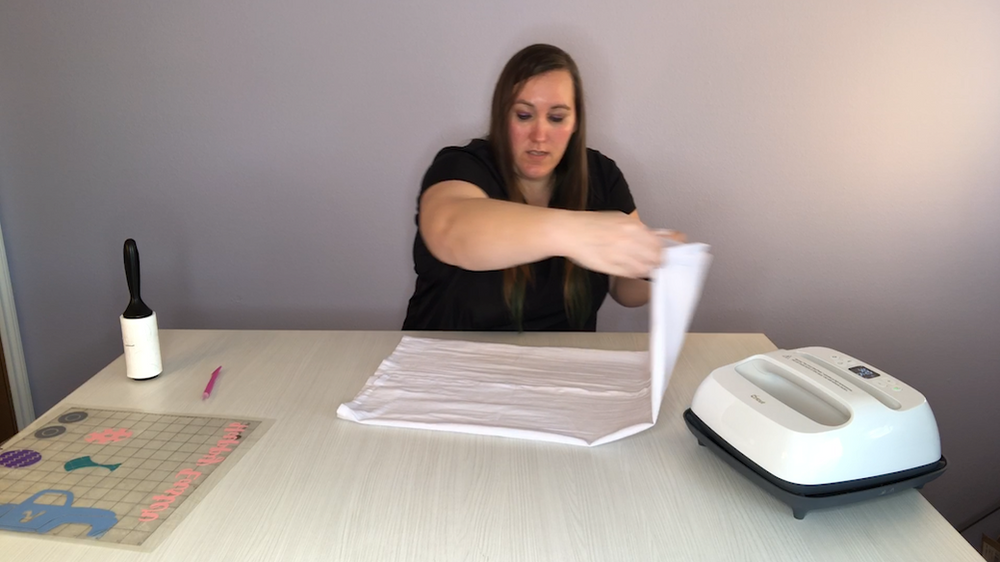
Unfold the towel again and use a lint roller to remove any strings or dust on the working area. Now the towel is ready for us to apply the design.
Step 5: Apply the HTV
Place the truck in the center of the working area. Apply heat, I’m using 320 degrees for 15 seconds based on the Cricut Heat Press Guide.
Once the truck and center egg are added, the rest can be added at the same time. Line up the eggs so they fit between the crease in the truck and the middle egg.
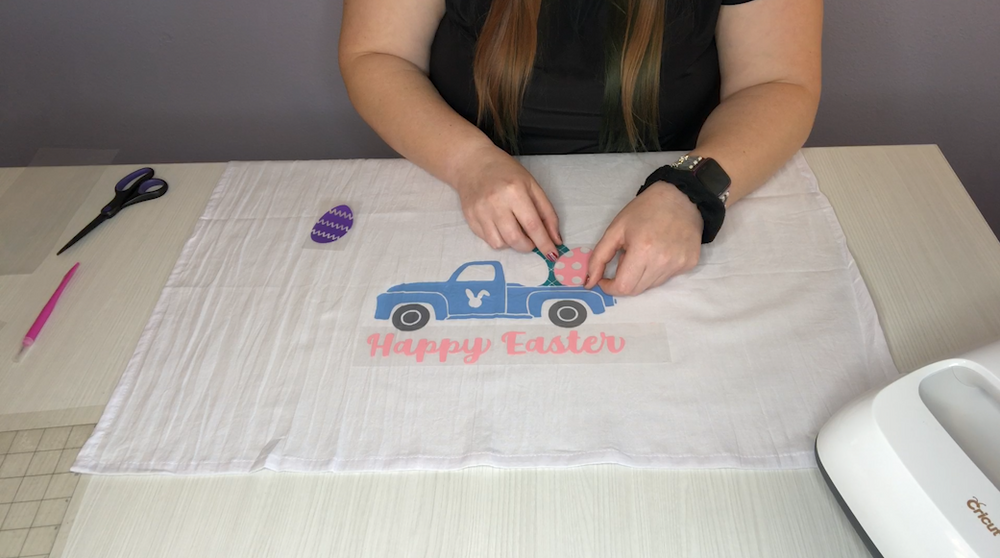
Once the entire design is in place, flip the towel over and apply heat from the backside as well. This ensures the sticky htv is melted into the fabric.
Step 6: Display the Tea Towel
Fold the towel back up and put it on display! I have mine hanging from the handle on my freezer. Amazing how something this simple can really make your kitchen look ready for Easter.
For more in-depth viewing of making this DIY Easter Towel, check out the video below.


