
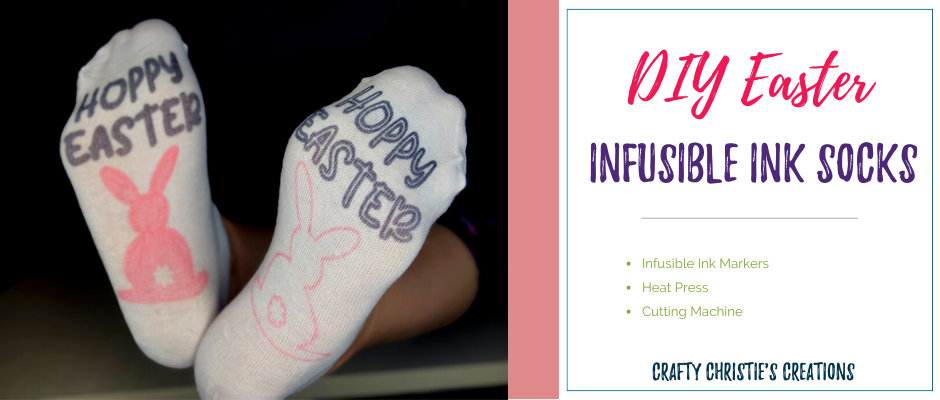
Gearing up for Easter has never been easier! Let me show you how to make DIY Easter socks with Infusible Ink Markers and my FREE Easter SVG Bundle.
Supplies:
Step 1: Create the Design
Measure the area of the sock where you want to place the design. I’m using women’s size 9-10 performance socks that I picked up at Dollar Tree in a 2 pack. I’ll be placing the design on the bottom of the socks, so I measured the height (toes to heel) and width.
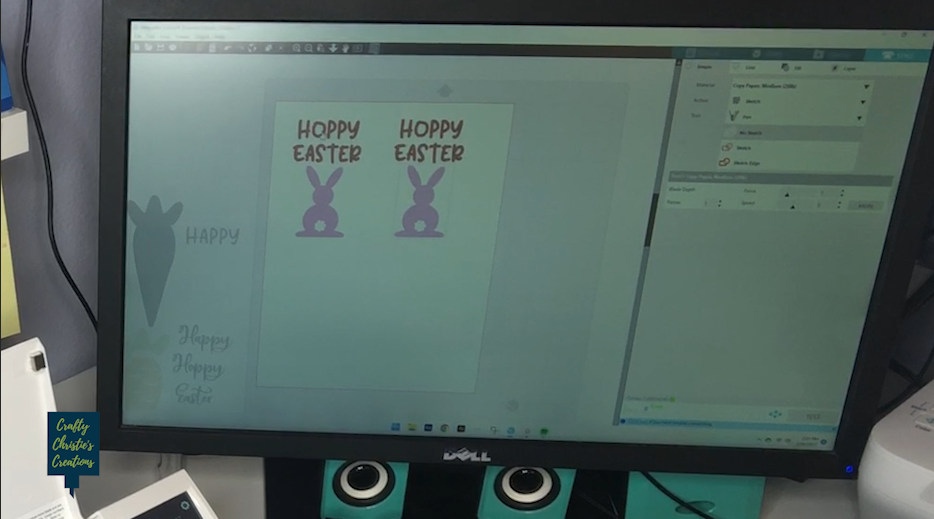
In Silhouette Studio I opened the Easter SVG Bundle and drew a rectangle that measured 5 inches tall x 3 inches wide. This is my working area for my design. I pick the “Hoppy,” “Easter” and the Bunny design and arrange them inside my rectangle.

Once you are happy with the design, make a copy and then delete the rectangles. Select both designs and mirror them before sending them to your machine!
Step 2: Sketching the Design
In the cut panel, change your action to sketch and material to copy paper. Since this is a 2 color design, select the bunnies and click no sketch. This will allow the machine to only sketch the “Hoppy Easter.” Then send it to the machine to draw.
Once the “Hoppy Easters” are done, select those parts and click no sketch. Then select the bunnies and click sketch. Replace the black marker with the pink marker in the pen holder and send the design to the machine.
At this point, you can be done. I decided to fill in one of the sketches and leave the other as an outline so I could see the difference.
You can also fill in the sketch using the sketch panel or by doing internal offsets.
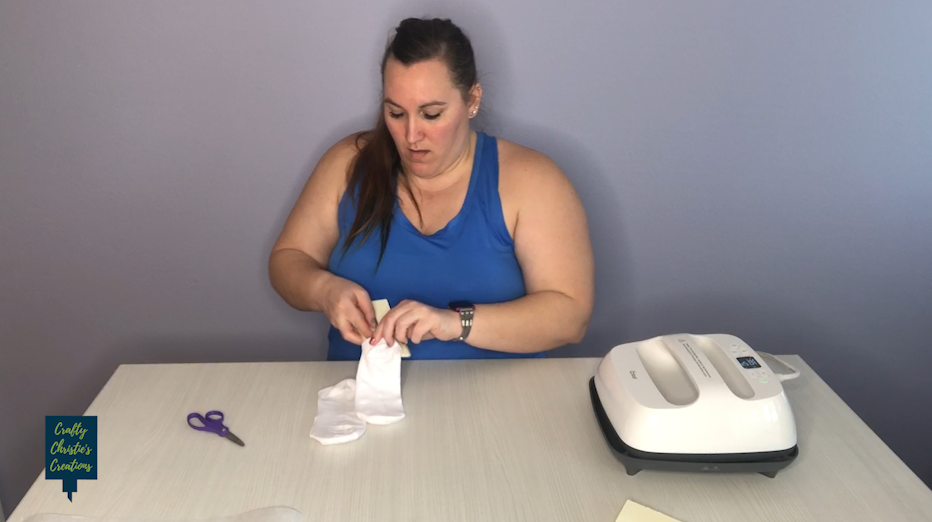
Step 3: Preparing the Socks
Cut the cardstock to fit inside the socks, this protects the socks so the ink doesn’t bleed through. Press the sock so the bottom is flat and insert the cardstock. Don’t forget to lint roll the socks as well to remove any debris that could soak up the ink and provide uneven coloring.
Step 4: Add the Heat
Set your Easy Press for 385 degrees for 40 seconds per the Cricut Heat Guide. With the cardstock in the socks, place the design on the socks. I have mine with the words over the ball of the feet and the bunny over the arch. I want my design to be readable when someone is sitting with their feet up.
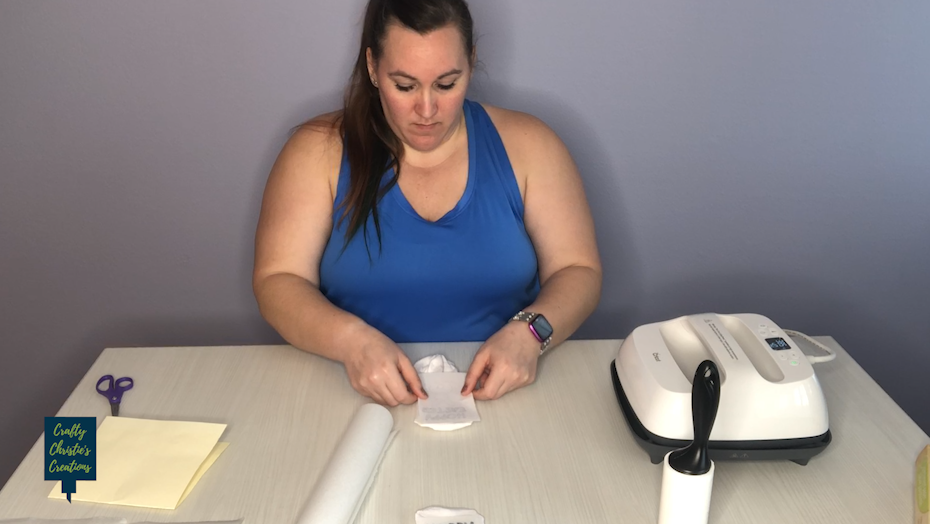
Place the parchment paper over the design being careful not to move anything. Now add the heat with light pressure.
Let the socks completely cool before removing the copy paper.
Step 5: Show Them Off
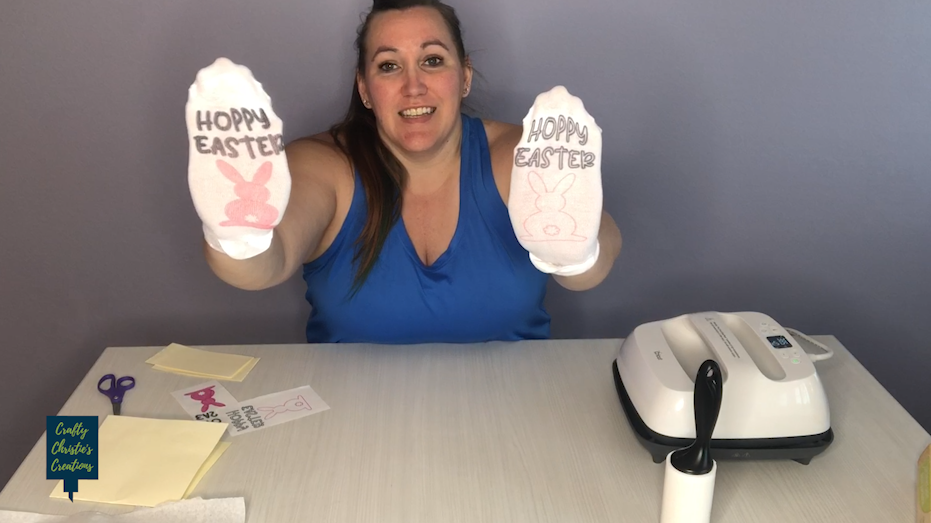
Now your socks are ready for wearing! I love both versions of the socks, but I think the filled-in version is easier to see. These are perfect for getting festive for Easter or placing in the kids’ Easter baskets. This same process will work for any clothing item, just look for a high polyester count.
Check out the video below for more information.


