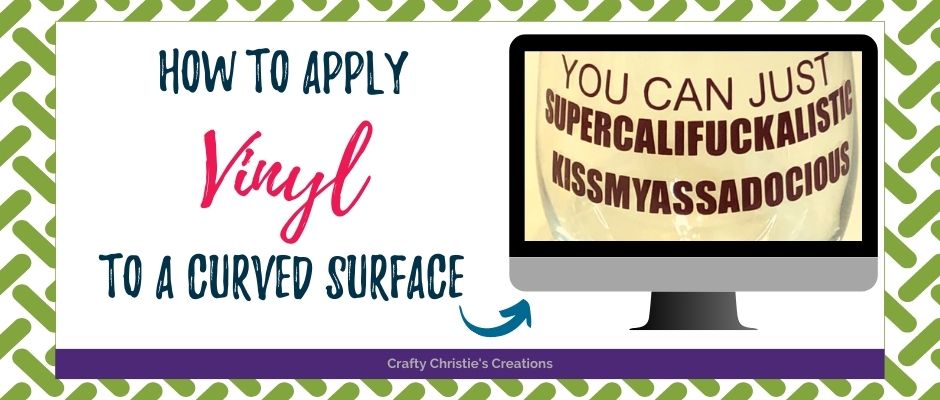
Struggling with applying vinyl on a curved surface like a wine glasses? The struggle is real! It took me about a year before I landed on this sure-fire technique. Join me on this episode of Crafty Christie’s Creations How-To Videos, where I’ll be sharing my tricks and tips that make vinyl application simple and accurate every time! After you watch this video you will be applying vinyl to curved surfaces like a pro!
Wine glass
Vinyl Decal
Clear Transfer Tape
Scissors
Rubbing Alcohol
Lint Free Towel
Dry Erase Marker
Tape Rolls in 2 heights (you can easily substitute this for any flat surface)
Steps:
1. Clean glass with rubbing alcohol and a lint-free towel
2. Using rolls of tape and a dry erase marker, draw lines on the glass at different levels
3. Trim the transfer tape around the vinyl and in between the letters
4. Use the dry erase lines to guide placement of the letters so they are straight starting from the center and working out
5. Remove the transfer tape and wipe everything with the rubbing alcohol, be sure to get rid of the dry-erase lines
Here’s the video to really explain it all.


