
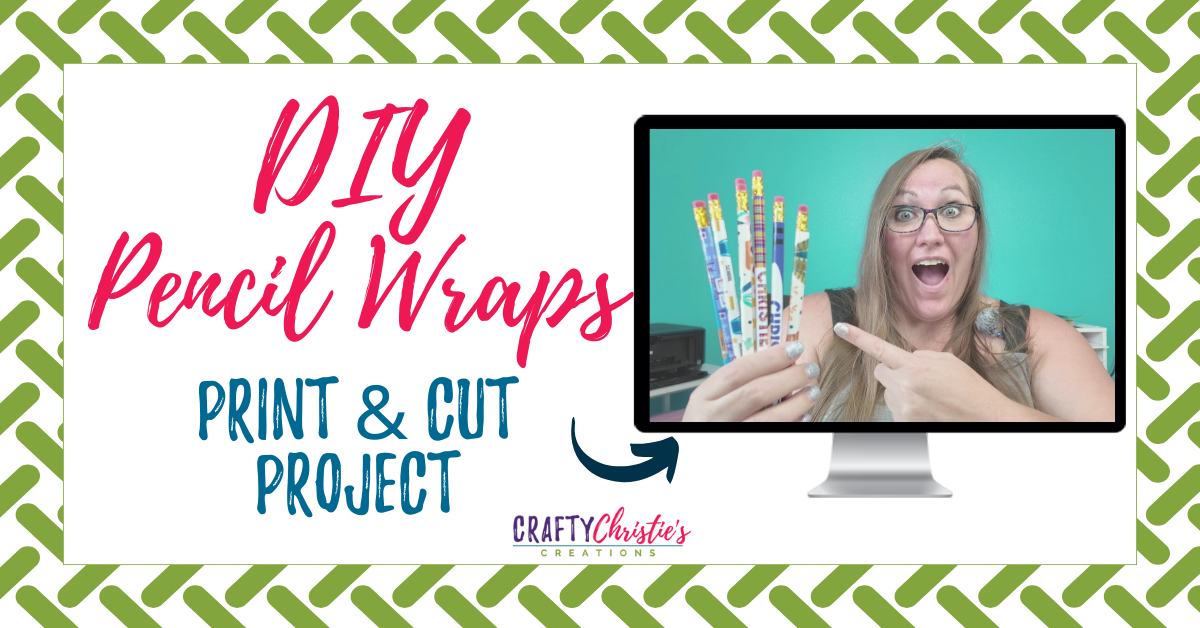
Ready to turn those plain number two pencils into stunning personalized school supplies? This step-by-step Silhouette tutorial will show you exactly how to create custom pencil wraps using print and cut techniques that’ll make your kids the envy of every classroom!
Supplies:
#2 Pencils
Photo Paper
Clear Vinyl
Printer
Double Sided Tape Sheets
Cameo 5
Electrostatic Mat
Sticky Mat
School Themed Digital Papers
Plant Themed Coffee Mug Template
Step-by-Step Pencil Wrap Creation Process
1. Perfect Measurements for Professional Results
Getting the right dimensions is crucial for a flawless finish. Measure your pencil’s circumference (approximately 1 inch) and length (about 6.75 inches from tip to metal ferrule). This precision ensures your custom school supplies fit perfectly without gaps or overlaps.
2. Setting Up Your Silhouette Print and Cut Project
Navigate to Silhouette Studio and configure your workspace for success:
- Change page size to letter (8.5″ x 11″)
- Enable registration marks using the print and cut quick button
- Adjust inset settings for optimal cutting
- Create rectangles sized to your pencil measurements
3. Design Options That Wow
The beauty of this project lies in the endless customization possibilities:
Pattern-Based Designs:
- Built-in Silhouette Studio patterns
- Custom digital papers
- Free downloadable school-themed patterns
Personalized Name Designs:
- Add names with contrasting oval backgrounds
- Create colored pencil effects with black stripes
- Mix patterns with text for unique combinations
4. Professional Printing and Cutting Techniques
For best results when creating personalized pencil wraps:
- Print on high-quality photo paper settings
- Use double-sided adhesive for secure application
- Apply clear vinyl overlay for durability and professional finish
Pro Tips for Flawless Pencil Wraps
Application Technique That Works Every Time
Start at the back ridge of the pencil and work your way around, pressing firmly at each ridge. This method prevents air bubbles and ensures smooth application. The key is patience – rushing leads to wrinkles and uneven application.
Seam Placement Strategy
Position your photo paper seam at the back of the pencil, then place your clear vinyl seam on a different ridge. This technique hides imperfections and creates a professional-looking finish that rivals store-bought supplies.
Troubleshooting Common Issues
- Edges lifting? Use clear vinyl overlay for better adhesion
- Wrinkles forming? Work one ridge at a time and press firmly
- Seams visible? Stagger your vinyl and paper seam placement
Creative Ideas Beyond Basic Pencil Wraps
This versatile technique works for more than just pencils! Consider these back-to-school craft ideas:
- Teacher appreciation gifts with custom designs
- Office supplies personalization
- Pen wrapping (choose clip-free pens for easier application)
- Seasonal pencil collections for holidays
Why This Method Beats Store-Bought Options
Creating your own DIY school supplies offers several advantages:
- Complete design control and personalization
- Unique patterns not available in stores
- Perfect for matching school colors or themes
- Great for special occasions and gifts
Ready to get started? Gather your supplies, fire up that Silhouette machine, and let’s turn those boring pencils into beautiful, personalized accessories that’ll make homework just a little more exciting!


