
I’ve been spending a lot of time outside lately and I realized my entryway needs a little sprucing. What better way to change things up than by adding a new doormat.
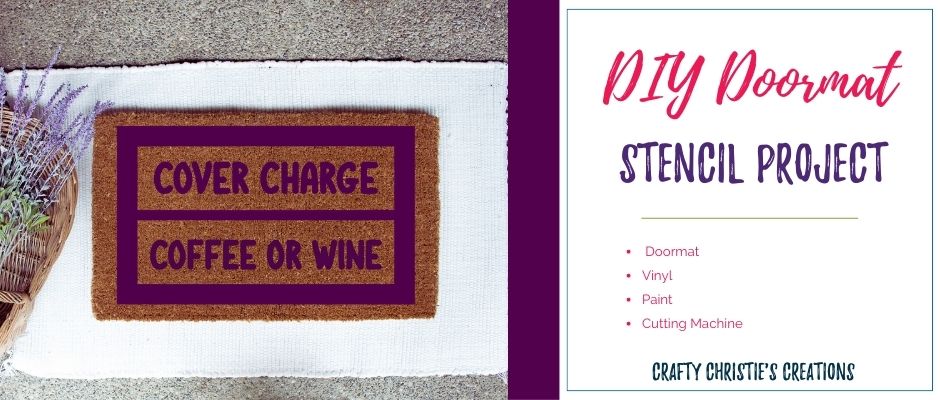
Today, I’m going to show you how to make a DIY doormat using a vinyl stencil and some permanent outdoor paint.
Supplies:
Doormat
Outdoor Paint
Sponge Paintbrush
Permanent Vinyl
To start off I created the design I wanted. My doormat is larger than the large cutting mat so I had to fill in the border myself. I centered my design on my cutting mat and sent it to my silhouette. There is no special cutting or mirroring required because we are placing it right on top of our doormat.
The difference comes in weeding. Normally we would weed out the dead space and leave the words. Since this is a stencil, we want to weed out the words. This is where we will be painting. I tried a few different types of vinyl, none of them stick very well to the doormat. I’m using the Orcal 651 permanent vinyl for this project.
Once the weeding is done, apply the transfer type like normal and lift the design off the mat. It isn’t as easy with such a large design, so take your time. Be sure to not let anything stick where it shouldn’t.
To make my border, I cut 2 inch strips of vinyl and place it along the outside of the doormat. There is about a 1 inch gap between the border and the words. I’ll be filling this in with paint as well. Add the decal to the doormat. Press it down really well so it will stick. It really only floats on top of the doormat, that material doesn’t really like to stick to anything.
Pull off the transfer tape slowly making sure all the little areas inside each letter stay in place. Now its time to start painting! I’m using some purple outdoor paint I picked up at Michael’s ages ago. I have a sponge brush and I’m dabbing the paint onto the doormat. Be generous with the paint so it can soak in and fill all the crevices, especially in the corners.
Once the painting is done, let it dry a bit before peeling off the vinyl. I’ll be letting mine sit a few days before I put in to use at the front door.
Easy as that, you can quickly make doormats for every season and/or occasion!
Below is the video tutorial for my visual learners!


