
Do you ever get bored doing the same craft types all the time? I’m guilty, which is why my craft room is full of all different sorts. Once again, I’m adding to my collection with some stencil vinyl and etching cream. Today I’m going to walk you through glass etching with Silhouette!
Over the years, I’ve watched as different glass projects emerged. I’ve always been fascinated with glass blowing and one day I will have to give it a try. But for now, I’m sticking with some simpler ideas.
Etched glass has always struck me as elegant and upscale. I’ve always wondered how the frosted glass look was created and now I have the answers.
Supplies:
Wine Glass
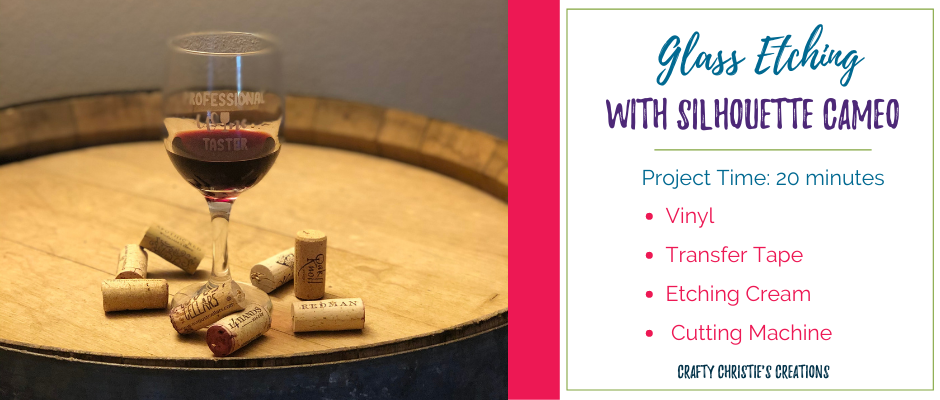
I started off with my Professional Wine Taster SVG cut file and turned it into a stencil in Silhouette Studio. It is a fairly quick process, but keep in mind the parts you want etched need to be cut away from the stencil. It is like thinking backward compared to normal vinyl work.
After I cut out the stencil, I found it easier to “reverse” weed it. By this I mean I cut my transfer tape to size and applied it to the entire design. Then I weeded out the words to make the stencil. Since the stencil vinyl I’m using is a bit stiffer than normal vinyl, I didn’t want the little cut-outs inside the letters to run away while I was weeding. The transfer tape added some extra stickiness to keep everything in place.
Then came the hard part, applying the vinyl to the curved surface of the wine glass. Normally I’ll take the time to get a close cut around my decal to eliminate bubbles and keep the graphic straight. I wasn’t able to do that too much since I need that extra vinyl to protect the glass. I spent a lot of time pushing out bubbles and trying to keep my design mostly straight.
Next, I added the etching cream and let it set. Then I rinsed it off with cold water and removed the stencil to reveal my lovely etched wine glass.
I do have to say, this was a swift and easy project. Looking at the completed project, there are a few places where the cream ran under the stencil. Next time I will have to be more patient and pay close attention that the vinyl is really adhering to the glass. This should prevent some of the slip-ups, but for a first try, I’m really pleased with how it turned out. In fact, I’ve already given it a good wash and poured myself a glass of red wine!
Check out the video below for the full details.


