Description
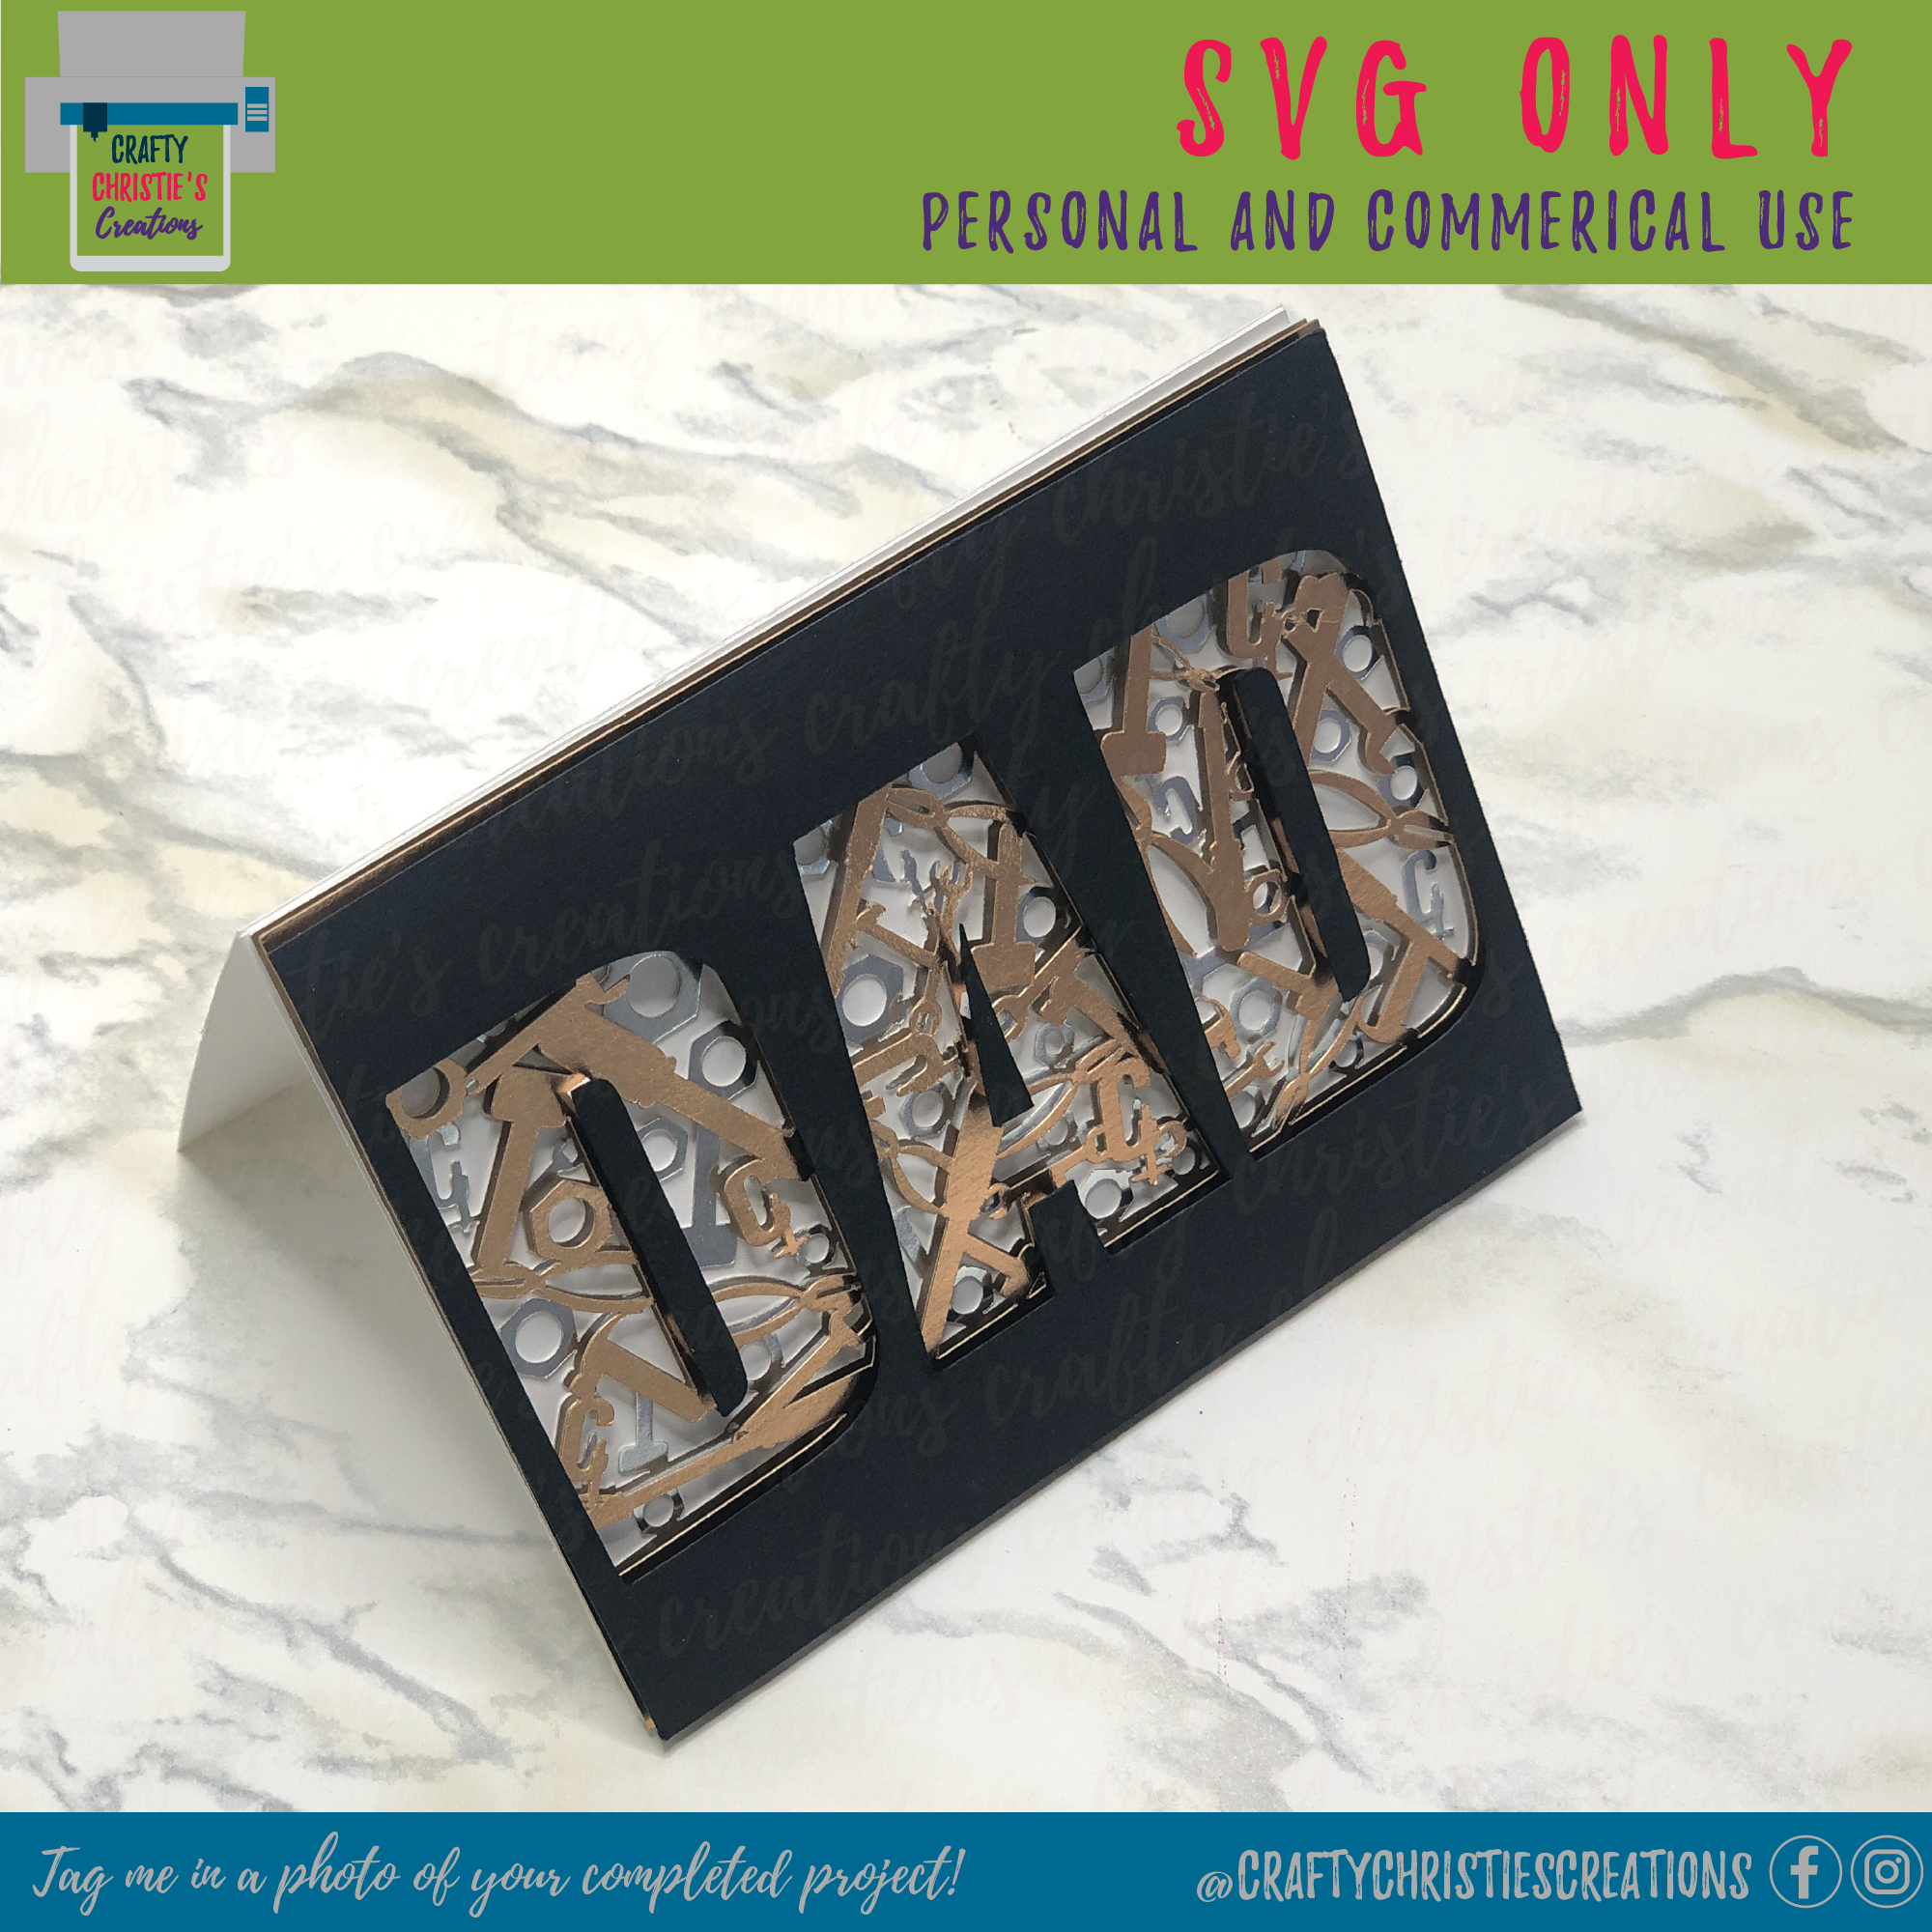
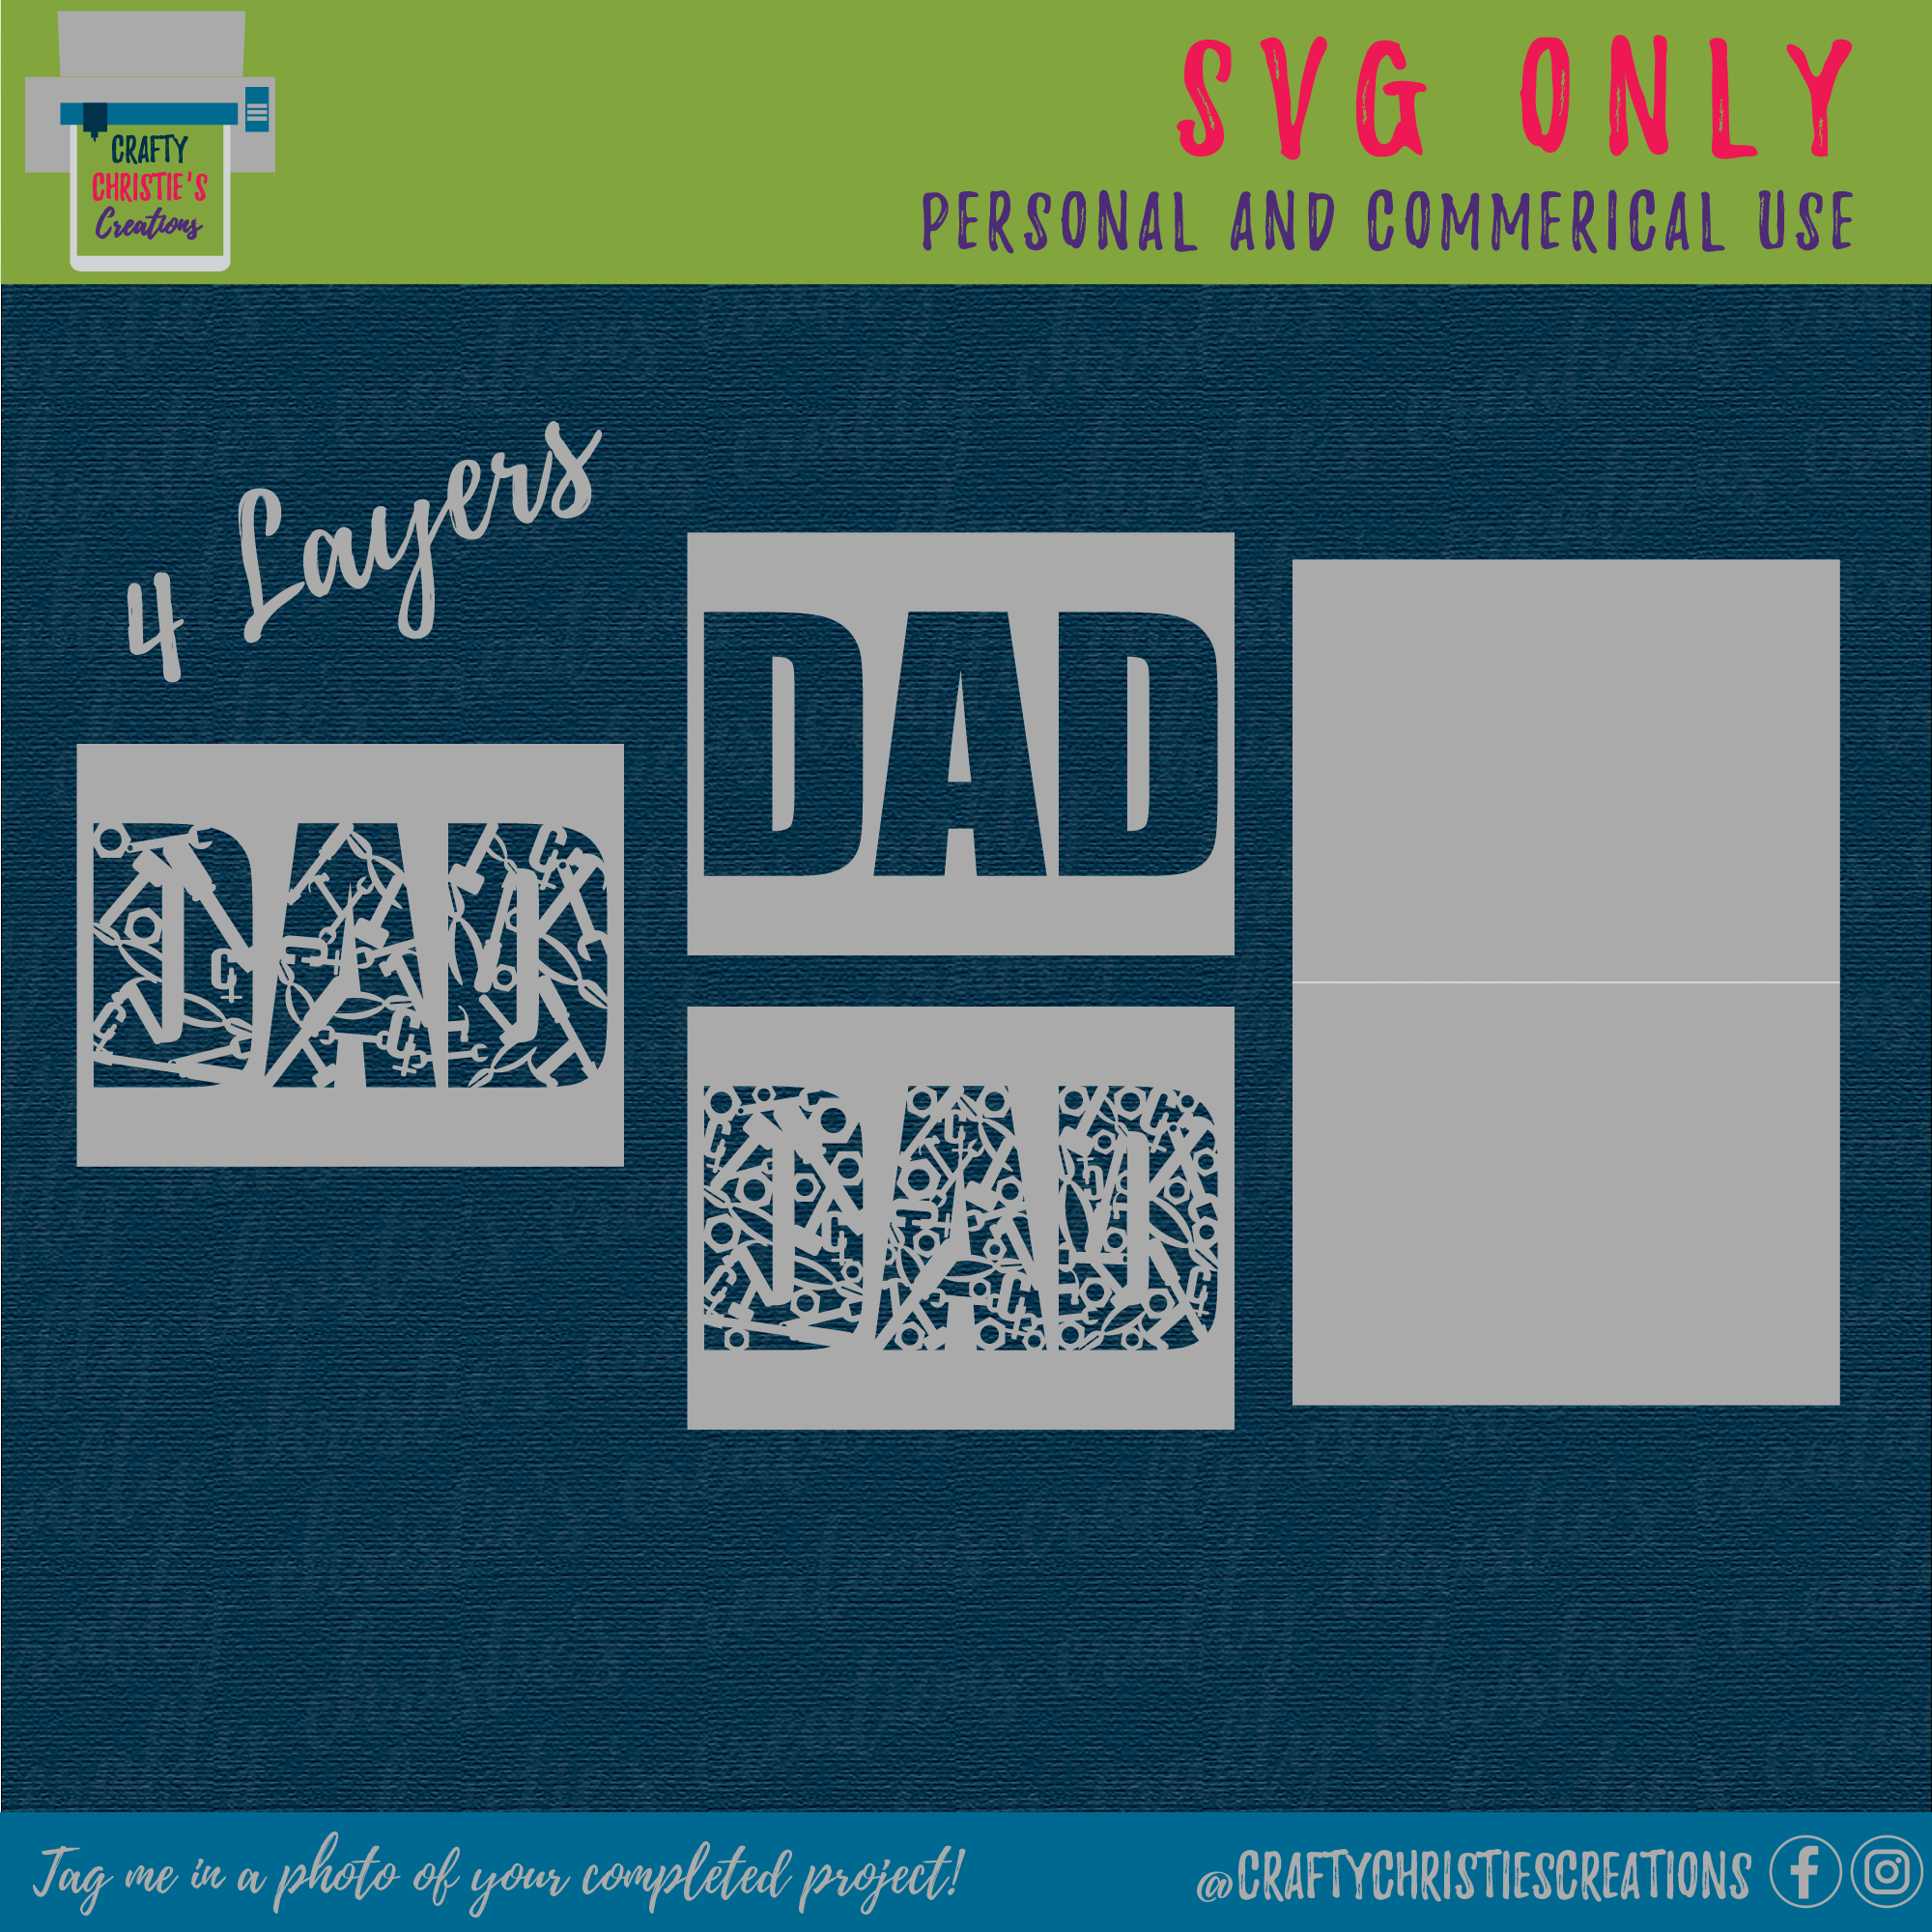
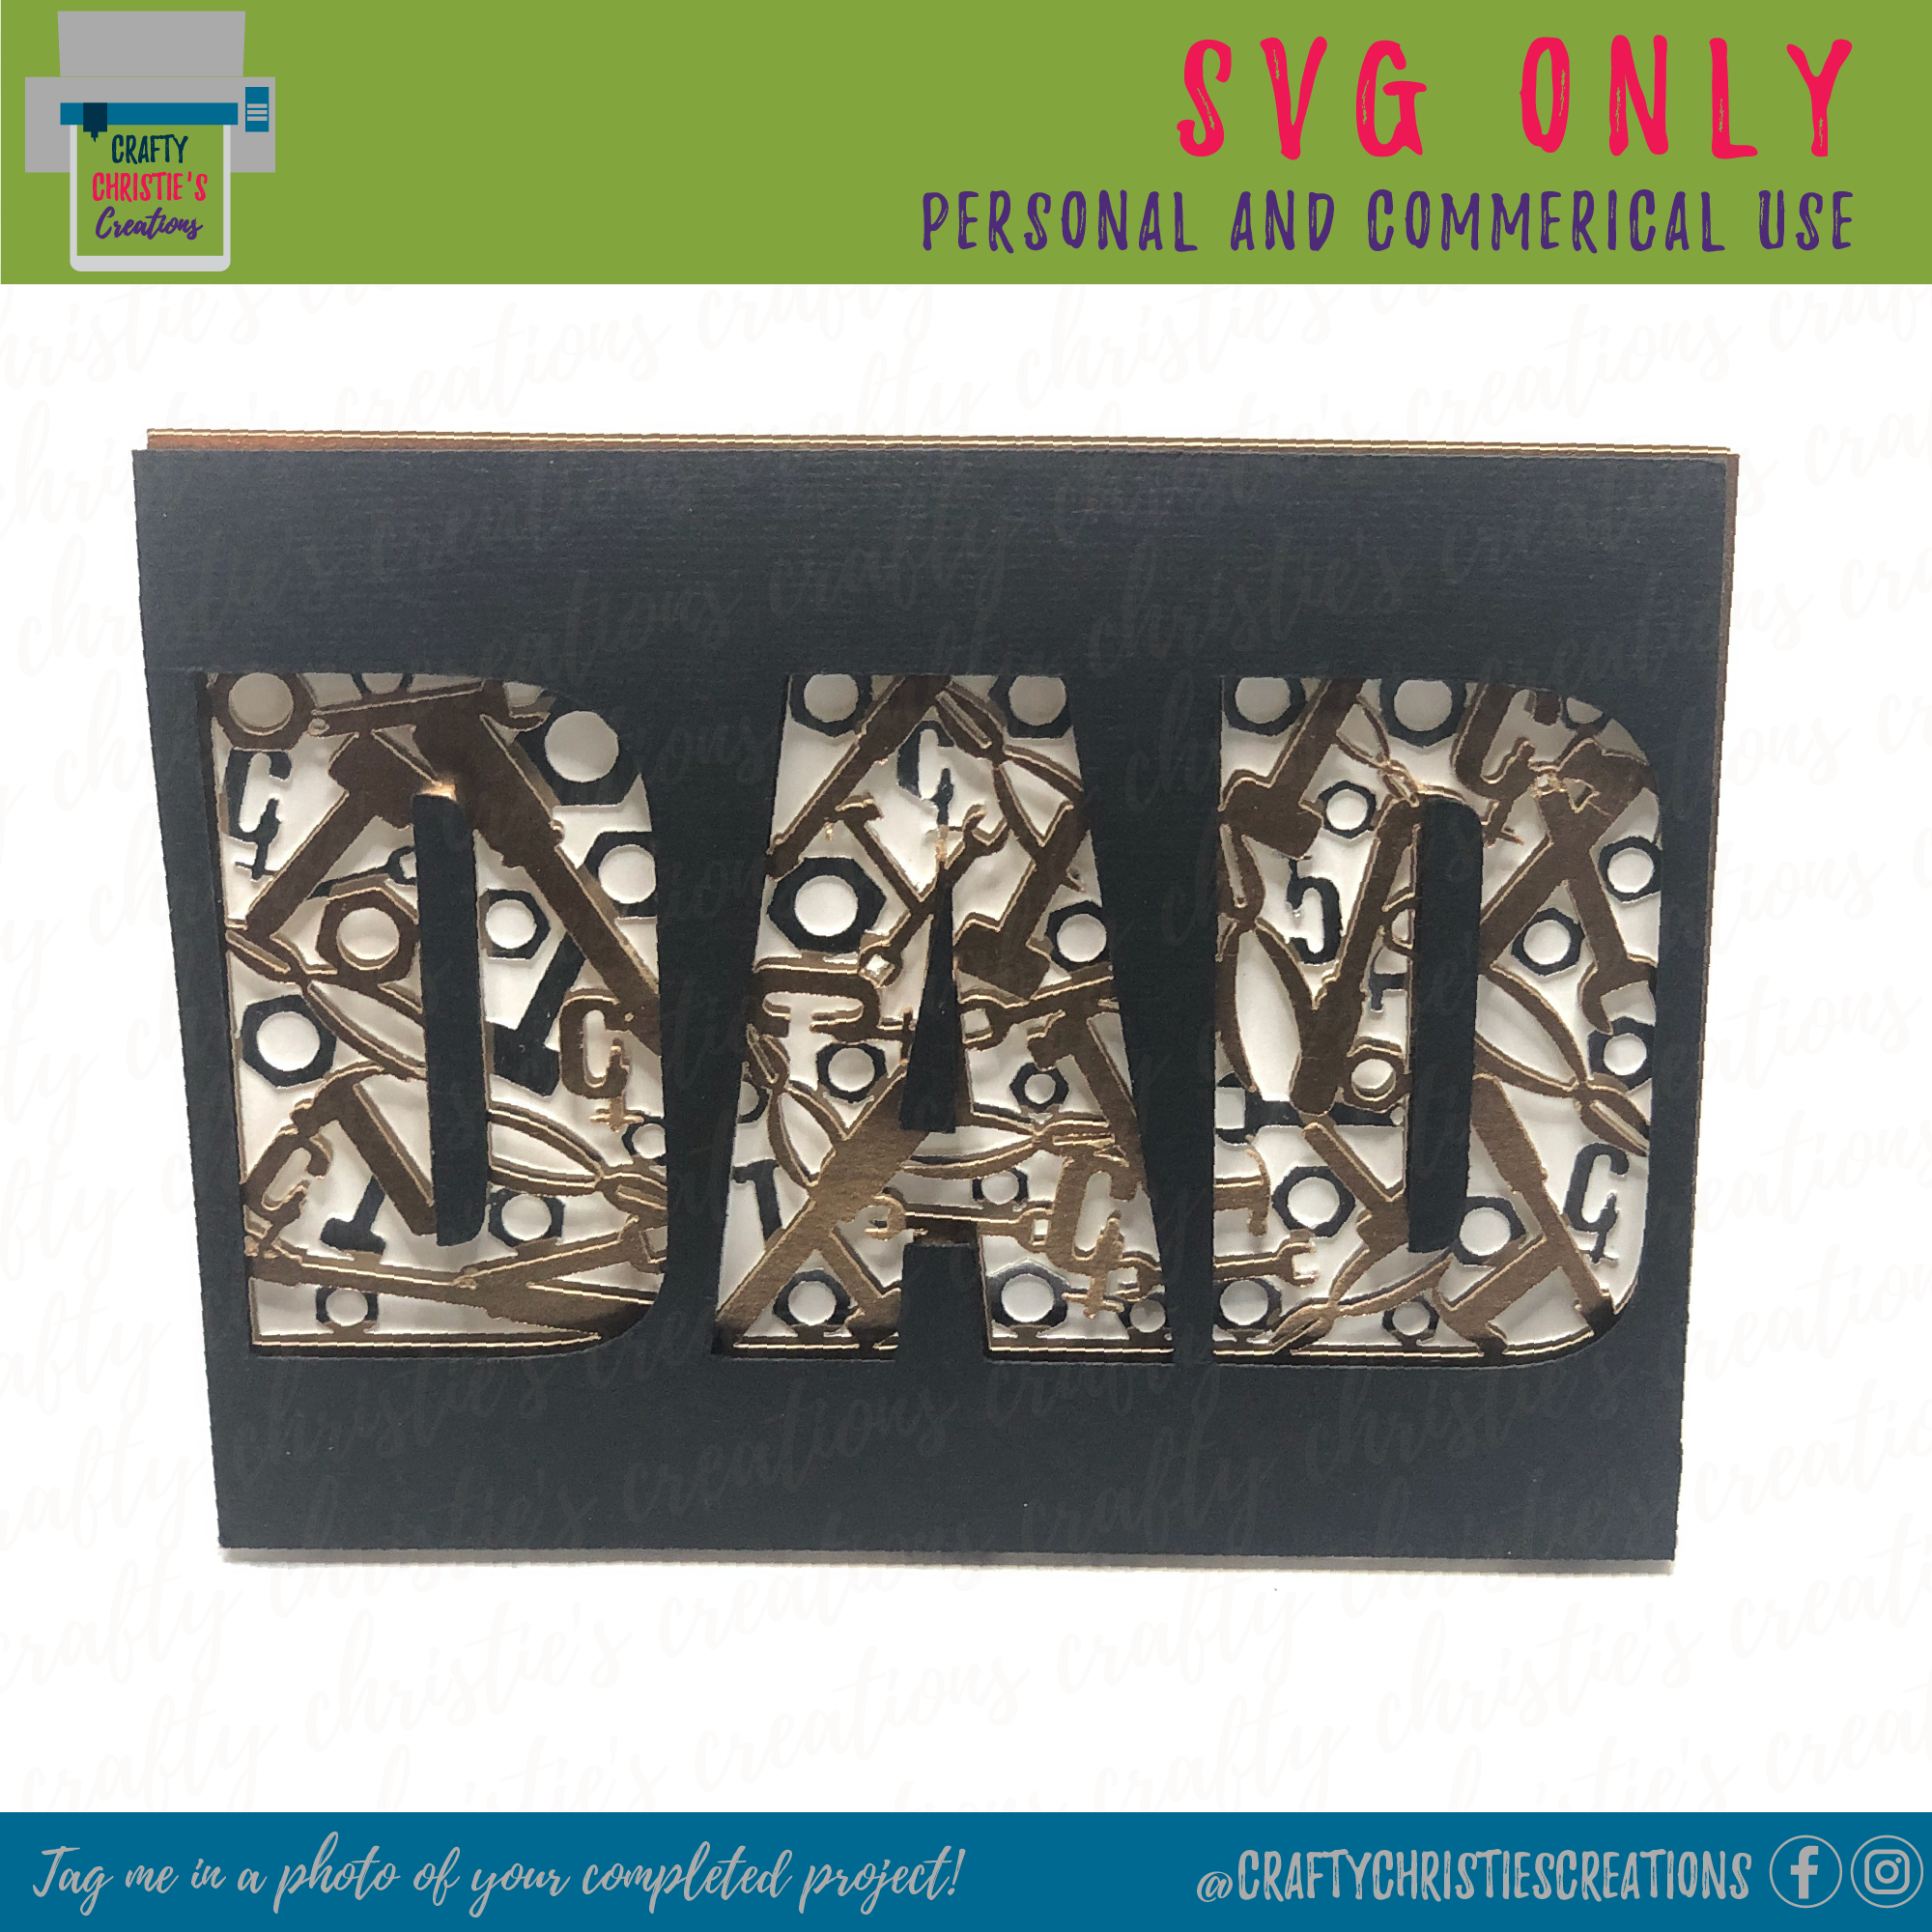
This Layered Tool Dad Card SVG is just what you need for honoring your Father with a greeting card. The Father’s Day Card SVG has 4 layers. The Dad Birthday Card SVG is 4.25 x 5.5 inches. The Layered Tools Card Template is 8.5 x 11 inch paper friendly, meaning each element can be cut from this size cardstock. The best part about this Mechanic Card SVG is that it can be used for many occasions like Father’s Day, Dad’s birthday, a card announcing he is going to be a dad and more. How can you pass up on a card that has so many uses? Make a few at a time and stash them away for the next time you need a card in a hurry.
This is a DIGITAL DOWNLOAD only! No physical item will be sent to you in the mail. This download comes ONLY in SVG format. The file is compatible with the major cutting machines on the market.
PLEASE NOTE:
-You will receive a DIGITAL FILE DOWNLOAD of the SVG. NO physical products will be shipped.
-Before purchasing, please consult your machine/software manual to make sure the file type listed above will work with your machine and software.
-Due to the nature of digital downloads, NO refund, return, or exchange of the files are possible. However, if you encounter any problems with the files, please contact me so that I can help to solve the issue!
LICENSING:
All my designs come with personal and commercial use. When you purchase a design from Crafty Christie’s Creations you are agreeing to abide by these terms. The purchaser is allowed an unlimited amount of use of my design to make physical end products (like mugs, clothing, cards, etc.) that are given away or sold.
Designs purchased from Crafty Christie’s Creations may NOT be distributed for free or resold digitally as your own. You can however take elements of my designs to create your own unique creation. The finished product must contain 75% of your own work added to my design elements to be considered your creation. Your new unique creation can then be given away or sold as a physical or digital product.
If you have any questions about how you can use my designs, please contact me ([email protected])
Designs by Crafty Christie’s Creations are Copyright of Crafty Christie’s Creations. All Rights Reserved.
HOW IT WORKS:
Once your payment has been processed, your digital files will be available for download in your Etsy account under “Purchases and Reviews.” Click the “Download Files” button on the right side of the order. This button takes you to the downloads page for all the files attached to your order. Another download option is to use the “download” link in the email you receive from Etsy (check the email connected to your account). Follow the link and save the file(s) to your computer. More information about Etsy downloads can be found here: https://www.etsy.com/help/article/3949
Since this is a digital download, the product is NON-REFUNDABLE!



Reviews
There are no reviews yet.