
Are you considering dipping your toe into the wonderful world of paper crafting? It can be daunting to start a new type of craft with your cutting machine.
Not only do you need some different supplies, but you also have to learn the different nuances of cutting new materials with your silhouette.
Don’t fret, I’m here to help you get started with a list of the basic supplies you need to make your first papercraft.
The best part is most of these can be picked up from your local Dollar Tree and Amazon, with a pretty minimal start-up cost.
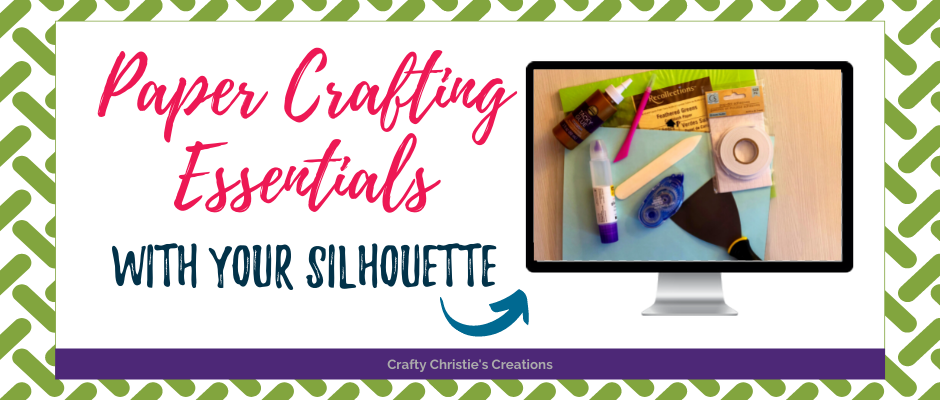
Supplies:
Low-tack cutting mat
Scraper or spatula tool
Cardstock
Piercing tool
Extras:
Foam tape
Foam squares
Let’s talk about each item.
Low-Tack Cutting Mat
Using a brand-new mat with lots of stickiness can be problematic with paper. When you try removing the paper from the mat, the paper will most likely rip and tear. This is especially true for thin, intricate designs. I recommend using a well-used mat or taking a flour sack cloth to your mat to make it less sticky.
Down the road, if you decide you really enjoy paper crafting I recommend having a mat specifically dedicated to paper material. I put the letter “P” on my paper-only mat so I don’t get it confused with the more sticky mats that I use for vinyl.
Scraper or Spatula Tool
In order to get the paper off the mat, flip your project upside down and gently roll the mat away from the paper. I like using a paint scraper I picked up from Dollar Tree for this task. I use a large one to grab more surface of the paper to keep it from tearing as I pull the mat back.
Liquid Glue
For most paper projects, I find myself reaching for liquid glue. The longer dry time allows me the ability to get my pieces aligned perfectly before it dries. The downside to liquid glue is that using too much can cause the paper to warp. To help prevent using too much glue, I recommend using a precision tip bottle and always dabbing away the excess glue before adhering to the paper.
Cardstock
If you’re just getting started, I recommend not investing too much money into supplies, and this includes cardstock. A good 65lb weight will get the job done. I really like using Recollections cardstock. It comes in multiple variety packs and is relatively cheap. You can pick some up at Michaels (don’t forget a coupon!) or Amazon.
If you do decide to dive in deep, then you might find you need some heavier-weight cardstock for the base layer of cards or the core of a paper project. In this case, most people reach for Bazzill or American Crafts Cardstock (AC Cardstock). I also like using Neenah brand 110lb coverstock for the base layer of my cards. That good thick cardstock helps your projects to maintain their shape over time.
Piercing Tool
This is a live saver tool for sure. I can’t tell you how many times I cut intricate designs where the negative space doesn’t fall out. I am able to use my piercing tool to push out that leftover cardstock. I picked up my pick piercing tool at Dollar Tree, it comes in a pack of 2, which is always handy to have an extra.
Foam Tape
I love using foam tape when I make shaker cards. It is a quick and easy way to add extra dimension to make room for the shaker bits. Again, this is an item that stock up on at Dollar Tree.
Foam Squares
This is another extra that isn’t essential but nice to have around. When adding layers to cards, I like popping up some layers with foam squares. The shadow that is left from the dimension helps make the card come to life. You can certainly use foam tape and cut it down, but I like the simplicity of precut squares. This is another item I’m always adding to my card at Dollar Tree.
Tape Runner
While I do use liquid glue the most, I love my tape runner. It is great for adding quick adhesive and the paper will never warp. The downside is that once it is stuck, there is no moving the paper to readjust. This is why I like having both tape runner and glue on hand for my paper projects. My favorite is Tombow Mono Adhesive.
I hope this list helps you get started on your journey with paper crafting. This is by far my favorite way to use my cutting machine. Head to your local Dollar Tree and pick up a few items on this list or see what you already have laying around the house. Don’t invest too much into this until you have decided you really enjoy playing with paper.
Check out the video below for more information about each tool on this list.


