
This is part of a 3 part mini series where I walk you through using the PixScan mat. Week 1, We calibrated your PixScan. Week 2, we cut out champaine glasses and the word cheers. We even got fancy and did an offset. This is week 3, where we take our cutouts and turn them into a masterpiece!
Supplies Needed:
Starting off with a standard 5.5 inches tall x 4.25 inches wide card base that I’ve already scored and folded. The silver layer is 5.5 inches tall by 4.25 inches wide. I used tape runner to secure it to the card base. I like to turn the card upside down and make it is flush at the seam.
The black layer 5.25 inches tall x 4 inches wide. Again I use tape runner to secure it. I’m using a generous amount to ensure it stays in play on the high gloss silver paper.
Next, I layer the champagne glasses and cheers using liquid glue so I can move things around if needed.
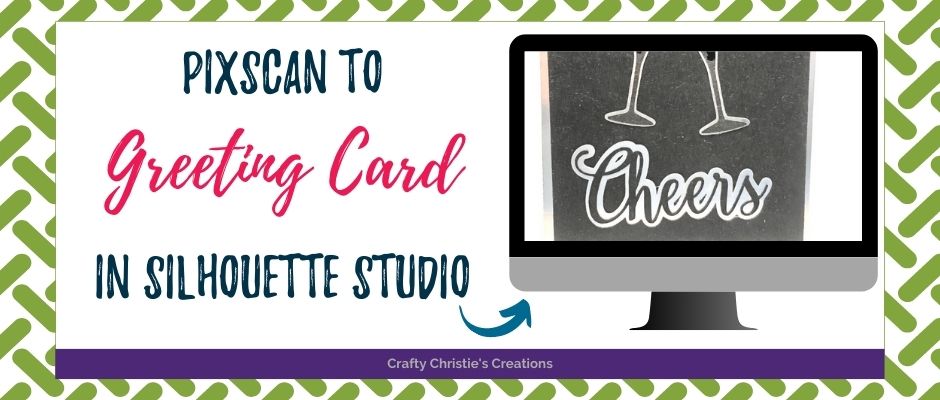
Now it’s time to place everything on the card. Once I have the placement to my liking I use my tape runner to secure it down.
For an added bit of interest I pulled out my crystal effects and drew what would be the champagne inside the glasses. It takes a full 24 hours for it to fully dry. Then it looks like liquid.
I‘m leaving the inside of the card blank for now. I’ll be able to personalize it when I’m ready to send it out.
Now you’ve seen the full process of calibrating the PixScan to finished card!


