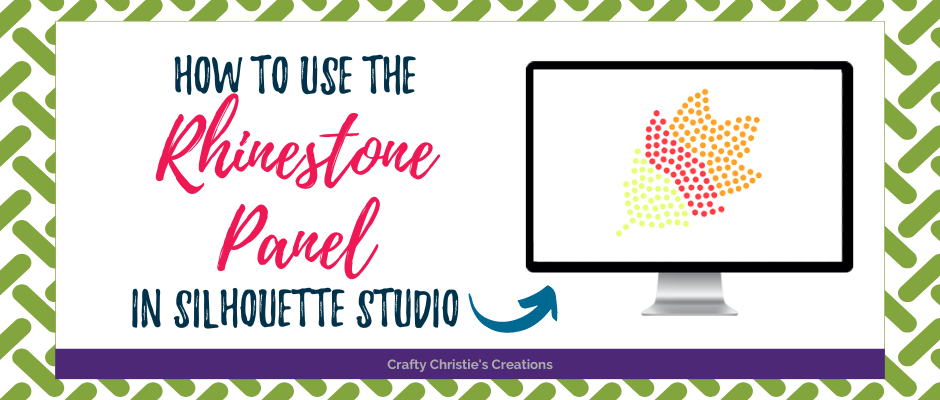
Rhinestones are a great way to add some bling to your designs. Silhouette Studio Designer’s Edition and higher makes it really simple to convert text and designs into rhinestone templates. Follow along and I’ll show you how to use the rhinestone panel in Silhouette Studio.
I have to start off by telling you that using the rhinestone panel isn’t perfect. I’ve had to make some adjustments to my designs and it didn’t work for every font or design. With that said, this is a pretty fantastic feature and I love using it.
Step 1: Choose Design
Select the file and/or text you want to turn into a rhinestone template. Have a few backup fonts and styles of a design in mind, just in case. I have found that thicker fonts work best and so do outline designs. I’m using Impact font to write “thankful” and my leaf svg.
Step 2: Size the Design
Before applying the rhinestone effect, you’ll want to get the design sized for your project. Resizing after in rhinestone form will change the spacing between the stones.
Step 3: Rhinestone Panel
Open the rhinestone panel and choose the stone size you’ll be using and the spacing you want between the stones. I’m using 10ss which is roughly 3mm rhinestones. I left the spacing at the default of .039 inches. Next, choose which effect looks best for your design. For the word “Thankful” I used the linear fill and for the leaf, I used the radial fill. I did have to move stones around and add a few more to each element to fill it out. Hit the “release stones” in order to move and add more stones to the design.
Step 4: Registration Box
Add a box around the completed design. The circles will be cut out of the design and this is where the rhinestones will be brushed in. The box is defining the edges of the design, without that you’ll waste the 12×12 sheet to fill your cutting mat.
Step 5: Cut the Design
The rhinestone template is cut on special flock vinyl. This makes it easy to brush in the stones and decreases static. Flock vinyl is similar to the material found inside a jewelry box. Silhouette Studio has a default “Rhinestone Template” material setting. Select that material and make adjustments based on test cuts.
I’ll be going over brushing in the rhinestones and how to apply them to different projects in another post.
For more information on how to make a template in Silhouette Studio, check out the video below.


