Scrub Top Card

Please note: this post may contain affiliate links to products I use. When you purchase items from these links, I make a small commission that helps fund craft projects I share with you. This does NOT cost you anything extra, but it is a great way to show your appreciation for Crafty Christie’s Creations.

Scrub Top Card

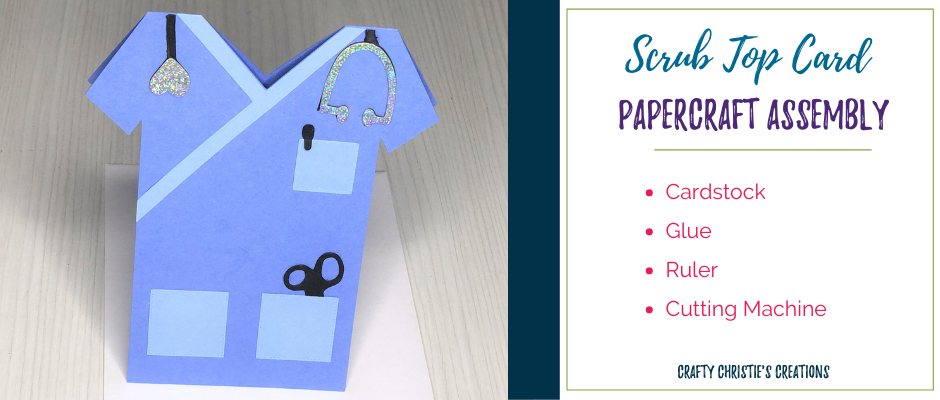
Do you know anyone in the medical field or someone studying to join the hoards of scrub-wearing professionals? Most likely the answer is yes, which is why this scrub top card is a good choice to learn to make.
 
Why is this card a good choice to keep in your inventory? Here are 5 good uses for this card: graduation from a medical, nursing, or veterinary program, Nurses or hospital staff week, a thank you card after you or a loved one received care, retirement from the medical field, or celebrating a job promotion.
 
Now that you know when to use this card, let’s go over how to put it together.
 

Supplies:

Holographic Cardstock
 

Directions:

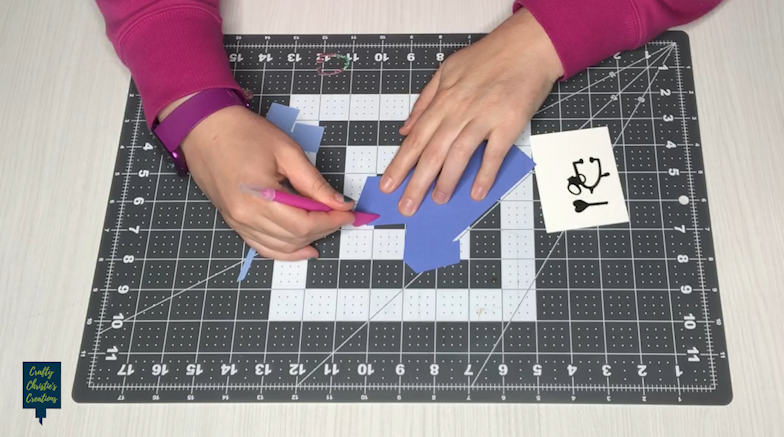
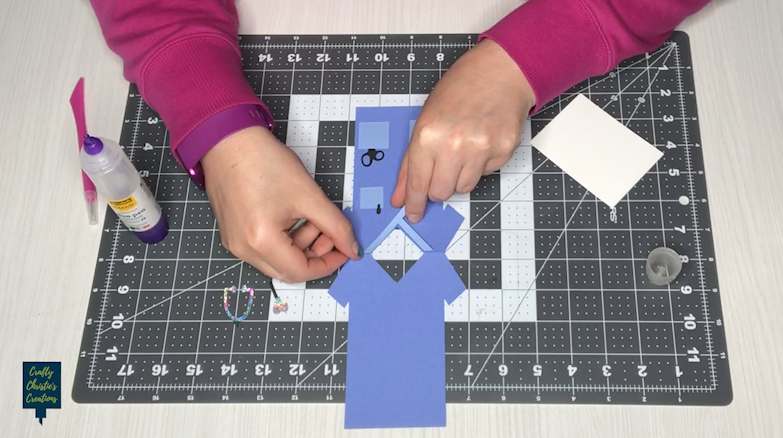
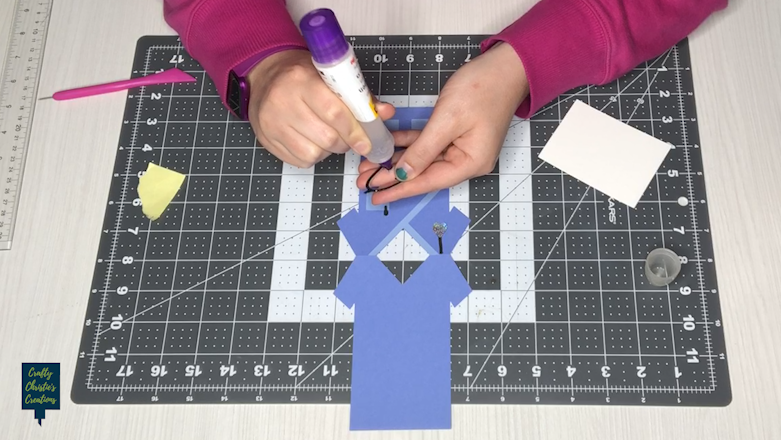
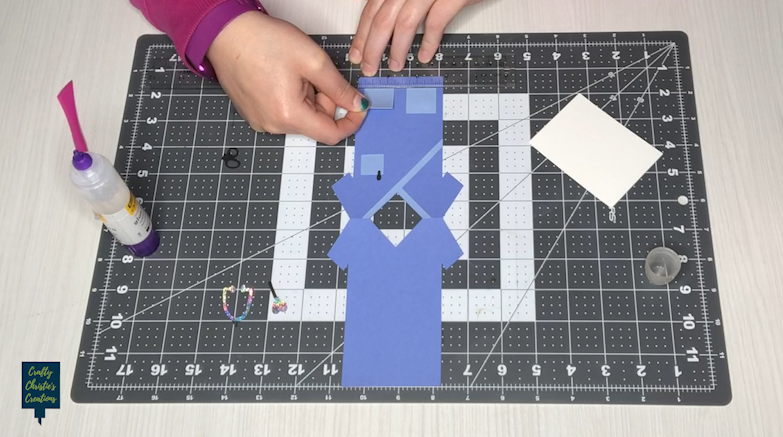
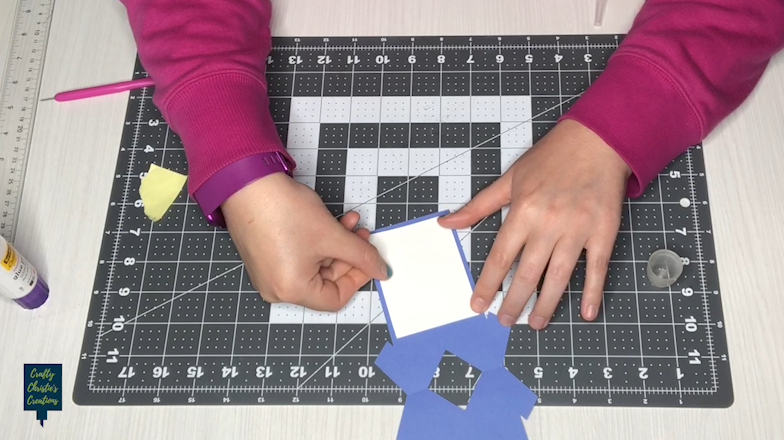
This scrub top card is very easy to assemble once all the pieces are cut out. There is a right and wrong side to the stethoscope parts and the decorative collar. Please note the faux-stitching on the pockets. Since these are such small holes they most likely will not fall out after being cut. I like this look of added detail.
 
To assemble fold the card in half at the scoreline. Paper piece the stethoscope if you want a two-toned look.
 
fold the scrub top card in half and burnish the scoreline
Using a small amount of glue adhere the collar. The edges should line up flush with the top and side of the card base.
adhere the collar to the scrub top card
Add the stethoscope parts to the outside of the collar. There is no rule for how close they should be, just try to have the stethoscope over the shirt and not the sleeves.
add the stethoscope to the scrub top card
Now take out a ruler to line up the pockets to keep them equally distanced from the outside of the card base. Align them to each other at the bottom. Use that same distance for the top pocket. Next, add the pen and scissors to sit flush at the top of the pockets. These can be added to any pocket.
 
line up the pockets to keep them equally distanced from the outside of the card base
On the inside add the extra rectangle piece, this is for your sentiment. I think it would look lovely with a print and cut message or a stamped saying.
On the inside add the extra rectangle piece, this is for your sentiment on the scrub top card
The completed card measures just under 5.5 inches tall and 4.25 inches wide. It will fit in a standard A2 envelope.
 
For the complete assembly check out the video below.
Picture of Crafty Christie

Crafty Christie

Silhouette Tutorialsist and SVG Designer

Hi! I'm Christie!

I am passionate about helping other crafters unlock their creativity and take their crafting skills to the next level.

Let's Connect!

Blog Categories

Design Faster with Silhouette Keyboard Shortcuts