
Do you have a crafty business? Are you thinking about selling your crafts at local fairs? If you said yes to either of these questions then this is a perfect read for you. Free advertisement is always good, and the best way to do this is by handing out business cards. Yes, 80% of these cards do end up in the trash but, that is still 20% that are kept and can lead to another sale. Follow along as I teach you how to create print and cut business cards in Silhouette Studio.
Supply List:
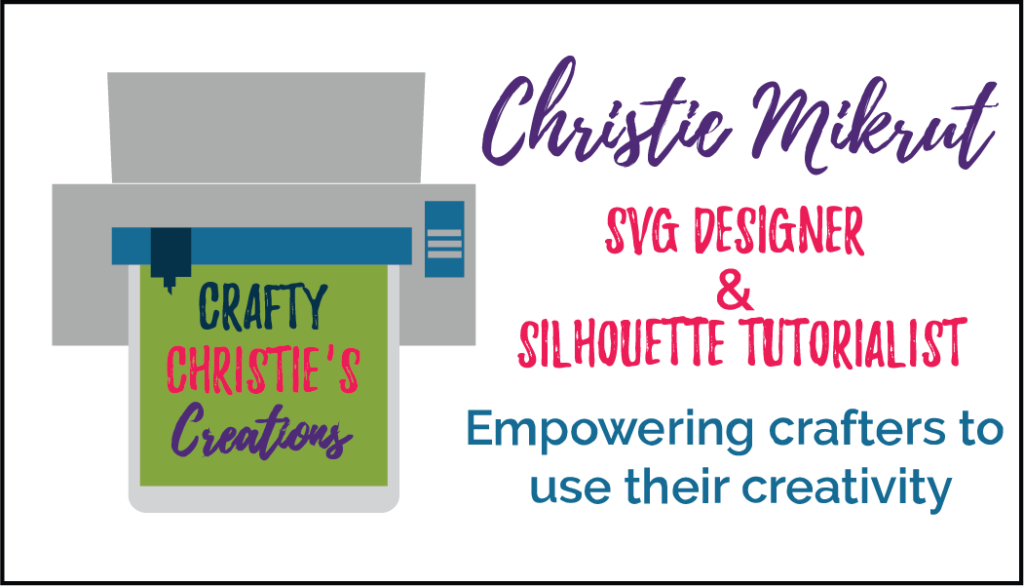
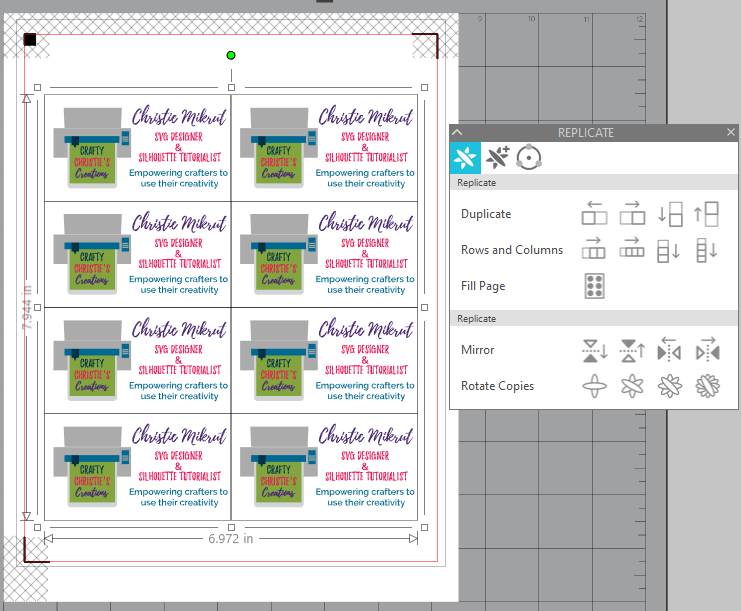
What type of information do you put on your information card? I like to use both sides of the card. On the front, I have my logo, name, and my tagline. This gives people some basic information about my business and what I do.
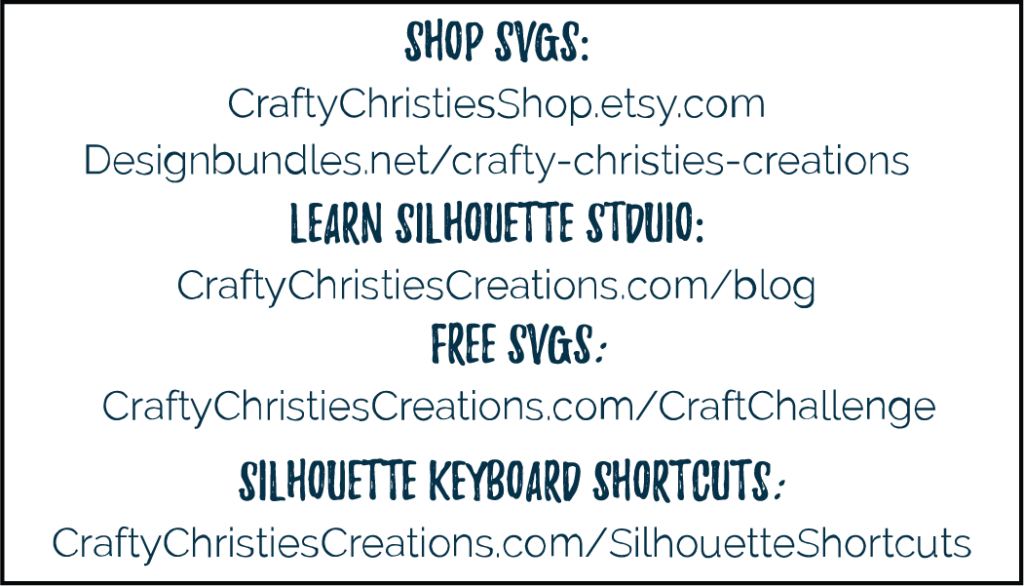
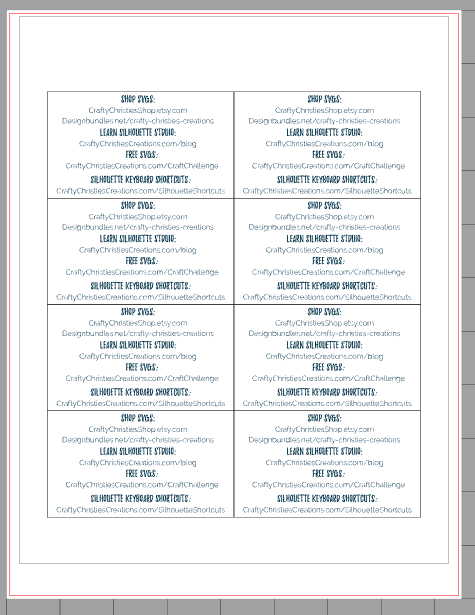
On the back, I add all the pertinent information that I want people to know. For me, this is where to find my SVG files, where to find my Silhouette tutorials, how to get FREE SVGs, and where to download a copy of my Silhouette Keyboard Shortcuts.
For you, it might look something more like shop my Etsy store, Follow me on Instagram/ Facebook, or Email me with questions. You want to make sure people have a way to contact you and then also where they can find more information about what you’re selling.
Now that we’ve discussed what to put on the cards, let’s get started making them! This will be a double-sided print and cut project. A standard business card size is 3.5 x 2 inches. Make the outline of the card this size to be your cutline. Add all your information to the front of the card. Then make a copy of your outline and add all the information to the back of the card.
Prepare the page for cutting; group all the information on the front of the card with the outline. Make sure your outline color is different from anything else printing on the card. For me, the outline was black since I didn’t use that color anywhere else. Do this now because we will be cutting by line color later.
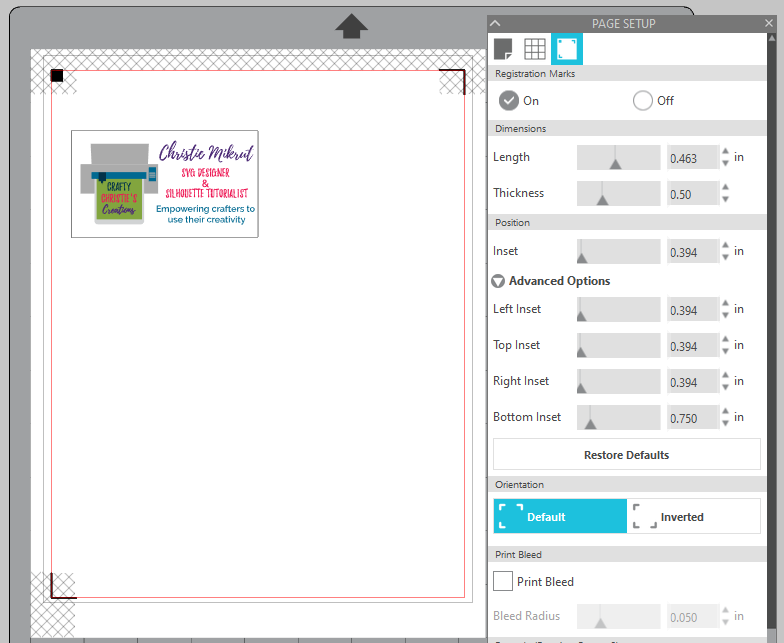
Use a media size to fit your printer, I’m using letter size paper. Turn on your print and cut borders on the page setup tab. Then select the registration marks and turn those on as well. I like to decrease the inset to the smallest amount and then adjust each side as needed to find within the print border.
Remember, you need your registration marks to print so they have to be within the print border!
Duplicate your design to the right and then fill up the page. Group all the card fronts together and then center to page.
Make the same amount of copies of the backside of the card and group those together. Then copy that group to a new tab in Silhouette Studio.
Once again, center that copy to the page. Make sure your media size is set up the same as for the front of the cards. No need for registration marks here since this will be printing on the back.
Start printing! Send the front side of the cards to the printer like you would any other print and cut. Once this is done printing, flip the page over and send the backside through. Depending on your printer, you may have to feed the paper differently or mirror your text.
Set up the front of the paper on your cutting mat, just like you would any other print and cut. On the send panel, cut my line color so you’re only cutting the outline rectangle. Now you’ve got some business cards ready to go!
A few other notes on this topic…
I used 110 lb coverstock to make mine so it took a long time to cut (2 passes). Plus it only makes 8 at a time. So to make this quicker you can consider making your cutline a very light gray and giving it a line point value so it will print. Then you could use a paper trimmer and cut them by hand. Ultimately, it might be better yet to use a business card company like Vistaprint to make your cards. The time savings of doing it this way is totally worth it. Just make sure you give yourself enough lead time to have them for your craft fair.
For all the details on making print and cut business cards check out the video below.


