
Valentine’s Day is just around the corner, have you figured out what you’re going to give to your love? Just in case you haven’t heard, I’m not just talking about your significant other. Your best gal pals, your kids, your parents, really anyone who is important in your life deserves to be celebrated this Valentine’s Day.
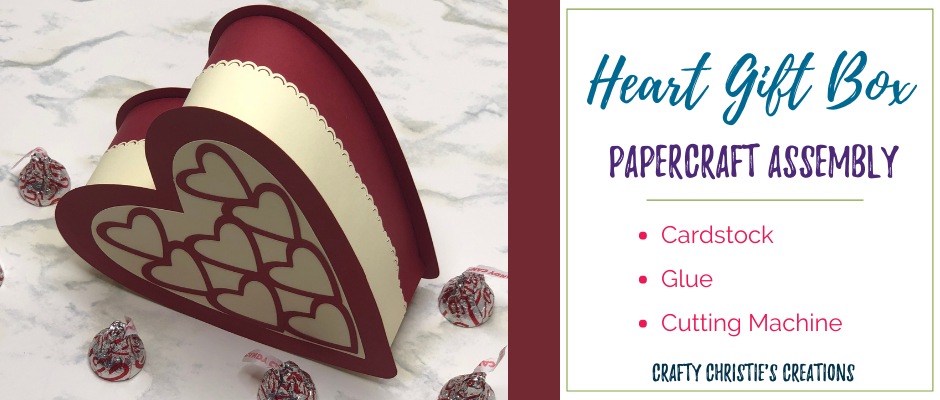
What better way to say I love you than a heart-shaped gift box? This box has 2 inches of depth so it can fit lots of different candies or trinkets. Keep reading to learn how easy it is to put this lovely papercraft together.
Supplies:
Step 1: Cutting it out
Using your cutting machine, upload the Heart Box SVG into your cutting software and cut out the different layers. In this example I’m using 2 different colors of cardstock, however you can cut it from as many or as few colors as you’d like. It took me 4 sheets of 8.5 x 11 inch cardstock to finish cutting it all out.
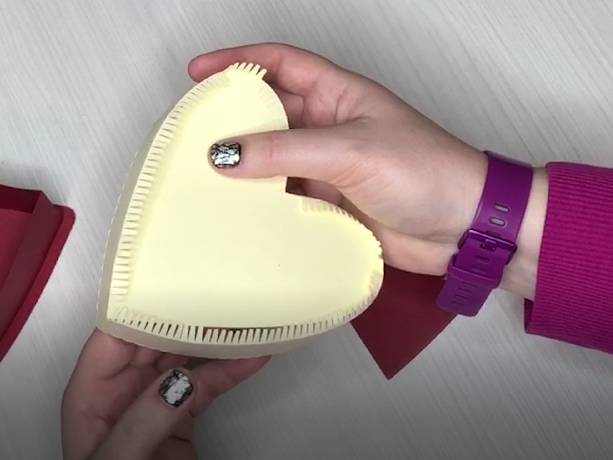
Step 2: Put the heart shapes together
Starting with the bottom layer of the box, glue the 2 long strips together on the tabs to make a circle. Fit this shape over 1 of the smaller hearts and start adding glue to the teeth to shape the circle into the heart. Repeat this step with the top layer of the box.
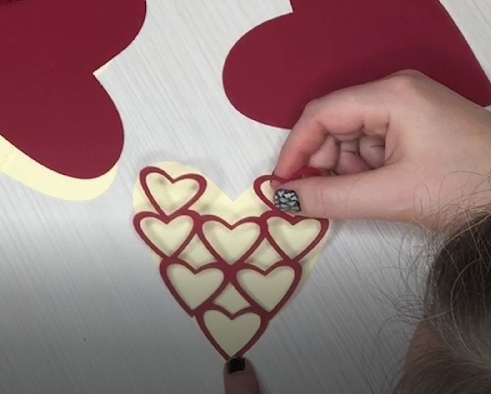
Step 3: Prepare the lid
The large heart with the heart-shaped scoreline is the lid. Flip that heart over and glue down the creme heart layer. Then use the multiple heart shape scorelines on the creme layer to line up the red hearts layer to complete the lid.
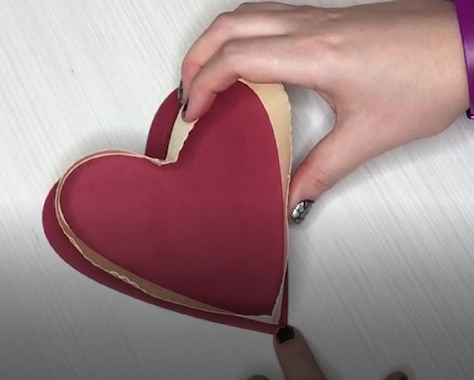
Step 4: Put it all together
Back to the large heart with the scoreline. Use that scoreline to center the top box shape onto it. This will give the box a nice lip around the top. Repeat this for the heart base. There are also 2 more hearts that will go on the inside layer of each lid. This is for added stability and to hide any glue marks that might be showing.
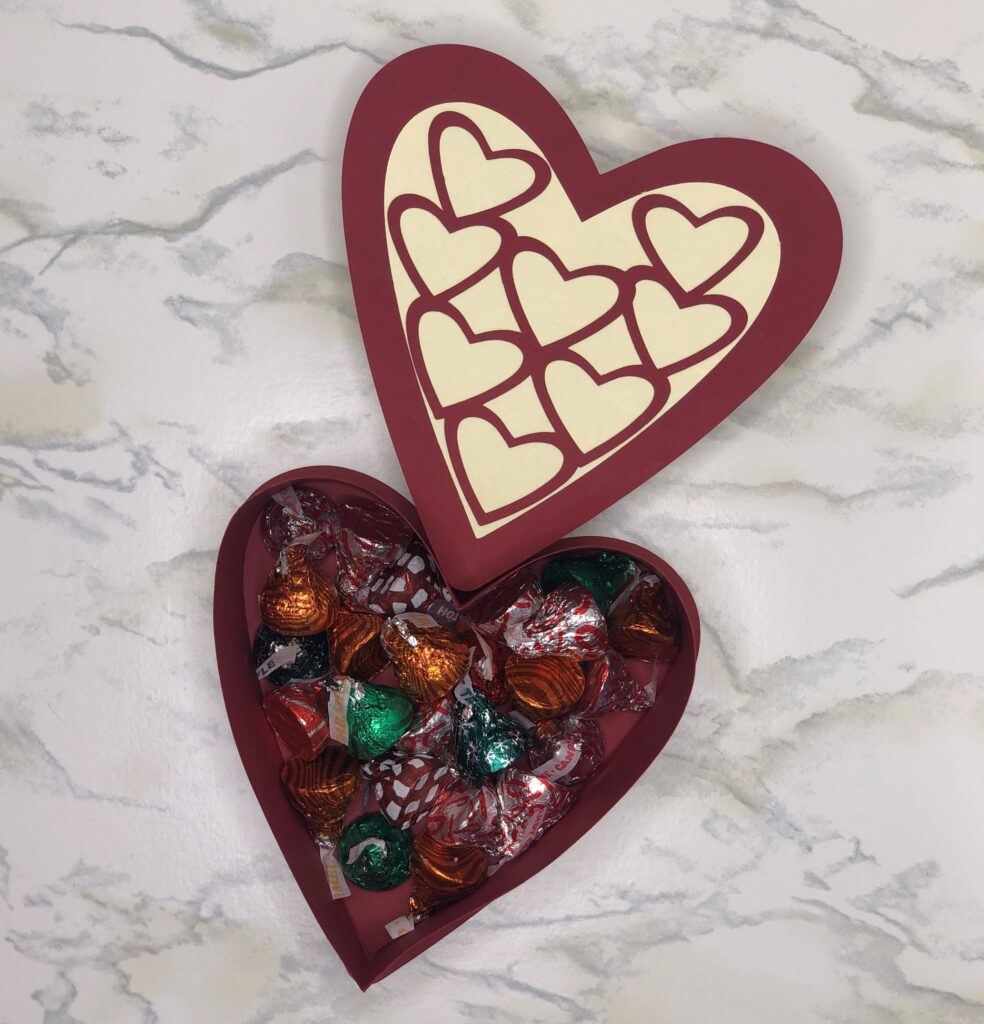
Step 5: Fill the box with goodies
Place candies, jewelry, trinkets, whatever you can think of inside the box. Carefully put the lid on trying not to fold the decorative edge of the lid. I like to close the box up and let it dry in this shape for a day before adding goodies inside, this just helps the box solidify the shape.
Step 6: Give your heart box as a gift
Your recipient will love this box! The best part is that it can also sit on display and act as decoration.
Check out the video below for full details on assembly.


