
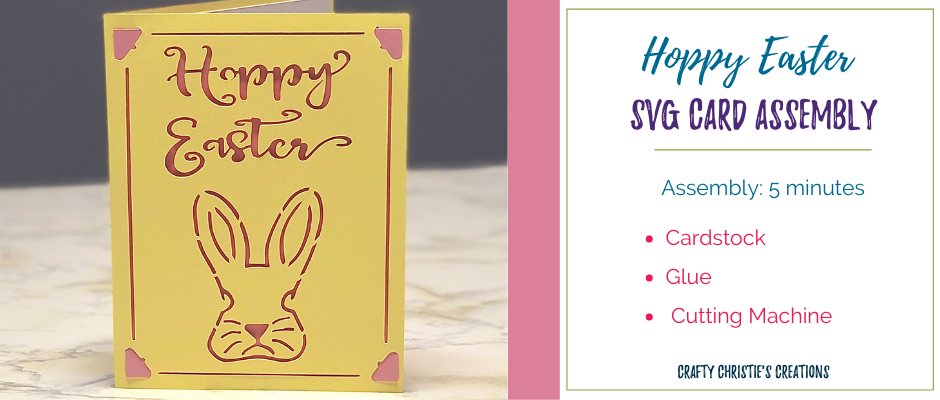
Are you looking for a quick and easy Easter card? This Hoppy Easter Card took about 5 minutes to cut and assemble. How can you go wrong with such a simple, yet great looking card!?!
Like most crafters, I look for inspiration all over the place. When the Cricut Joy came out, I was super interested in what this little machine could do. (I know, I’m a Silhouette fanatic and I’m using forbidden words here! Just hear me out okay!) That is when I stumbled upon insert cards. These are quick yet beautiful cards that require no glue! How fantastic is that!
After racking my brain about how to design these little buggers, because negative space always confuses me, I finally came up with this Easter bunny design. The hard part was trying to figure out how to keep all the inner pieces from falling out. That is why there are little dash lines that go around the bunny cutouts. (Maybe this is too much information, but I’m really proud of this little guy.)
So let’s get down to business. This file is built a little differently than most of my cards. Since I knew the Cricut Joy (I know curse words again!) could be used for this card, it has just the front panel along with the full card. What this means for all you Silhouette users is that you can pre-cut and score your card base and then just cut out the card front as well. I’m all about the options!
What else comes in this file? Of course, there is the insert panel, but I’ve also added another panel for the inside for your sentiment. I couldn’t help myself, some habits die hard.
Assembly:
This is the quick and easy part. Once everything is cut out, just slide the insert panel into the slots on the four corners on the card front. It is a snug fit so it might need some maneuvering to really get it all into place. No glue needed for this part, unless you really want those parts to stick down. I enjoy the 3d, shadow effect of not gluing. The only part where glue is required is the sentiment panel. Obviously, you can leave this off and just stamp or write directly on the inside.
That is it! Cut, assembly, and clean up takes about 10 minutes, and you’re left with a perfect card to add to those Easter gifts.
For the full assembly tutorial, check out this video.


