

If you are looking for an elegant way to gift alcohol, the Alcohol Box Card SVG is the perfect solution! This step-by-step assembly guide will help you create a beautifully folded box card to hold your little alcohol bottles. Using a precision tip glue bottle makes it easy to apply glue to the tiny tabs, and the covering panels will give your box a seamless finish. Impress your friends and family with this unique gift box that will make any occasion extra special.
Supplies:
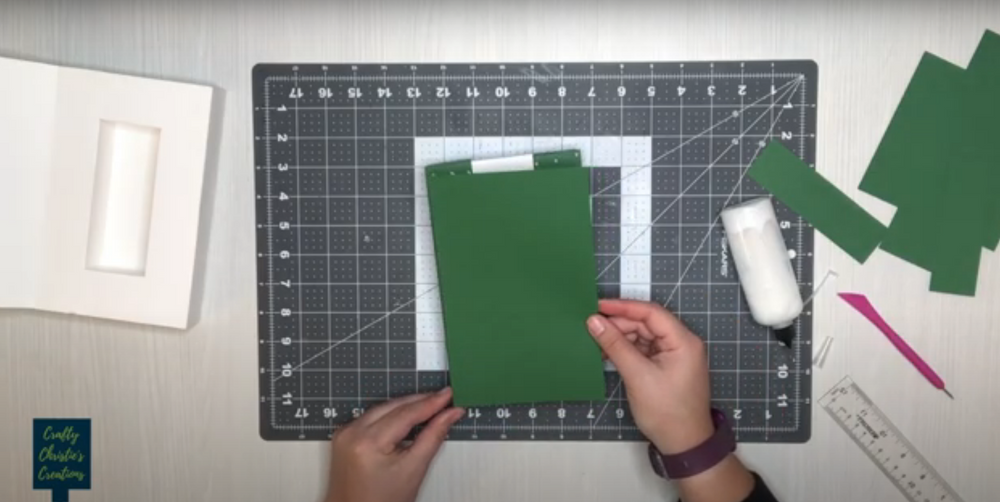
Step 1: Make the Rectangular Boxes
Fold the score lines for the end caps and the boxes. Add glue to the small tab and make it into a box. Lay the box flat to burnish the scorelines and get the glue tab secured into place.
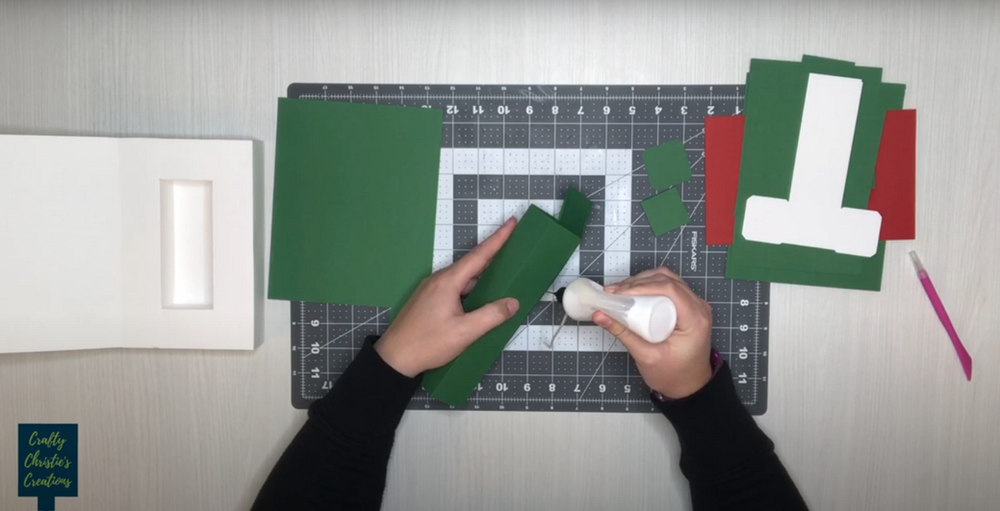
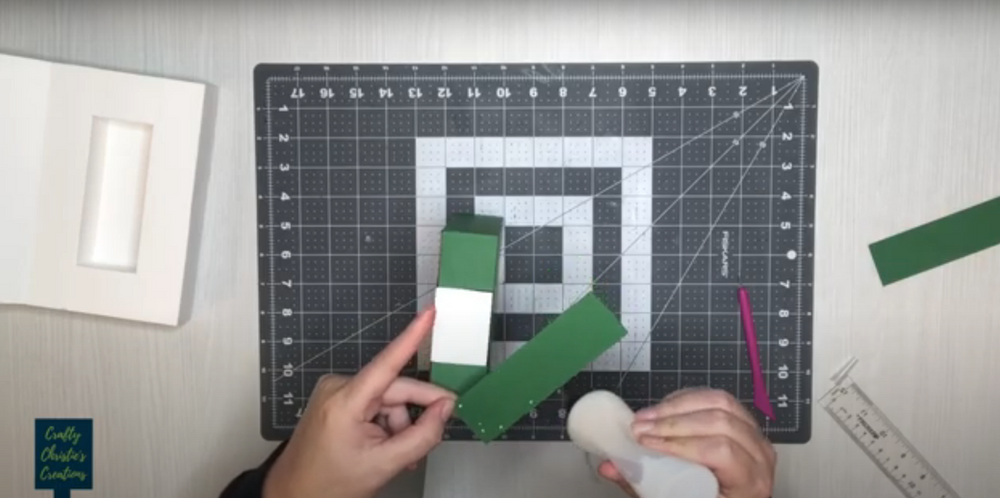
Now add glue to the small tabs on the end. Then add the end cap to the other side by gluing the small tabs to the inside of the box.
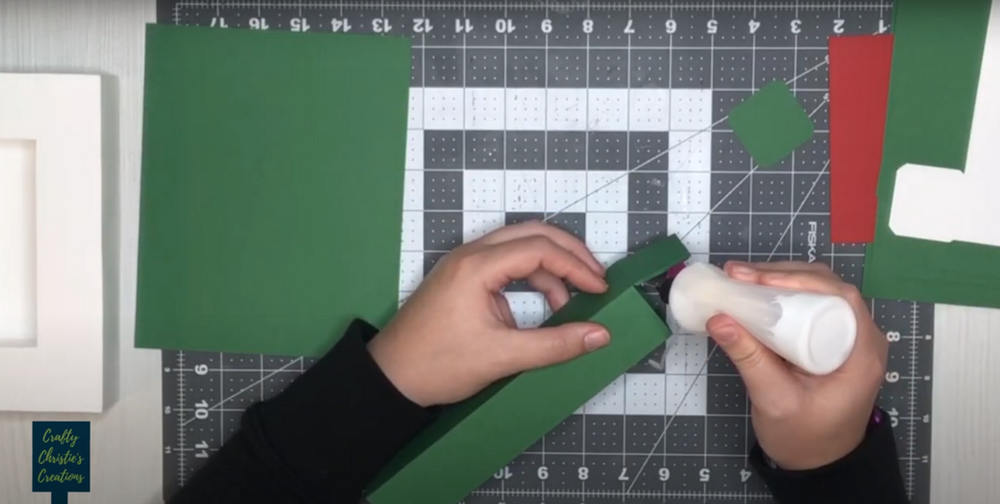
Follow this same process to make the other 3 sides. You’ll have 2 long rectangular boxes and 2 small boxes.
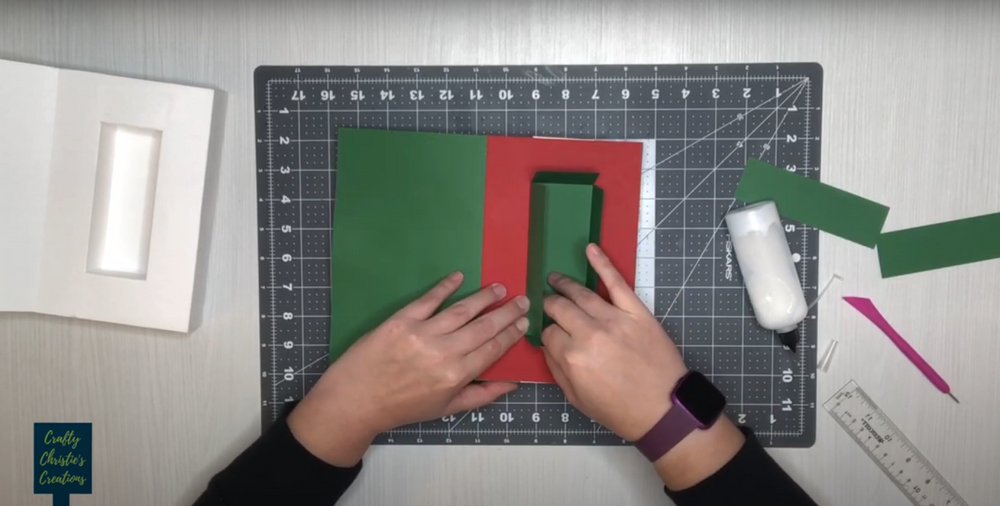
Step 2: Add the Front Cover
Fold the scoreline on the front cover, now flip it over. Sandwich the front covering panel between the front cover and its scoreline. This will hide the glue tab under the front covering panel. The file is blank so you can decorate this alcohol card box for any occasion.
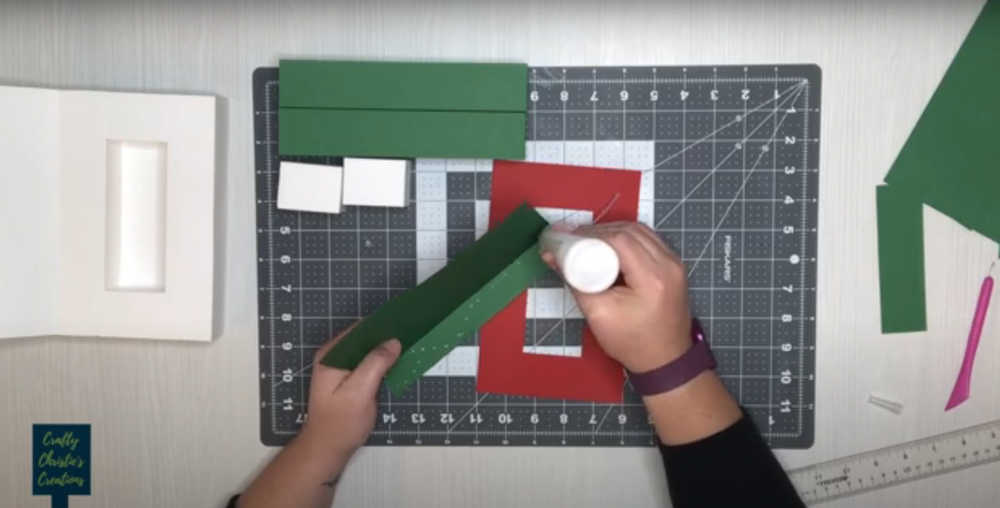
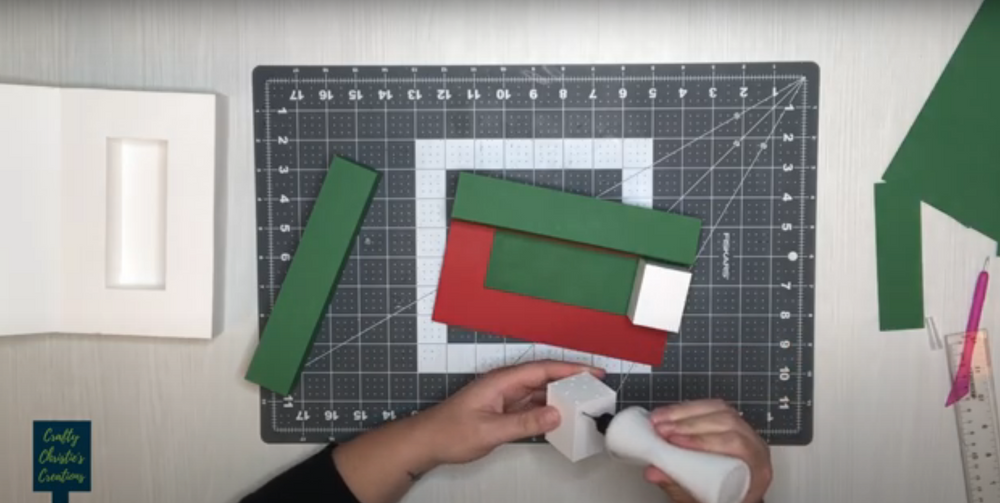
Step 3: Add the Boxes to the Covering Panel
Flip the front covering panel over and glue the boxes to the backside. This makes the area for the alcohol bottle to sit. Make the boxes flush with the outside of the covering panel.
Step 4: Add the Back Cover
Hide all the boxes with the back covering panel. Put glue all over the back side of the boxes and lay the covering panel on top.
Step 5: Add the Inner Liner
This liner will hide the rest of the boxes and give a sleek finished look to the inside of the card. It fits tight so add your glue and take your time pushing it into place.
Step 6: Add the Edge Liners
To finish up the card, add the edge pieces to the top and bottom so everything is the same color. Again this helps cover up any seams from the boxes.
Congratulations, you have successfully assembled your Alcohol Box Card SVG! With your Silhouette cutting machine and a little bit of patience, you now have a stunning and functional card that is perfect for any occasion. You can customize it with different colors and patterns to make it truly unique.
Don’t forget to fill it with your favorite miniature alcohol bottle before giving it as a gift or using it to impress your guests. I hope you enjoyed this step-by-step tutorial and are excited to see what other amazing creations you will make with your cutting machine.
For more assembly details check out the video below.


