Are you ready to personalize your everyday belongings? It is time for another Silhouette DIY craft project! In this blog post, I’ll teach you how to make customized faux leather keychains using your trusty Silhouette cutting machine. Keychains are more than just accessories; they’re a reflection of your personality, interests, and unique flair. I’ll walk you through all the steps from Silhouette Studio to adding the hardware. Grab your creative spirit, and your Silhouette, and let’s get making keychains!
Supplies:
Silhouette Cameo
Faux Leather
Siser Jade Glitter HTV
Siser Rainbow White Glitter HTV
Aleene’s Fabric Glue
Swivel Keychain Hardware
Cricut Easy Press
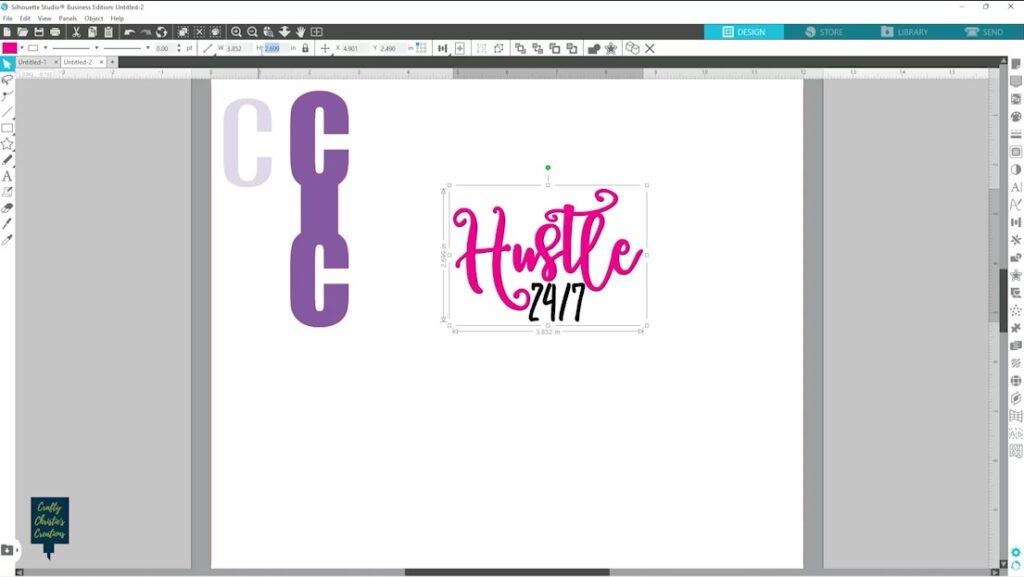
Step 1: Set Up the Design
Pull in your favorite SVG designs into Silhouette Studio. I’m using my Hustle 24/7 design and making a “C” design as well.
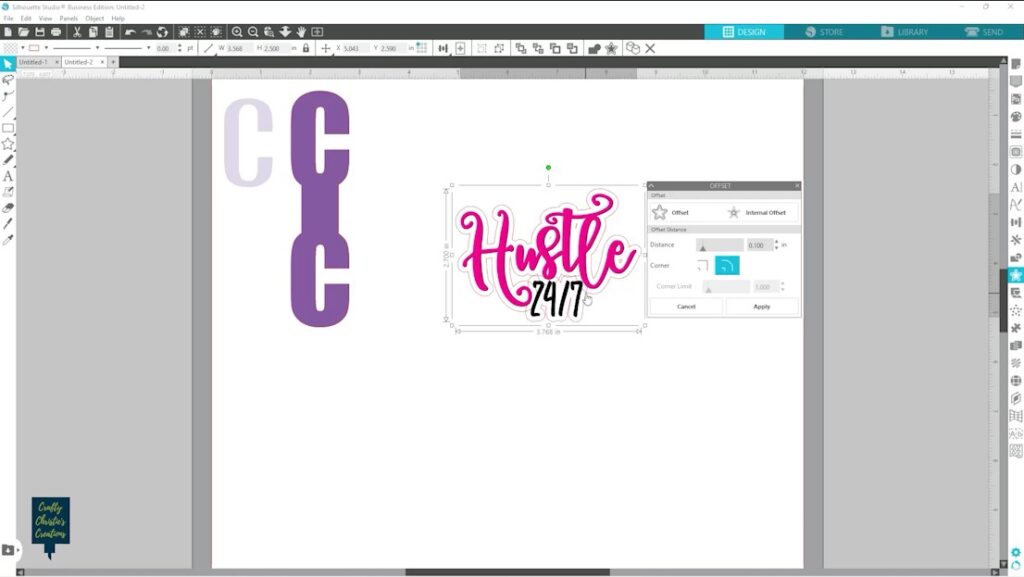
Step 2: Create an Offset
Select your design and create an offset around it. This is what will be cut from the faux leather as the base of your keychain.
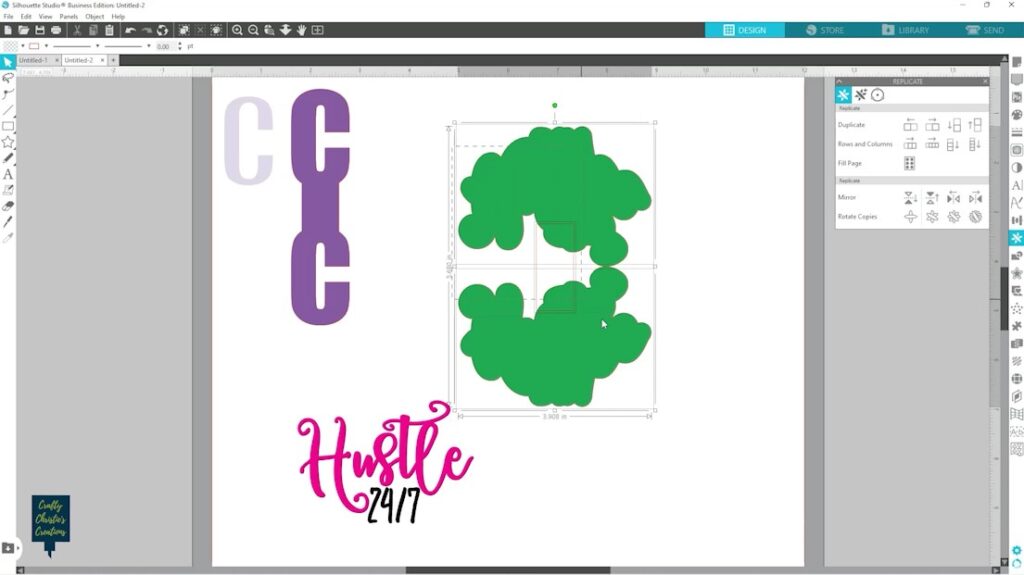
Step 3: Create the Keychain
Mirror a copy of your offset above the original. Add a connector piece to fold over the hardware. The size of this piece will depend on the size of the hardware. I made my rectangle connectors .75 of an inch wide to fit my 1 inch wide hardware.
Use the gridlines to center the connector between the 2 offsets and then weld them all together.
Step 4: Cut The Pieces Out
Cut the keychain base from the faux leather and the original design from heat transfer vinyl. For the faux leather, I used the auto blade on my cameo 4 with the leatherette Settings- Blade 7, Force 33, Speed 3, Passes 2.
Don’t forget to mirror the original design to cut from heat transfer vinyl. I like to make a weeding box around my design as well. When I use more than one color I use registration marks to align all the parts.

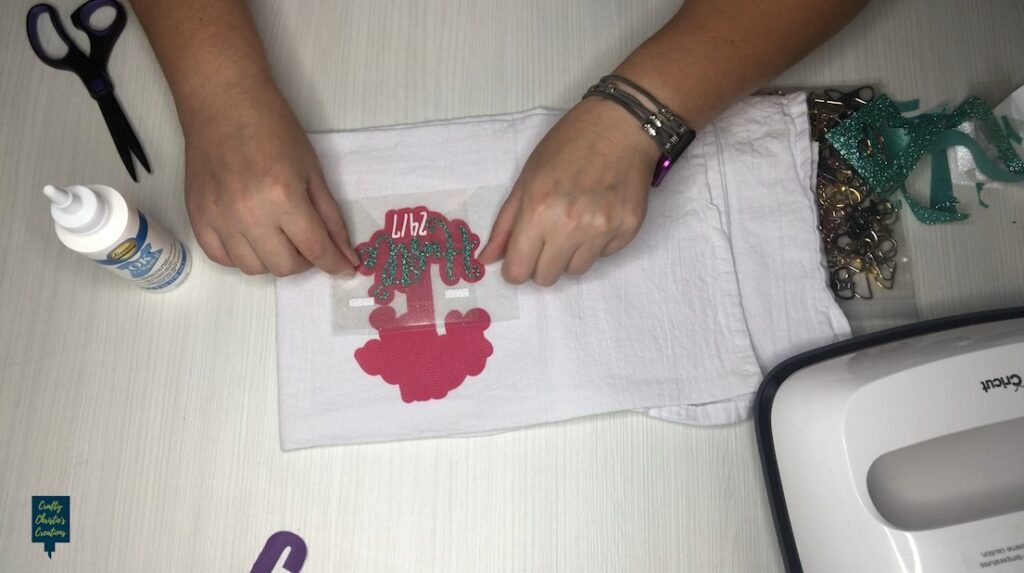
Step 5: Apply the Heat Transfer Vinyl
Preheat the faux leather and then apply the htv to the leather. I used my Cricut Easy Press at 275 degrees F for 30 seconds. I had to repeat this process a few times before the htv melted onto the leather.
Whenever possible I like to use registration marks to align my multiple colors. I cut the carrier sheet away from the bottom layer in places where another layer will sit. Once all my layers are matched up, I pull off the registration marks from the bottom layer so they don’t melt to my project or surface.
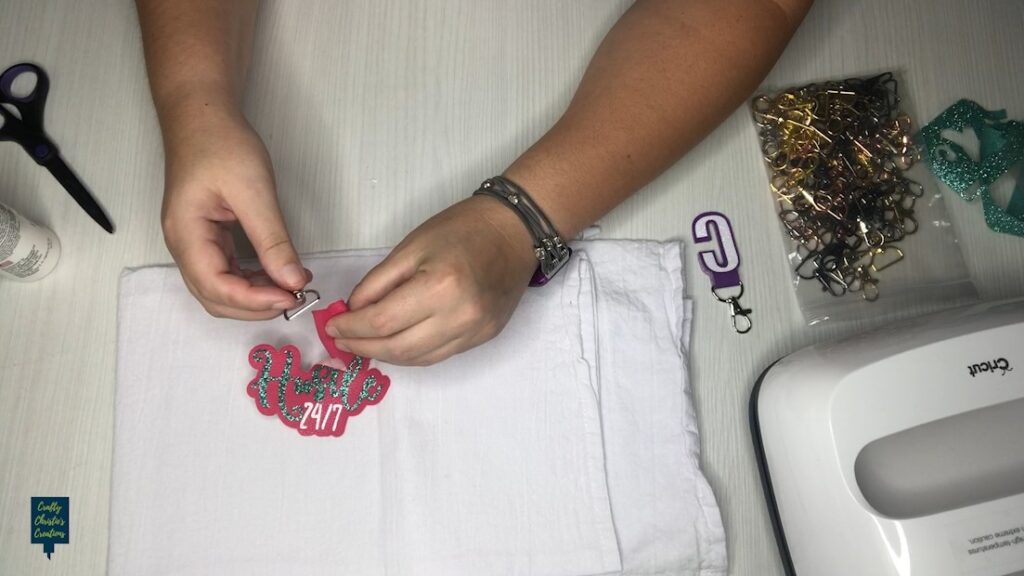
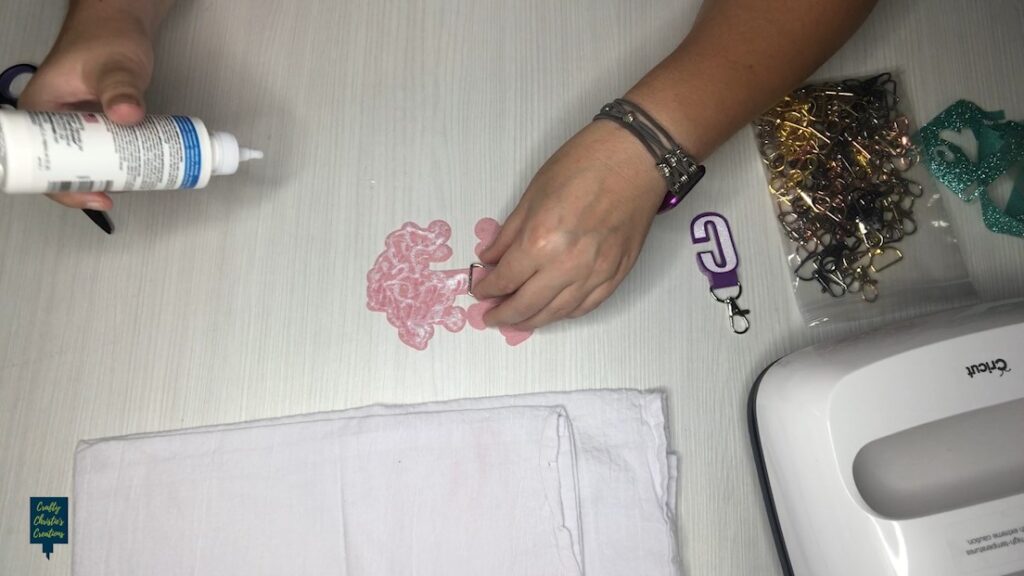
Step 6: Add the Hardware
Fold up the faux leather and slide the keyring to the center. Use fabric glue to adhere both sides of the keychain together. The glue takes a while to dry so lay something heavy on it until it dries.
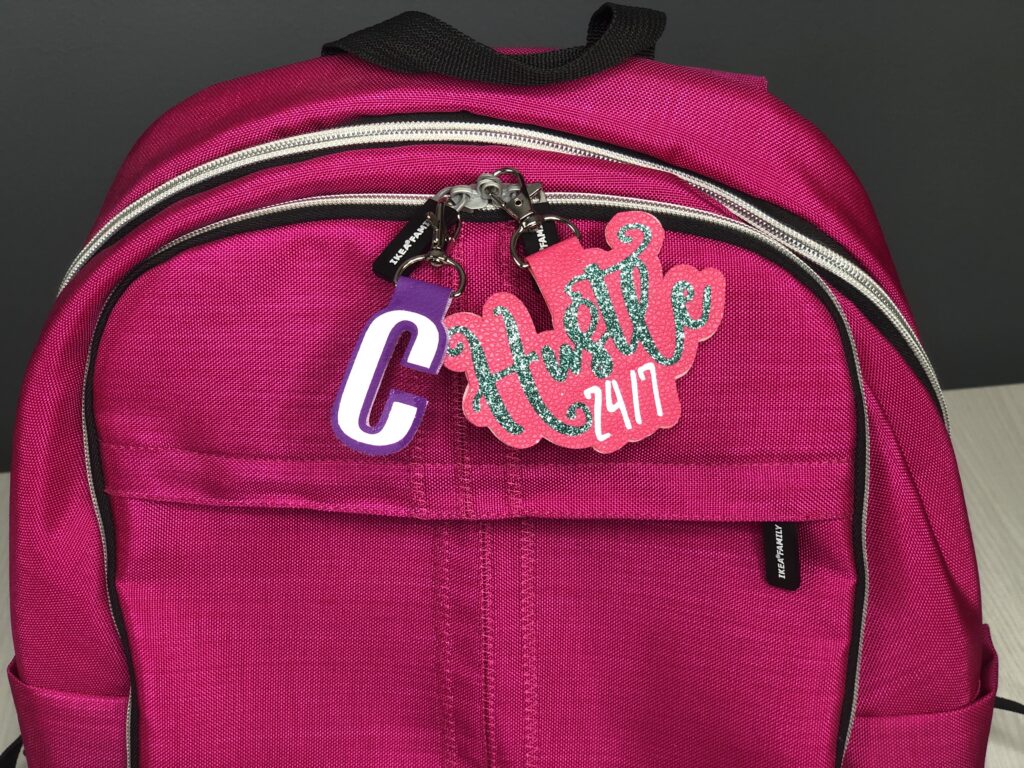
Step 7: Show Off Your Keychains
There are so many ways to display your new keychain, add them to your key ring, use them as zipper pulls on bags and backpacks, or use them as decorative collar tags for pets! However you display them, seeing those customized keychains are sure to make you smile.