
Today, we’re going to design from scratch some super useful cord keepers, and the neat part is there are two different ways to do these with the snaps. You can have them snapped so that they wrap around, or you can have them snap so that the snap sits down at the bottom. Let’s jump into Silhouette Studio and get started!
Supplies:
Faux Leather Kit
Snap Kit
Cutting Machine
Cutting Mat
Step 1: Drawing the Base Shape
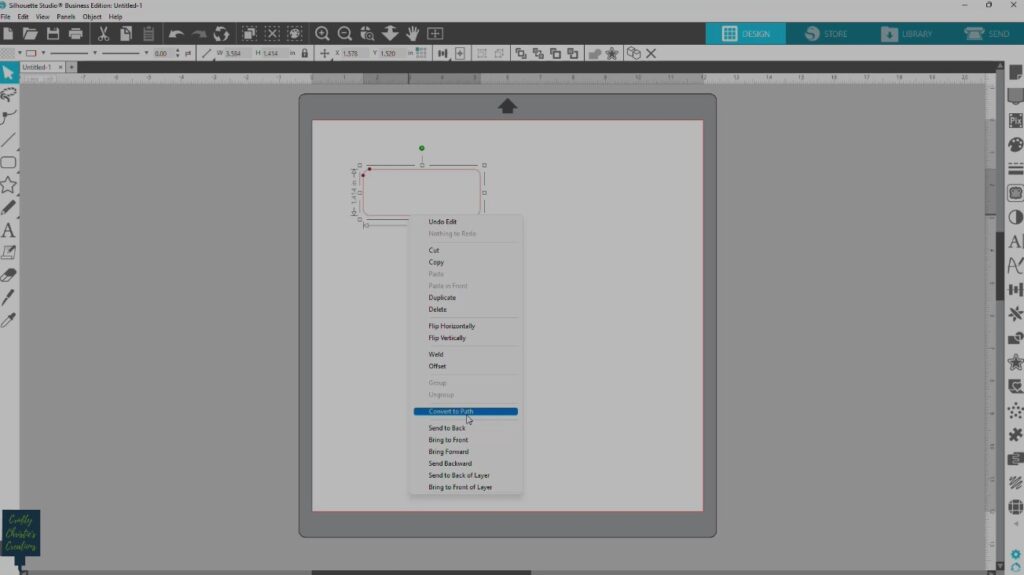
First, open Silhouette Studio. Navigate to the drawing tools and select the rounded rectangle tool. Draw out a rounded rectangle shape. Adjust the shape’s sides and roundness using the red dots until you’re satisfied. Right-click on the shape and convert it to a path. Then, unlock the aspect ratio and set the width to 3.75 inches and the height to 1.5 inches.
Step 2: Creating the Cut Outs
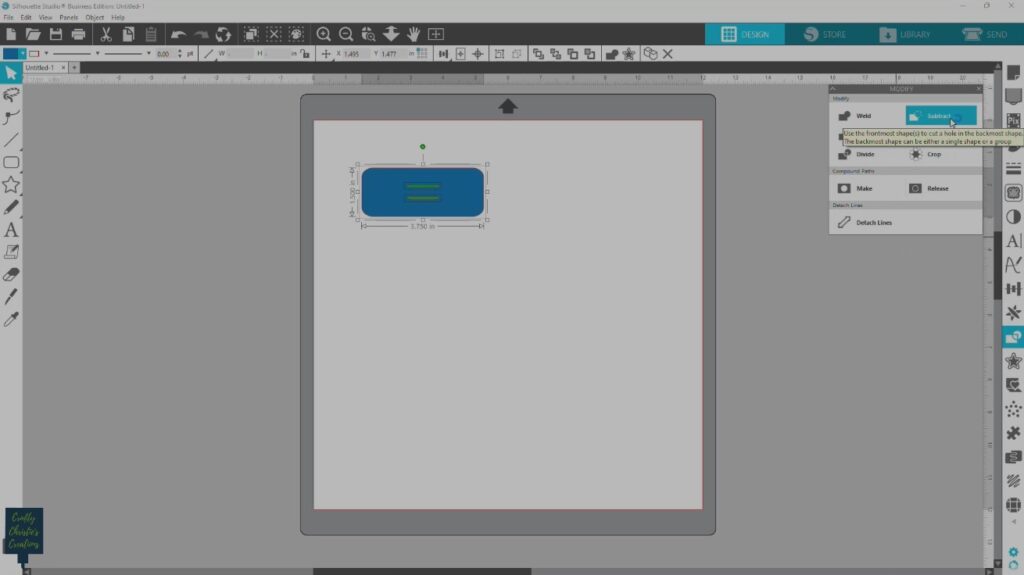
Now, draw skinny rounded rectangles for the cord holders. Make them one inch long and 0.1 inch wide. Duplicate the rectangle and ensure they are evenly spaced and centered. Give each element a different color for clarity. Select the green rectangles, and subtract them from the main shape using the Modify panel. This is your cord keeper.
Step 4: Cutting Out the Cord Keepers
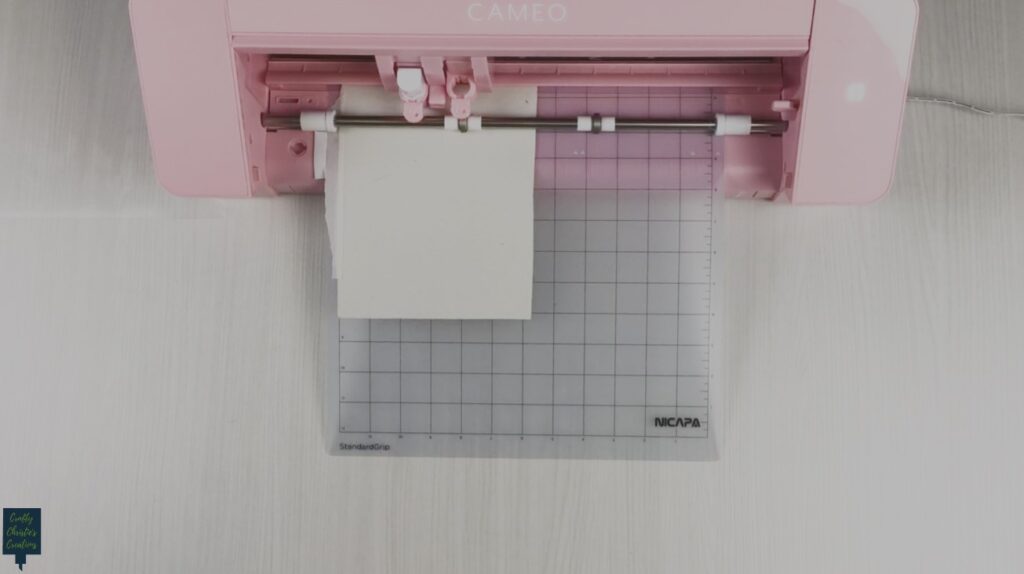
Arrange the design as desired for cutting, and replicate if making multiple cord keepers. Select your material settings in Silhouette Studio. For faux leather, I use the Leatherette setting with a blade depth of 7. Load the material onto your cutting mat with the fuzzy side facing up. Secured the edges with tape if needed. Send the design to cut.
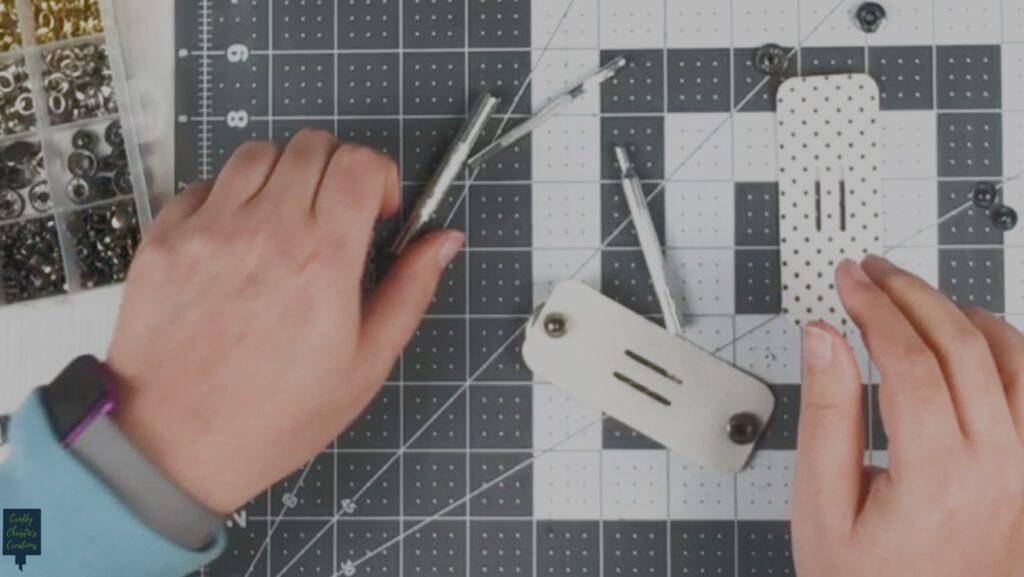
Step 5: Adding Snaps
Fold the cut straps in half to find the center and punch holes using a hole puncher. Decide whether you want the cord keeper to wrap around and snap or have the snap flat. Insert the snap pieces accordingly and hammer them in place.
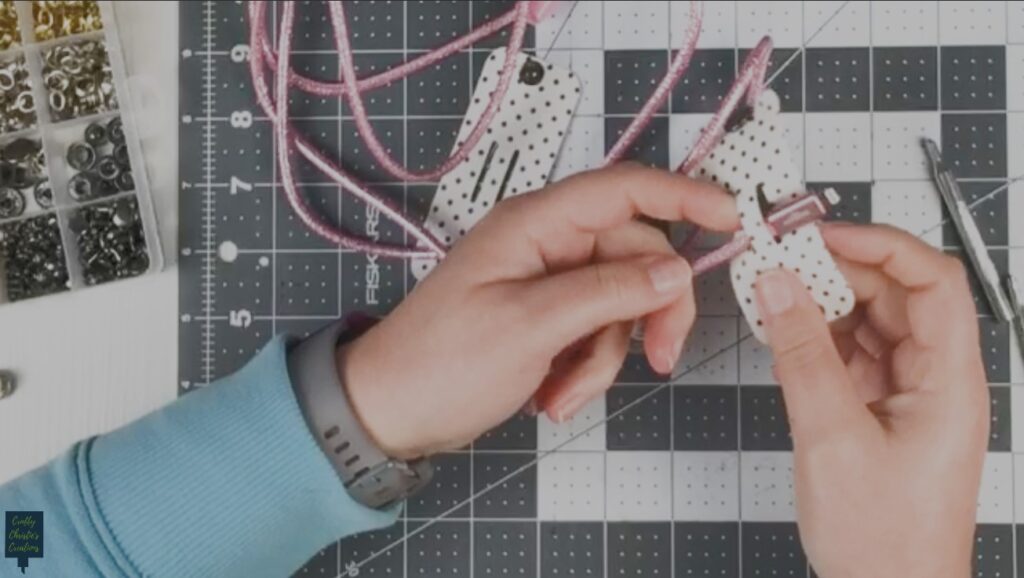
Step 6: Put the Cord Keepers to Use
Take one end of the cord and weave it through the openings in the faux leather. This keeps the cord keeper attached to the cord. Roll up the cord and snap the keeper in place. Enjoy keeping your cords organized in style!
And there you have it! Follow these simple steps to create your cord keepers using Silhouette Studio. Experiment with different designs and snap placements to suit your preferences.


