
Cutting cardstock can sometimes be a headache. I know I struggle when I use paper I’m not familiar with. If you are tired of the cardstock headaches and spending all day recutting designs, then this post is for you!
Use these 5 steps to troubleshoot a failed cut:
1. Clean the blade
2. Clean the mat
3. Paper type
4. Test cut and cut settings
5. The overcut button
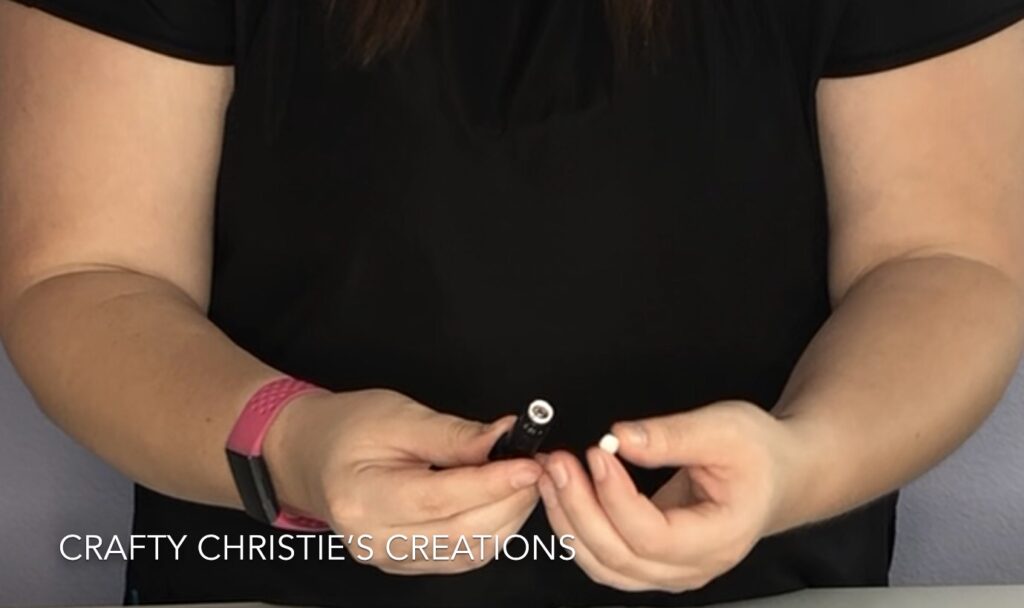
Clean the blade
For a ratchet blade, take it out of the holder and turn the blade depth to zero. Unscrew the white tip to expose the blade. Remove all the debris trapped in this chamber. Screw the white tip back on. The blade should no longer be exposed.
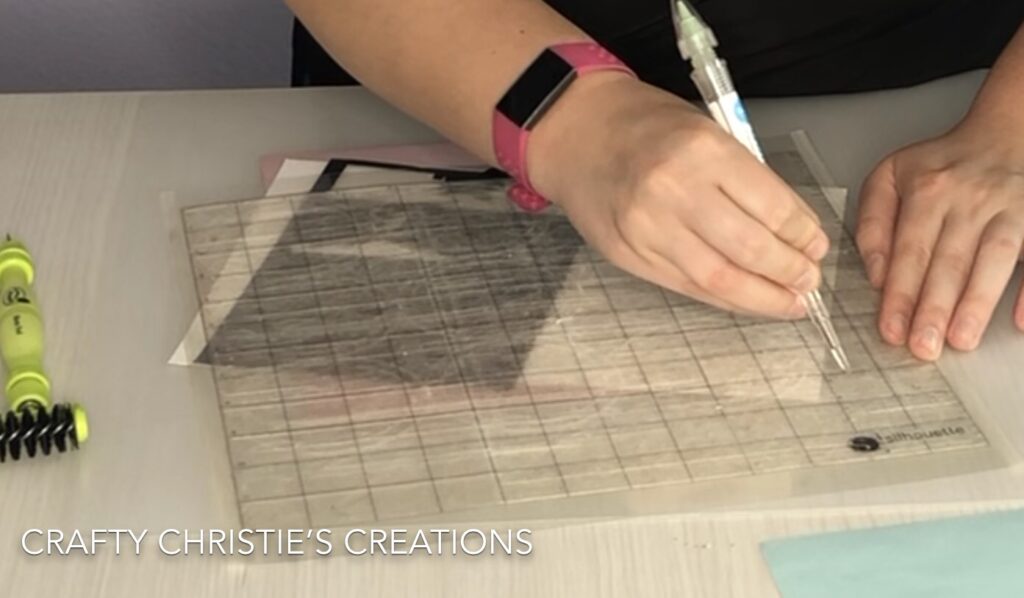
Clean the mat
Take a scraper or any flat edge to the mat to scrape off the debris left from cutting. The more debris on the mat, the less surface area the cardstock has to hold.
Paper Type
Not all paper is made equally. For example, copy paper isn’t great for cutting with a cutting machine. Thin paper like that will most likely scrunch up and tear instead of cut. Not to mention when you attempt to lift it off the mat it might be too stuck to pull off cleanly.
There are just certain brands of paper that cut better. I know a lot of people swear by recollections brand from Michaels and American Crafts AC cardstock for use with their cutting machines.
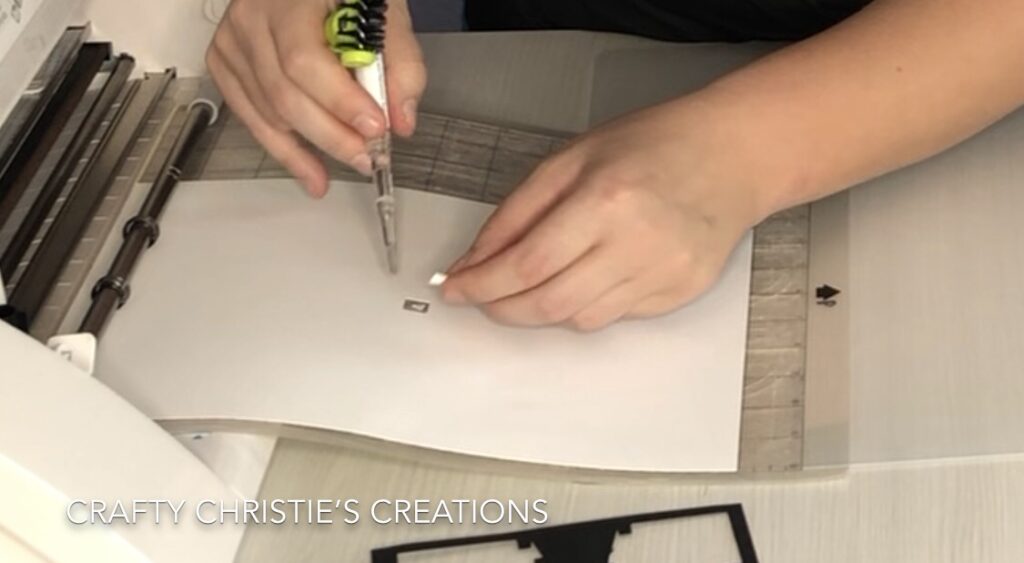
Test Cut
Do a test cut on the bottom half of the paper. Use the arrows next to the test button to move the cutting machine. Test cut below the design, so you are able to check the test cut without having to unload the mat from the machine. If the rectangle or square does not appear to be completely cut, choose different cut settings, and try again. Continue this method until the test cut area can easily be lifted off the mat.
When cutting a more intricate design or using thicker cardstock, consider slowing down the speed. Silhouette automatically does this when you choose 110lb coverstock vs. 80lb cardstock. The speed is how fast the blade moves around cutting. It may help prevent tearing and squishing if slowing down the speed.
The force is how much downward pressure is being placed on the paper by the bar that holds the cutting mechanism. This can be adjusted, especially if the paper is moving around on the mat.
The blade depth is another option for changing. Paper will dull a blade faster than vinyl. When I know I’m working with a dull blade I will increase the depth of the blade to get a cleaner cut.
The amount of passes is also a consideration. I try to keep my cardstock to 1 pass, especially when cutting super-detailed designs. I’m afraid an extra pass might leave more room for tearing if things aren’t stuck down to the mat very well.
The overcut button
This is a bit of an experiment. The overcut will cut slightly past the edge of the design which in theory would make it easier to get clean cuts with intricate designs. As I was testing different types of papers, I noticed certain papers cut better with the overcut while others did better without.
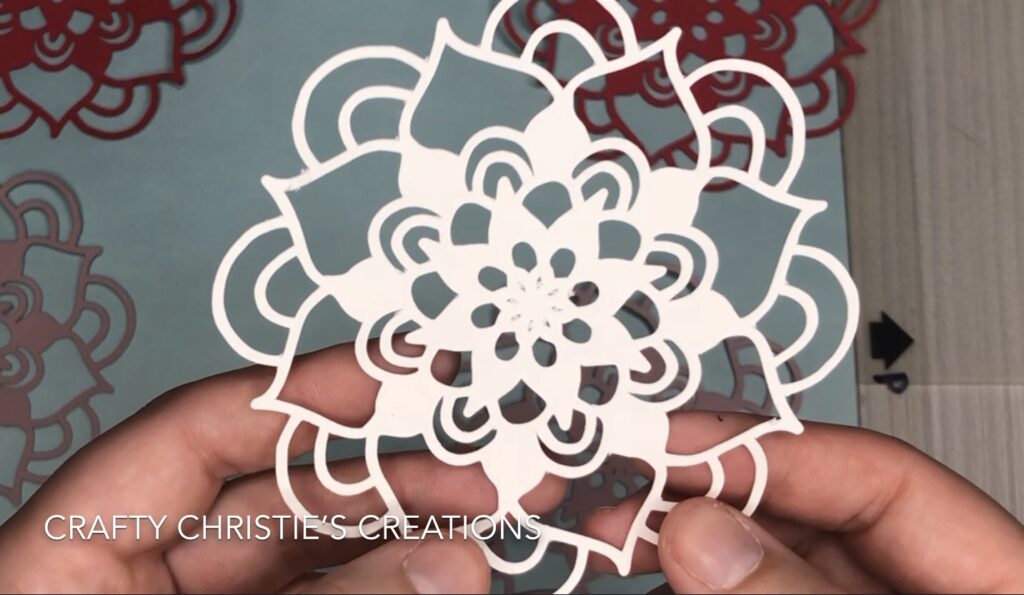
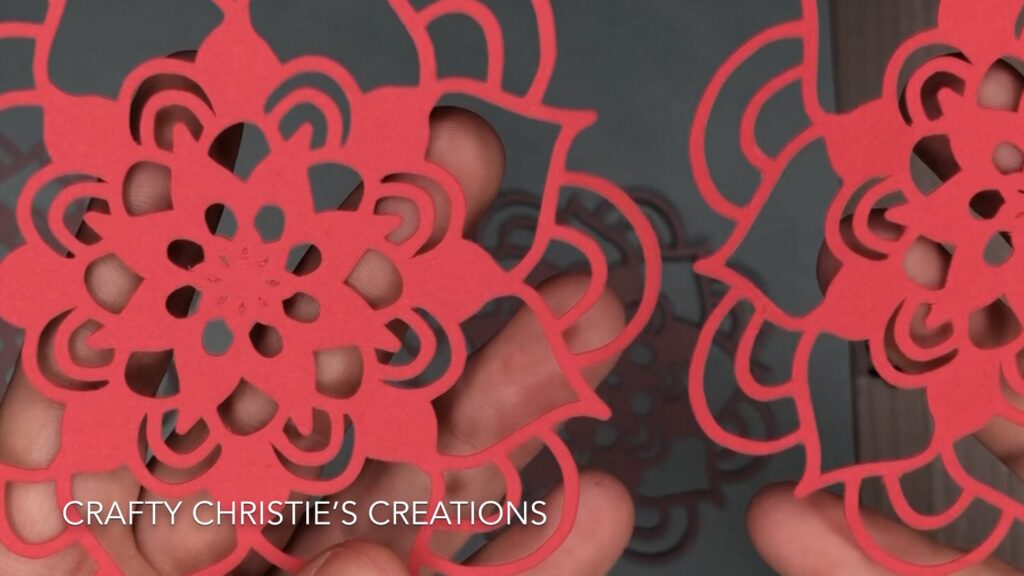
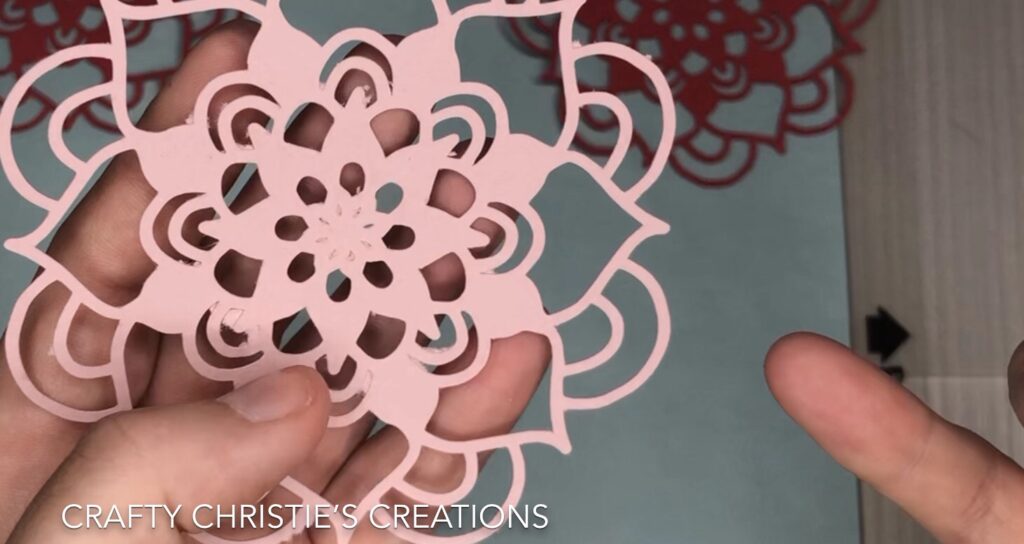
As you can see, not all types of paper cut the same. This is why it is important to adjust the cut settings and be patient. I keep a logbook of all the different brand materials and cut settings. I reference this book all the time. It saves me from test cutting each time I want to make a project. I’m always afraid the user-added materials will disappear in Silhouette Studio, so I’d rather keep a log myself.
Here is the video with more visuals on how to go through these steps. I apologize my head is cut off in this video. I’m using a new sit to stand desk and I’m still perfecting the shooting angles.


