
Father’s Day is only a few short days away. If you haven’t already made a card, check out the serene view on this card! It is sure to make Dad smile. Follow along to see how easy it is to assemble this outdoor scene card svg.
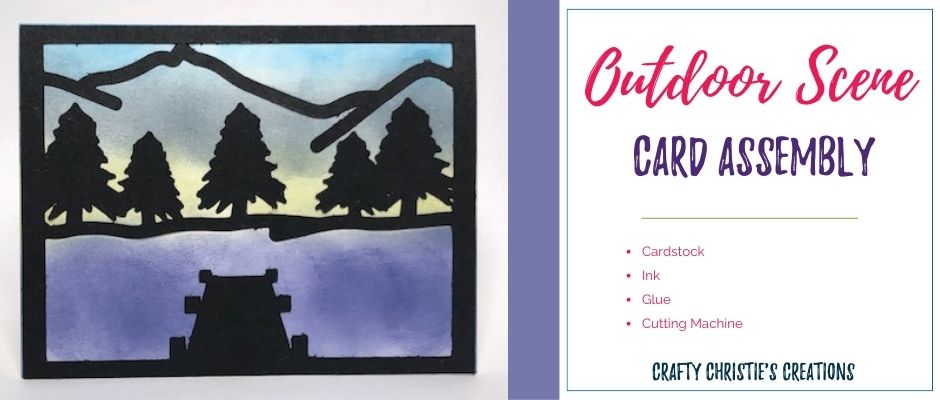
Supplies:
This card is super quick and easy to make. The file comes with a few different options. The view can be cut by itself or cut out of the card base. There is a panel to place behind the scene and 2 additional panels to layer on the inside of the card. There are also some sentiments that can be printed and cut or sketched if you don’t mind a little gap in the letters.
The simplest way to cut out this card is to cut the scene from the card base. I used heavier-weight cardstock for this since it is the base of the card. Be sure to grab the scoreline with the card base. Cut by line color, add a pause and switch the line to score. It will cut better with the overcut on as well.
Once all the pieces are cut out, the assembly happens every quicker. I decided to spice up my card with some inking. I used distress and distress oxide inks: salty ocean, weathered wood, old paper, and chipped sapphire.
After I finished inking, it was time to glue it all together. I added a thin layer of glue to the backside of the cut out being careful not to overdo it. The inked panel fits with a .12 inch border all around. Since it is just eyeballing the center for the inked panel, be sure there is a nice gap at the top where it folds.
Now for the inner layers. I got lazy and tried sketch pens instead of printing and cutting the sentiments. It worked out just fine. Of note, the sketch pens only trace the outside of each letter so there is still a small gap that isn’t completely filled with ink. I don’t mind this look because it was very small with the size pen I used.
Next layer up the sentiment layer on the next larger layer, this is just for extra pizzazz. Once those are done, center them inside the card. There should be a small gap all the way around.
That’s it, the card is done! How’s that for a quick and easy Father’s Day card!
Check out the video if you’d like to see how I inked everything and assembled the card.


