
Have you ever been to a July 4th parade and forgot a bag to harbor all the delicious candies being thrown into the crowd? I know when I was a kid this was one of my favorite parts of any parade. This year, a parade may be out of the question, but a goodie bag is always in style.
I’m super excited to share my first heat transfer vinyl project made using my Cricut EasyPress 2. A few weeks ago, I asked my Instagram followers their thoughts on heat presses. I have been wanting to upgrade from my iron for a while and I figured this is as good a time as any. After hearing their feedback and analyzing my usage, I decided the Easy Press was the right choice for me.
Boy, was I impressed! My iron couldn’t even think about getting as hot as the Easy Press. It cut down my project creation time by about 50%. If that isn’t reason enough, I don’t know what is!
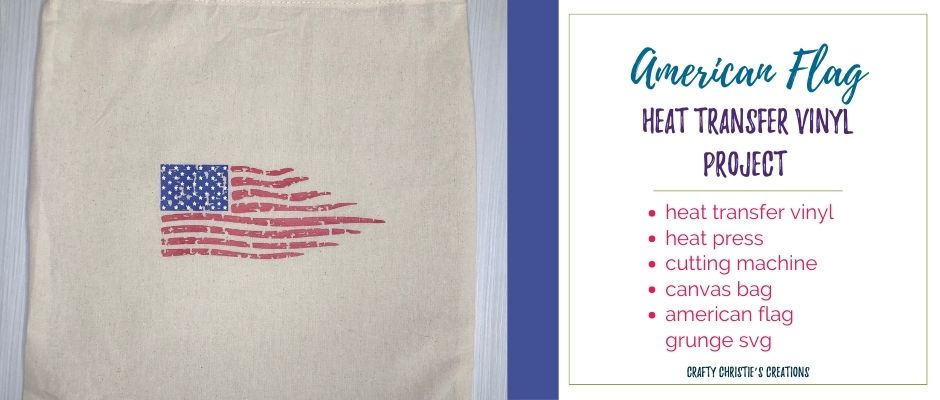
I’m using the canvas bag that comes with the Easy Press. I thought it would be the perfect size to hold all the American flags I put in the yard every summer. In perfect organizational fashion, I labeled the bag with an American flag.
Let’s get down to business and learn how to make this lovely bag! Once I got the design opened in Silhouette Studio, I grouped all the parts and mirrored the design. When working with heat transfer vinyl, always mirror the design since the cutting will be on the underside of the vinyl. Go ahead and delete the original to prevent getting confused.
Now go to the rectangle tool and draw a small box. Duplicate that box, these will be the registration marks for our multiple layers. Place the registration marks at the top of the design. Leave a nice gap between the marks and the top of the design. The gap is to ensure the marks do not end up under the heat press and melted into the fabric. Align the registrations marks so they are even, this helps keep the design level when added new layers.
Next, draw a larger rectangle around the entire design and the registration marks. This is the cutting box, it helps prevent wasting vinyl. Once this is done, group the 3 boxes with the design. Now, replicate the design twice.
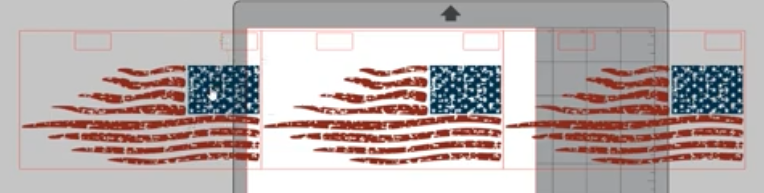
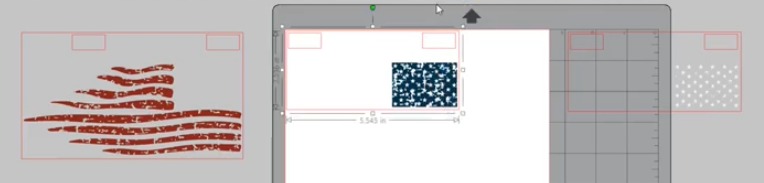
Each group will represent only 1 color. In the first box, delete the blue and white parts of the design. Be sure to keep the registration marks in the same place. In the second box, delete the white and red parts. In the third box, delete the blue and red parts.
Now adjust the outer cut box to fit snuggly around the design and registration marks. Do this for each of the 3 boxes. Again, do not move the registration marks, they need to be in the exact same place for each design element to ensure correct alignment when layering the flag.
I know registration marks aren’t usually used with heat transfer vinyl, but I’m going to let you in on my new trick, well in the video you’ll see this took some trial and error…
Choose one of the elements to start cutting, go to the send panel, and choose the correct cut settings. If needed, feel free to do a test cut. Be sure to cut the heat transfer vinyl on the correct side. The carrier sheet should be stuck to the mat, cutting on the underneath of the vinyl. Sometimes it is difficult to tell which side is the carrier sheet. Peel apart one corner of the vinyl to check which side is the vinyl. Usually, the carrier sheet is the shiny side and the vinyl is the dull side.
Once all the pieces are cut out, its time for weeding. Because this flag has a distressed, grunge pattern, the weeding can be tedious. Be patient and weed all the tiny cut outs, it will be worth it for the finished product! Sometimes it is easier to weed out the small bits first since they can’t get stuck to the carrier sheet. Be gentle when pulling off the large parts of the design, going too fast can cause the vinyl to tear and pull up the wrong pieces.
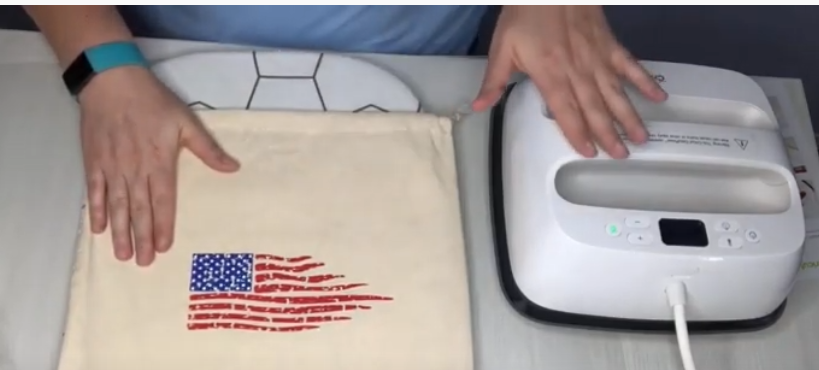
Time to make the magic happen! Preheat the press and iron the fabric, lint roll if needed. Start with the red, place masking tape under the registration marks to prevent them from melting into the fabric. Using a barrier cloth, quickly heat the registration marks to make them melt into the masking tape slightly. Doing this for too long will melt the masking tape and leave a sticky residue on the fabric. Some heat is necessary to keep the registration marks in place to align with the next layer.

The Eay Press is set at 290 degrees Fahrenheit and applying downward pressure for 30 seconds. Depending on the material and brand of vinyl this combination may change. Do not cover the registration marks during this time, this is why the gap was created between the registration marks and the top of the design.
Slowly peel back the carrier sheet, if the vinyl is coming up with the carrier sheet, hit it again for another 30 seconds. Repeat this process until the vinyl is stuck to the fabric. The heat press is a LOT hotter than the iron, use caution not to get burned. The carrier sheet is very hot to the touch as well.
The blue layer is next, align the registration marks directly over the red ones, no red should show if the marks are aligned perfectly. Apply heat and pressure like before. Repeat this process for the white. Be sure to use the barrier cloth each time heat is applied. This prevents the carrier sheet from melting onto the press. Now pull up the masking tape. Cover the design one more time and hit it again with the heat.
I am LOVING the Easy Press, I can’t believe I’ve waited an entire year before purchasing. I really appreciate it coming in a bag to be my first project. Though I won’t be housing my Easy Press in this bag, it will look great on my shelf in the garage with all my other seasonal decorations.
I hope this craft project gives you some inspiration and confidence to make your own fun decor. If you’re looking for a place to show off your latest creations, join me in the Silhouette Crafters Club on Facebook. This is a community of like-minded crafters who want to share, learn, and grow together. Can’t wait to see what you’re making!


