
Are you looking for a way to get more use out of your mental dies? This post is for you! When I make cards I usually make them in small batches of 3-5. When I decided to make card kits, I did not want to spend forever running each die cut through my cuttle bug. So, I came up with a faster option and I know you will like this too!
Supplies:
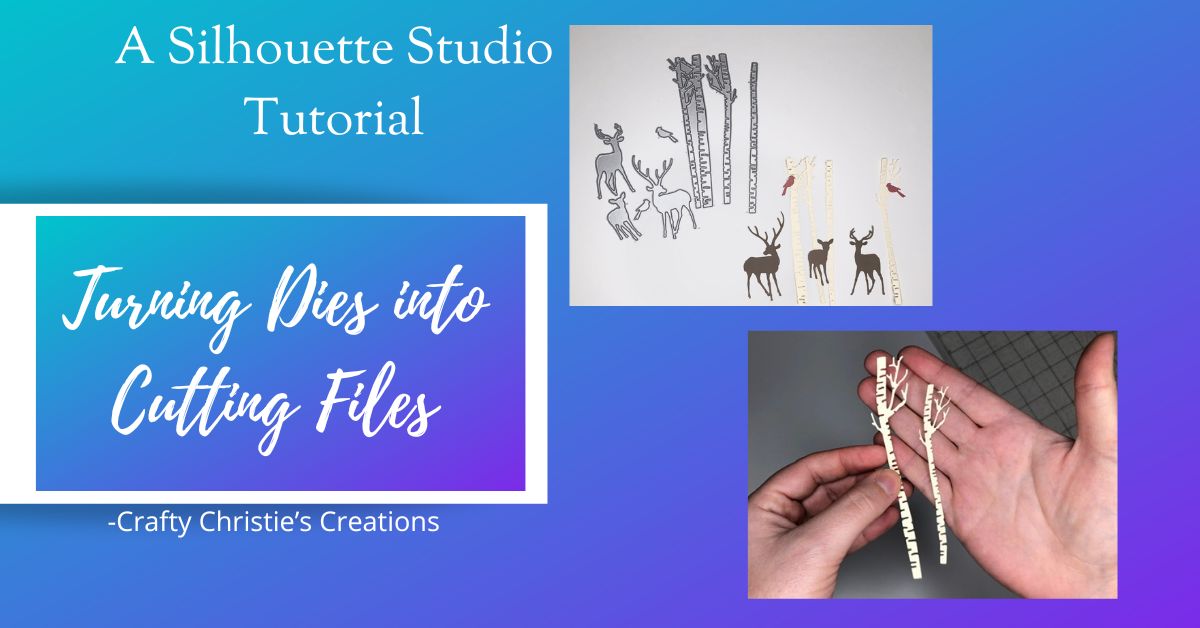
Birch Tree Die Cuts
Deer Trio Die Cuts
Recollections Nostalgia Cardstock pack
Silhouette Cutting Machine
Step 1:
Make one die cut like normal of desired image(s). I’ll be making these birch trees.
Step 2:
Take a clear photo of your cardstock die cut image. Make sure you lay your cardstock on a contrasting background that will make the die cut stand out. Save the image to your computer.
Step 3:
Click the open tab in Silhouette and navigate to the new photo to open it.
Step 4:
Trace image using trace tool. Adjust settings for as clear a trace as possible and hit trace.
Step 5:
Clean up trace by getting rid of extra marks and anchor points.
Step 6:
Prepare for cutting. At this point you can delete the photo and save your file. You can also duplicate your image to cut multiples at once!
If you’re more of a visual learner, check out this video to walk you through the process.


