Please note: this post may contain affiliate links to products I use. When you purchase items from these links, I make a small commission that helps fund craft projects I share with you. This does NOT cost you anything extra, but it is a great way to show your appreciation for Crafty Christie’s Creations.
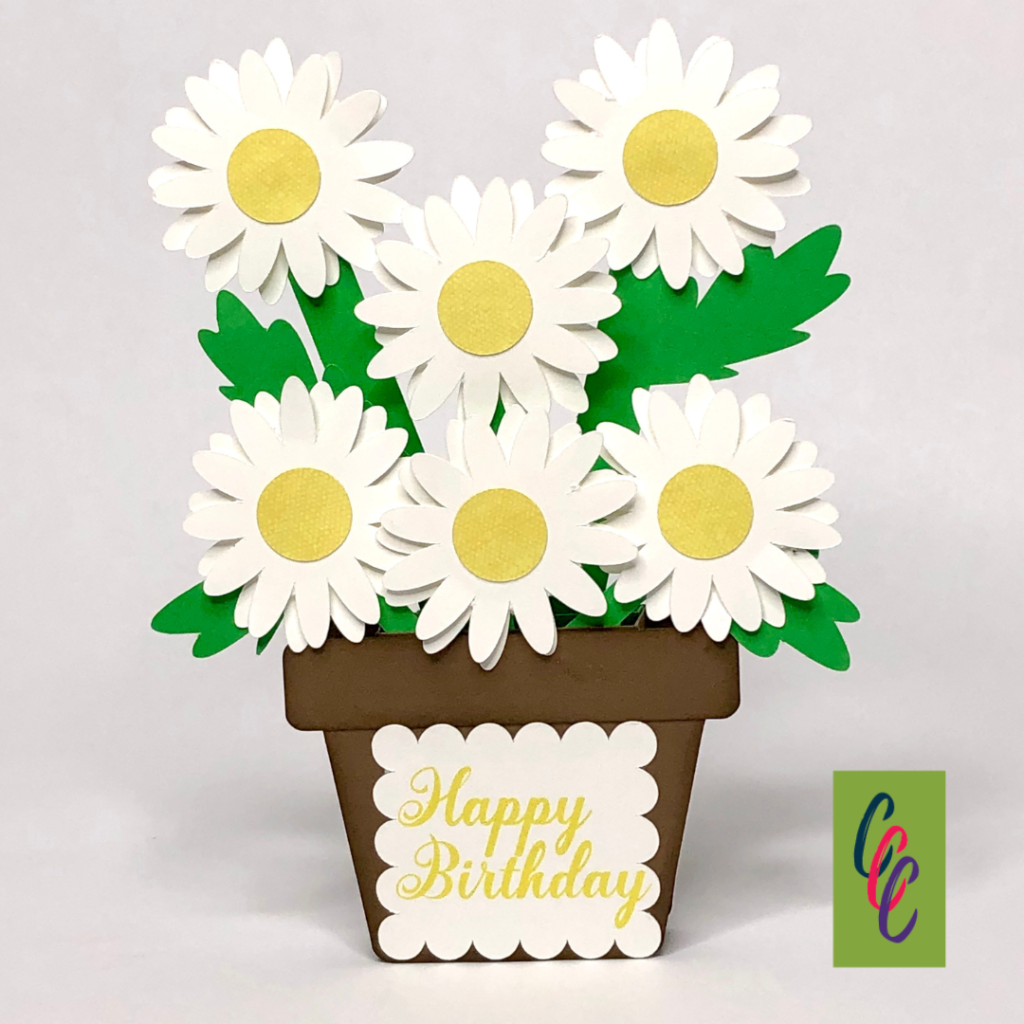
Are you looking for a unique card to send Mom for Mother’s Day? Look no further than this cute little pot of daisies. At its current size, it will fit in a standard 4.25 x 5.5 inch envelope and everything is letter size paper friendly.
When working in Silhouette be sure to group the white score lines to each shape, you don’t want to move them around and miss something. For Cricut users, attach the score lines before cutting.
In the cut file, the pedals are two different colors in case you wanted to mix things up a bit. It would already be ready. I did the same for the center circles, they are in two separate groups. There are 3 different sentiments and a scalloped rectangle made for print and cut designs. You can also use the scalloped rectangle and stamp on it. Once all the parts are cut out the assembly is quick.
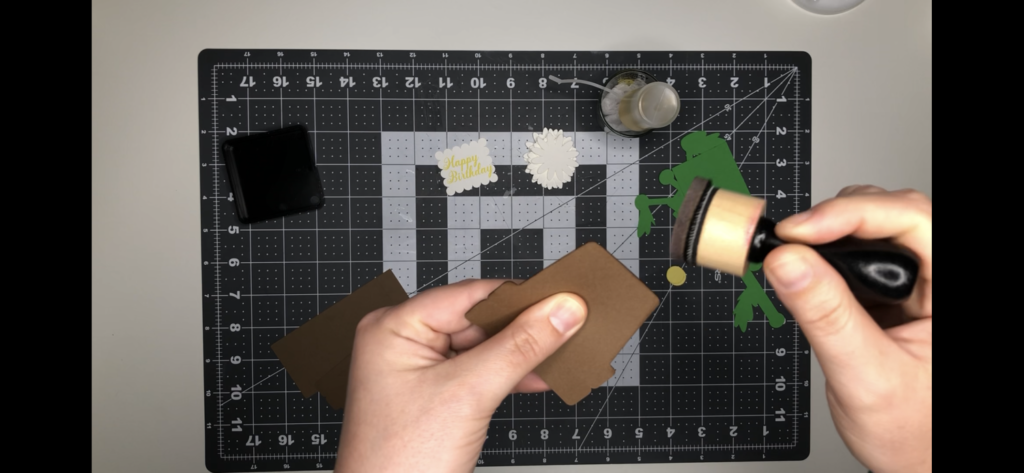
I took some extra time and added some shading to the pot with dark brown ink. I inked all around the edges and then folded the tab down and inked that edge as well. I love what a difference a little inking can do.
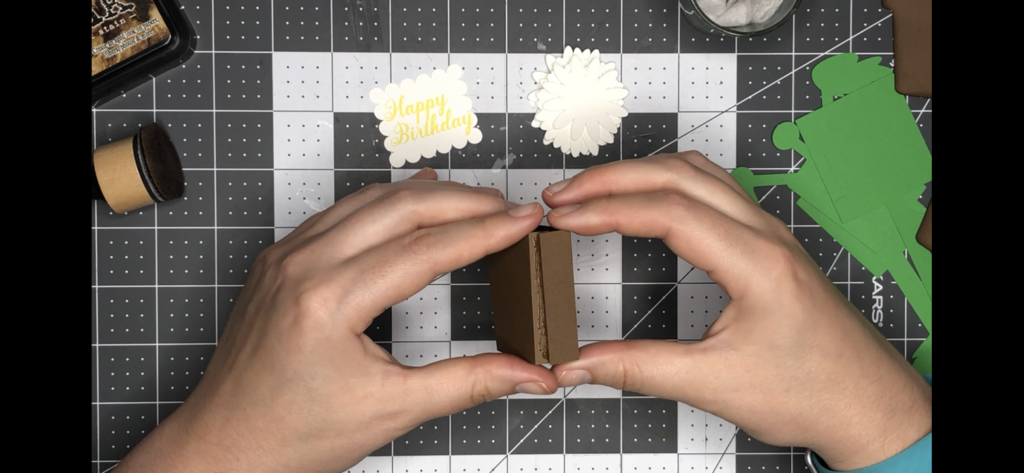
Step 1: Assemble the Flower Pot
Assemble the long rectangle box. The tab with the curved edges goes on the inside of the box. You can do some ink shading on this part too if you wanted. I like to use liquid glue or a glue stick to adhere the tabs, this way I have some wiggle room to get everything lined up flush.
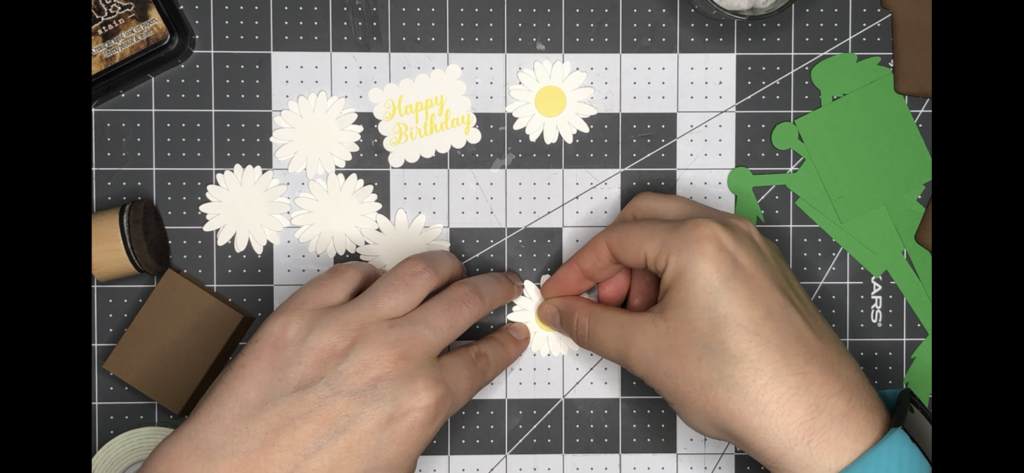
Step 2: Paper Piecing
Paper piece the flowers. There are 2 sets of pedals for each flower, I offset them a bit to be more realistic. It might be fun to either use foam dots or to bend the pedals to get some added depth. Don’t forget to add the center circle too.
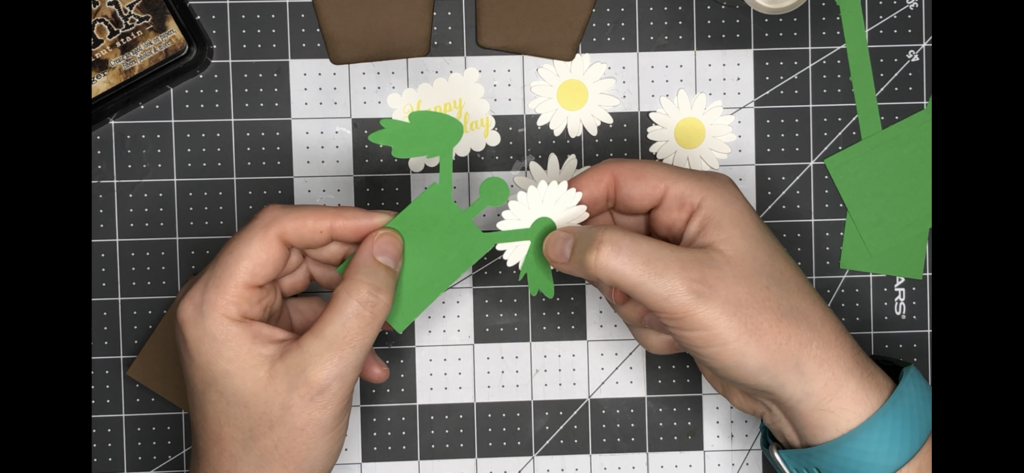
Step 3: Add Flowers to the Base
The center of the flower should fit onto the green center on the insert tabs. Apply all the flowers to the green centers.
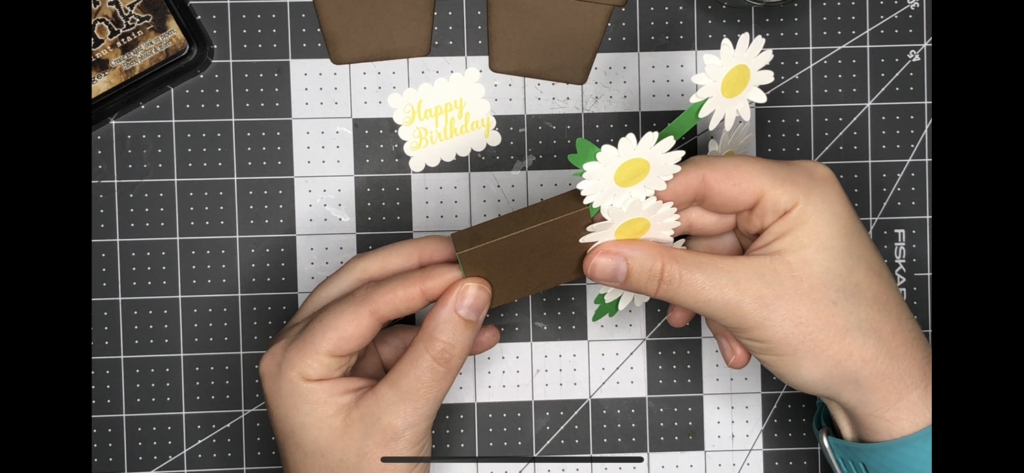
Step 4: Assemble the Box Card
Now you can insert the green tabs into the rectangle box. Push them all the way down to be flush with the bottom of the box. This is easy to do when you stand the box up and slide everything down until you hit the table. The shortest flowers will glue to the inside of the front of the box. The tallest flowers will glue to the inside of the back of the box. On the single flower fold the tabs down and glue them to the center of the box. When the side tabs are open, they should slide all the way to the back to the green tab for a snug fit.
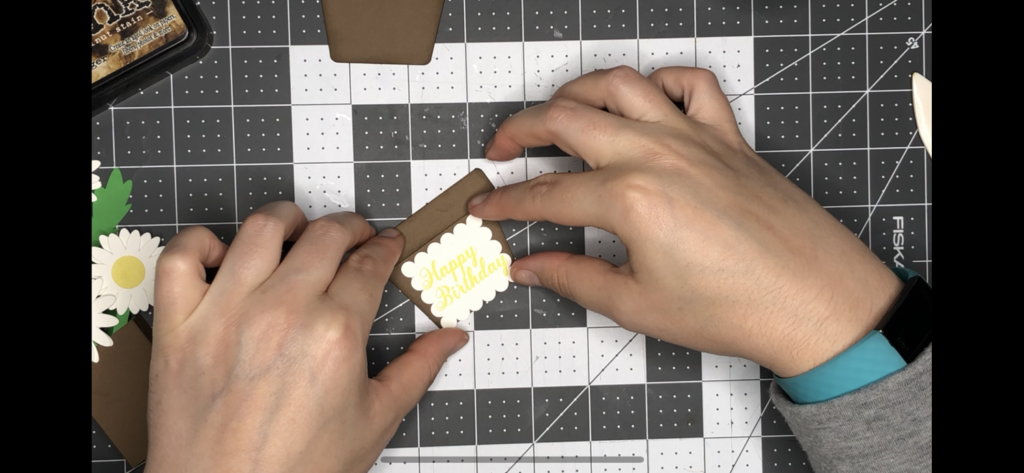
Step 5: Decorate the Flower Pot
The last thing to do is finish off the pot itself. Glue down the top tab, this should show on the front of the pot. Add the sentiment to the front of the pot.
Center the pot on the rectangle box on the long side. The bottoms should be flush. Collapse the card in both directions to make sure it will flatten and open again. That’s it!
I think this card will be so fitting in many instances, because who doesn’t like to get flowers right!?!? Think housewarmings, Mother’s Day, birthdays, graduations and more!