
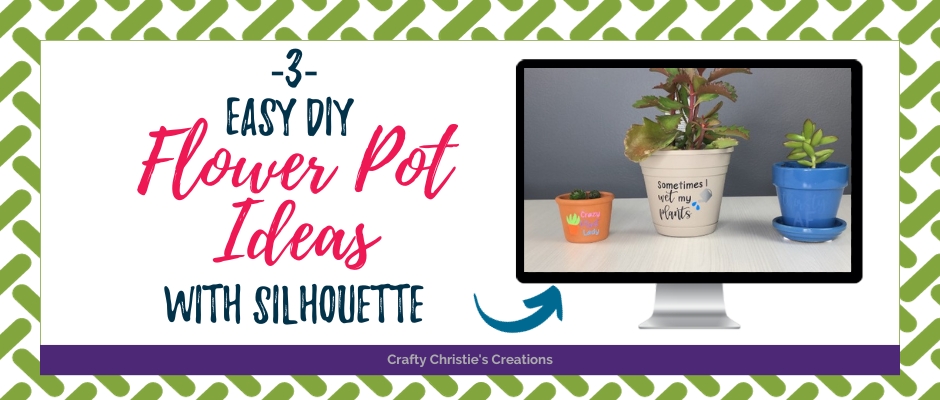
Who says you can have too many plants? They have a lot of perks like providing better air quality and boosting productivity. This might sway your decision to start planting, but flower pots can get pricing. One way to save a few dollars is to DIY your pots. I’m here to share 3 easy DIY flower pot ideas you can do with your Silhouette.
DIY Flower Pot Idea 1: Layered Vinyl Decal
Vinyl decals are fantastic for upcycling plastic containers you have lying around. These are usually cheaper to purchase new and come in a variety of sizes. I bet you can even find some of these at garage sales for a few coins.
Supplies:
Plastic Flower Pot
Permanent Vinyl
Transfer Tape
Cutting Machine
In Silhouette Studio
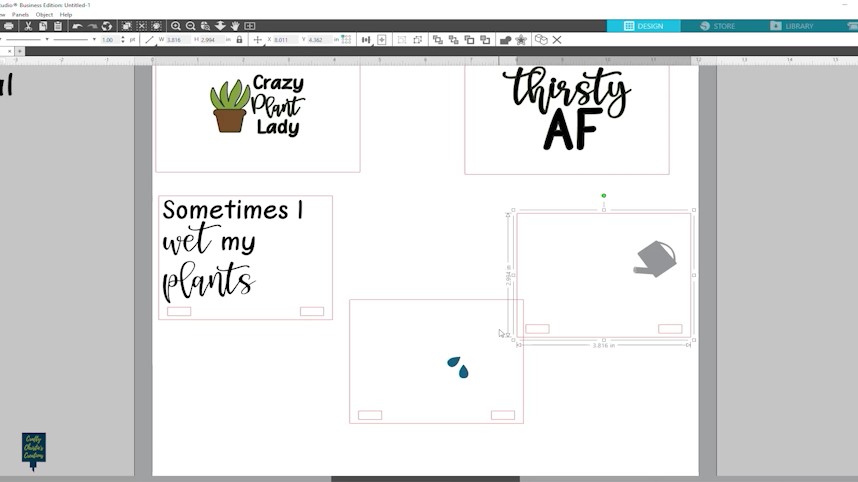
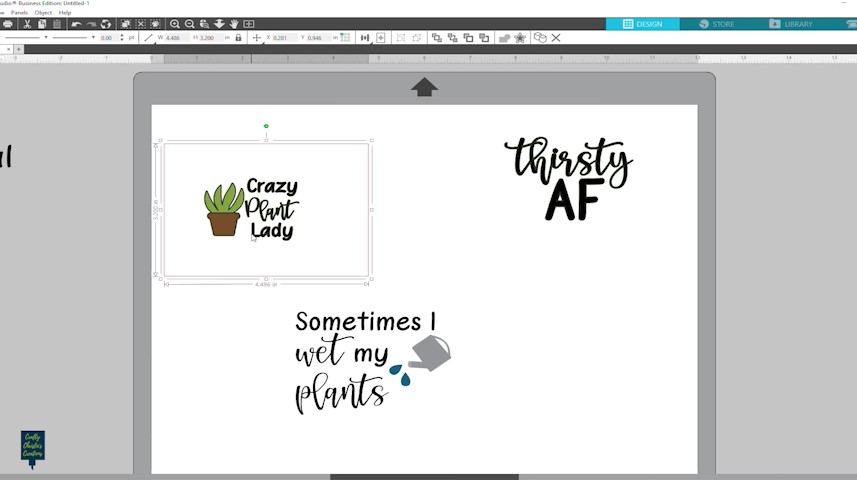
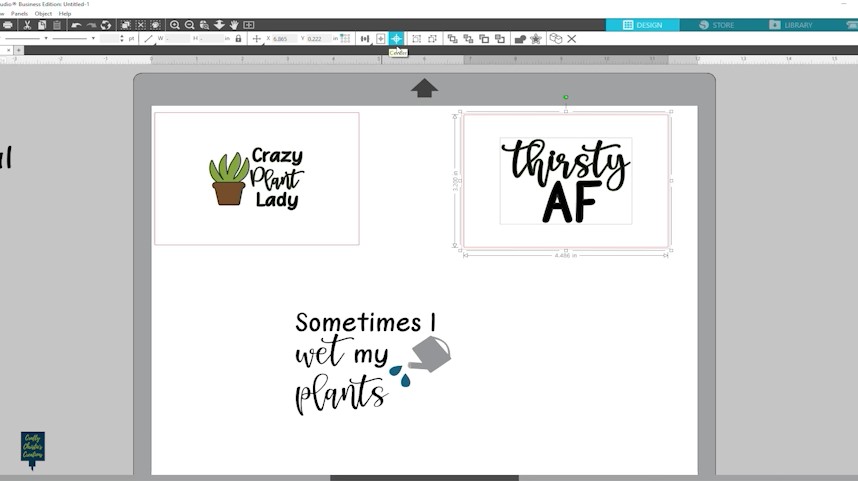
Choose your design and pick the colors. Add a weeding box around the design and 2 registration marks at the top or bottom of the graphic. Make copies of the weeding box and registration marks to go with each color of the design. Select each color and a weeding box and registration marks and group them.
Tip: The weeding box keeps every layer the same size and the registration marks are for aligning the layers.
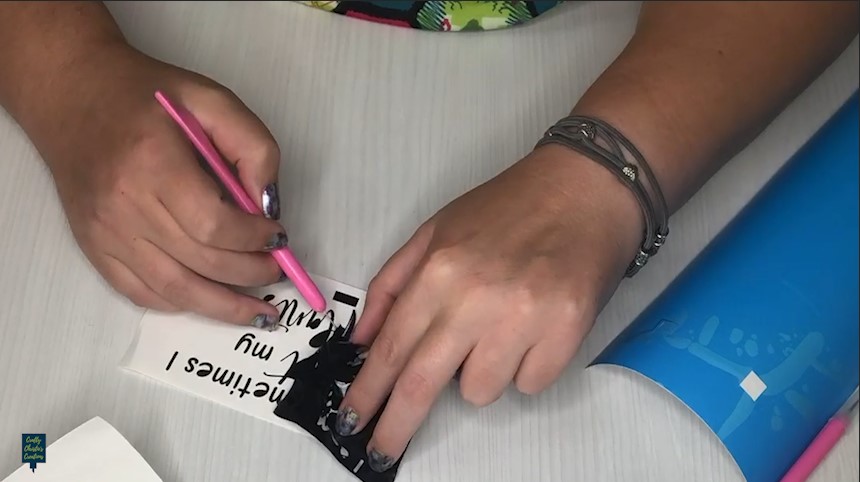
Cut and Weed the Layers
Cut out each layer of the design in the designated colors. Weed the layers like normal, but leave the registration marks.
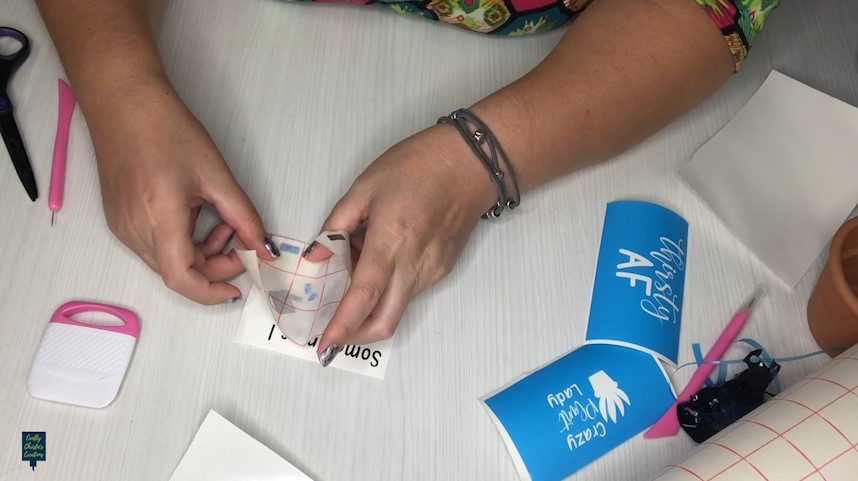
Layering the Design
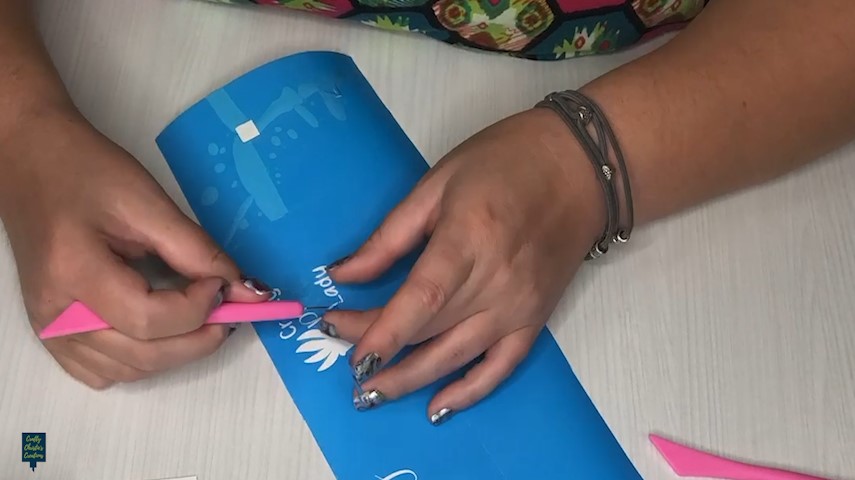
Apply transfer to tape to one layer and remove it from the backing. Use the registration marks to lay the first layer on top of the next layer. Line up the registration marks first then press down the design to pick up the 2nd layer. Repeat this process until all the layers are on the transfer tape.
Apply the Design
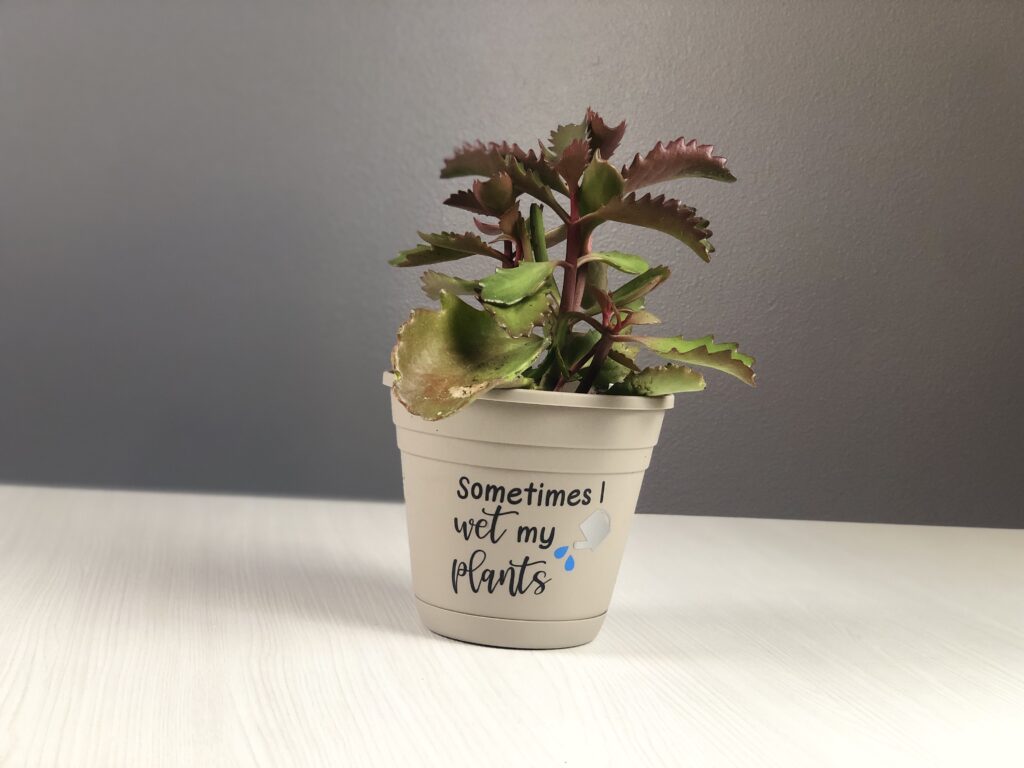
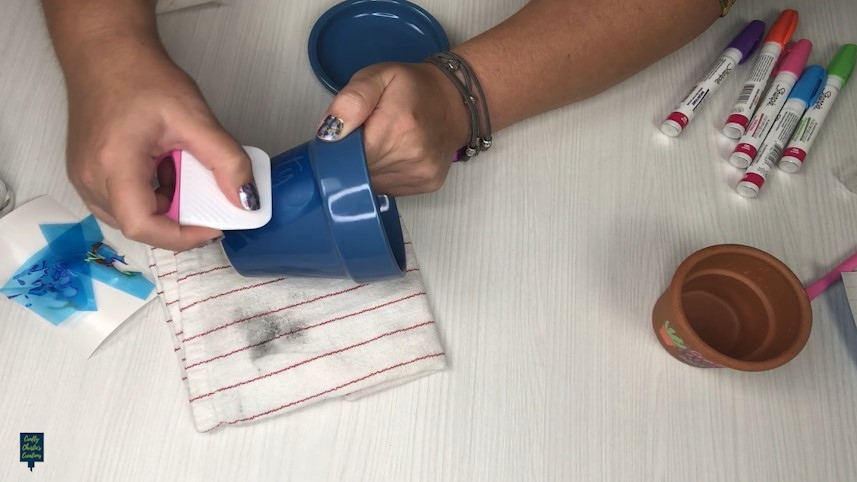
Use rubbing alcohol and a clean cloth to wipe the surface before applying the vinyl. This removes any dirt and oils on the container so the vinyl will adhere better. Once that is dry, apply the center of the design to the center of the container. Press from the center outwards until the entire design is adhered to the pot. Burnish well to remove any air bubbles or wrinkles then remove the transfer tape to reveal your personalized flower pot.
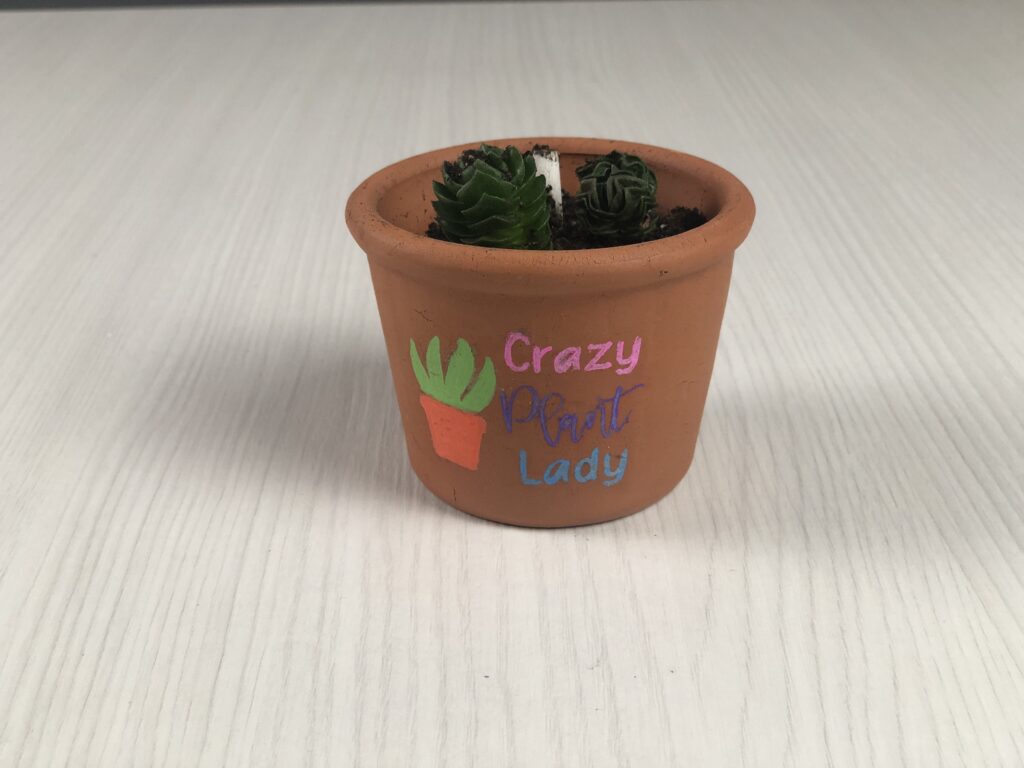
DIY Flower Pot Idea 2: Painting with Stencils
Using a stencil is a great way to draw a pattern or text on a surface with a professional look.
Supplies:
Terra Cotta Pot
Oil Based Sharpies
Stencil Vinyl
Transfer Tape
Cutting Machine
In Silhouette Studio
Choose your design and add a box around it. When making stencils you will remove the design and color in the negative space. Let the box have a healthy border around the design to prevent paint from getting on unwanted areas of the pot.
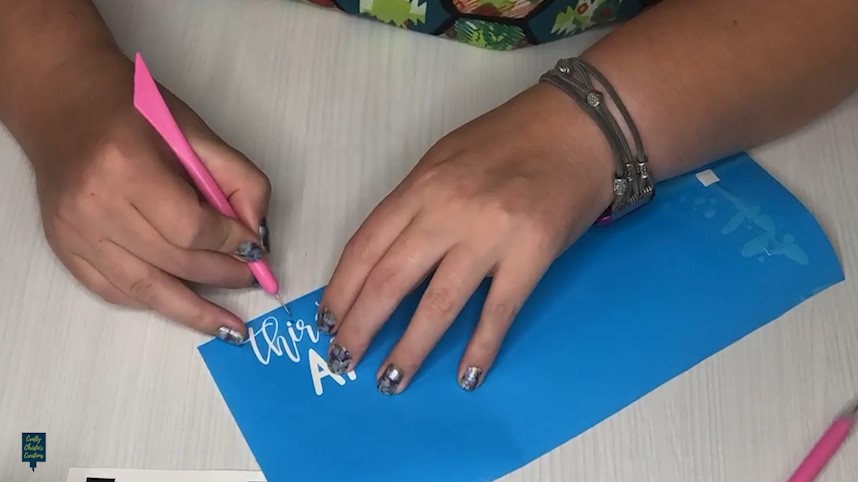
Cut and Weed the Design
Cut the stencil and remove the design from the box. Remember the design is what you will be coloring. Apply transfer tape over the design as normal.
Apply the Design
Clean the surface with rubbing alcohol and a clean cloth to remove dirt and oils. Apply the center of the design to the center of the flower pot. Press from the center outwards until the entire design is adhered to the pot. Burnish well to remove any air bubbles or wrinkles. Stencil vinyl is less pliable than permanent vinyl so you may need to cut at the edges of the vinyl to help remove bubbles. Just don’t cut into the design because the paint can leak through the slits. Click here for more information on applying vinyl to curved surfaces.

Paint the Stencil
Use the oil-based Sharpies to paint the stencil. Dab or color moving away from the edges to help prevent leakage. You may need to apply more than one coat of paint, and let each coat dry before adding another.
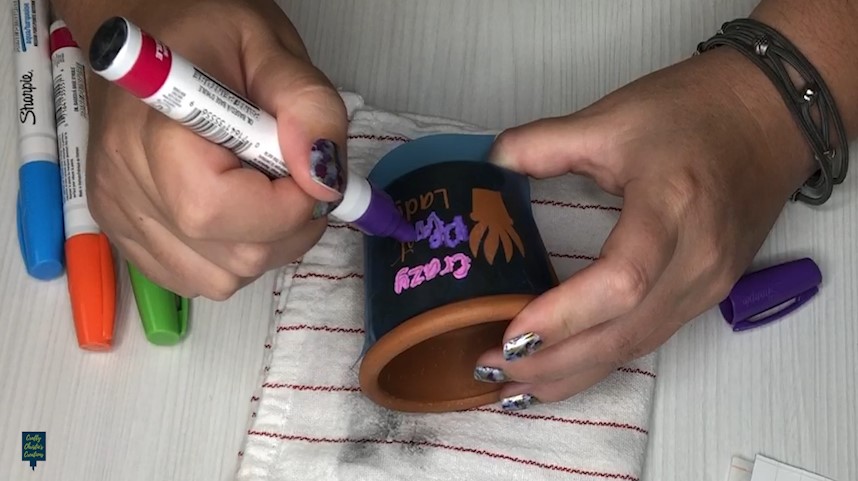
Once everything is dry, remove the stencil to reveal your masterpiece.
DIY Flower Pot Idea 3: Etching a Design
Etching looks best on glass, but can also be done on flower pots that have a glaze or shine. The creme will remove the shine leaving a dull area that is the design. It is subtle but surprising and very professional looking.
Supplies:
Stencil Vinyl
Etching Cream
Transfer Tape
Cutting Machine
In Silhouette Studio
Choose your design and add a box around it. Let the box have a healthy border around the design to prevent the creme from getting on unwanted areas of the pot.
Cut and Weed the Design
Cut the stencil and remove the design from the box. Remember the design is where you will be applying the creme. Lay transfer tape over the design as normal.
Apply the Design
Clean the surface with rubbing alcohol and a clean cloth to remove dirt and oils. Apply the center of the design to the center of the pot. Press from the center outwards until the entire design is adhered to the container. Burnish well to remove any air bubbles or wrinkles. Stencil vinyl is less pliable than permanent vinyl so you may need to cut at the edges of the vinyl to help remove bubbles. Just don’t cut into the design because the etching creme can leak through the openings.
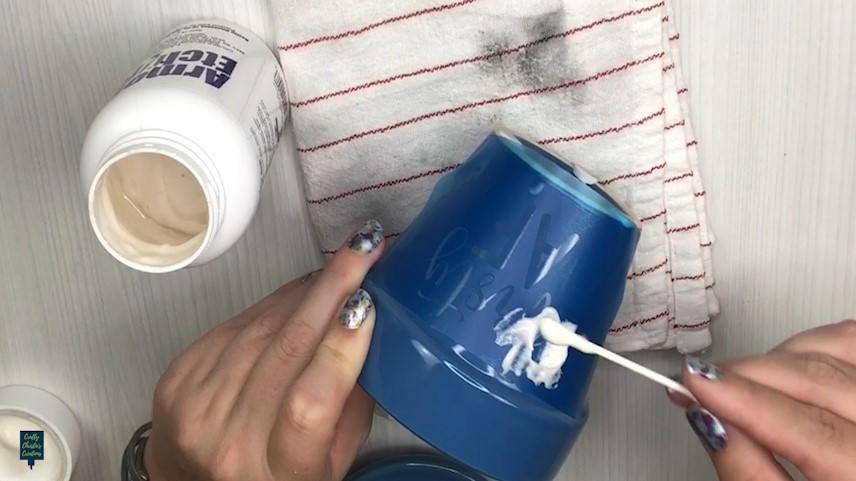
Add the Etching Creme
Wear gloves and eye protection when using etching creme, it can burn the skin and eyes. Apply a heavy coat of the creme over the stencil and let it sit for 10 to 15 minutes. Then rinse the flower pot under running cold water.
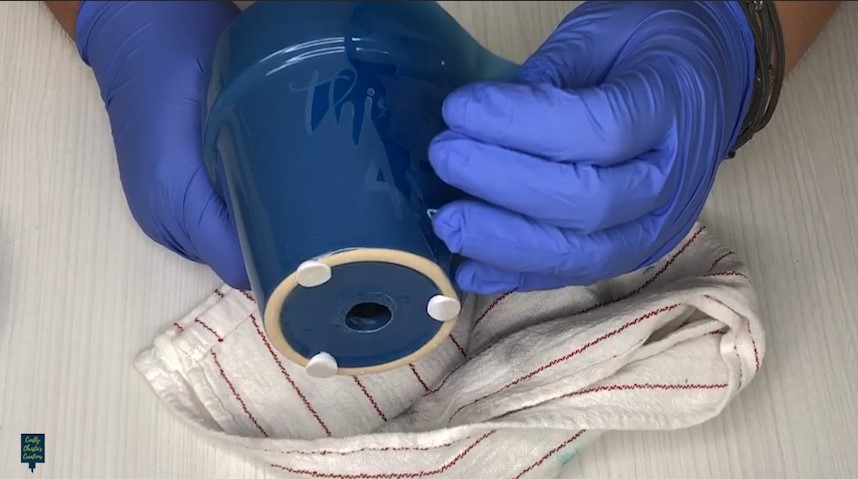
Remove the Stencil
It is recommended to remove the stencil while still rinsing the pot to ensure all the creme is removed. Then dry the container and check out your subtle creation.
All of these techniques are easy to do and only take a few minutes. All these newly decorated flower pots need now are some plants. I prefer succulents, but any house plant will look amazing.
If you’re looking to make a few dollars with your new creations, these can be hot sellers at craft fairs and holiday shows. Not to mention they make excellent gifts for neighbors, teachers, and of course, those crazy plant ladies.
Don’t forget to complete the form below to grab your copy of the Flower Pot Sayings I used here in SVG format.


