
Whether you’re a sublimation enthusiast or just looking for a handy seamless pattern trick, you’re in for a treat with today’s tutorial. I’m teaching you how to create a sublimation pattern in Silhouette Studio. Of note, to add this pattern to your fill panel, you’ll need Business Edition of Silhouette Studio.
Step 1: Gathering Your Design Elements
In Silhouette Studio, start by importing the elements you want in your pattern. In this example, I’m doing a fall-themed pattern with leaves, pumpkins, and acorn designs. I also went ahead and colored my designs with a fall color palette. If you’re curious about adding a custom color palette to Silhouette Studio, click here.
Here is the color palette I used for this project:
#2A3520
#70180E
#9B640B
#632E01
#343024
#B6A48E
#9D2215
#EE9E10
#D65D0F
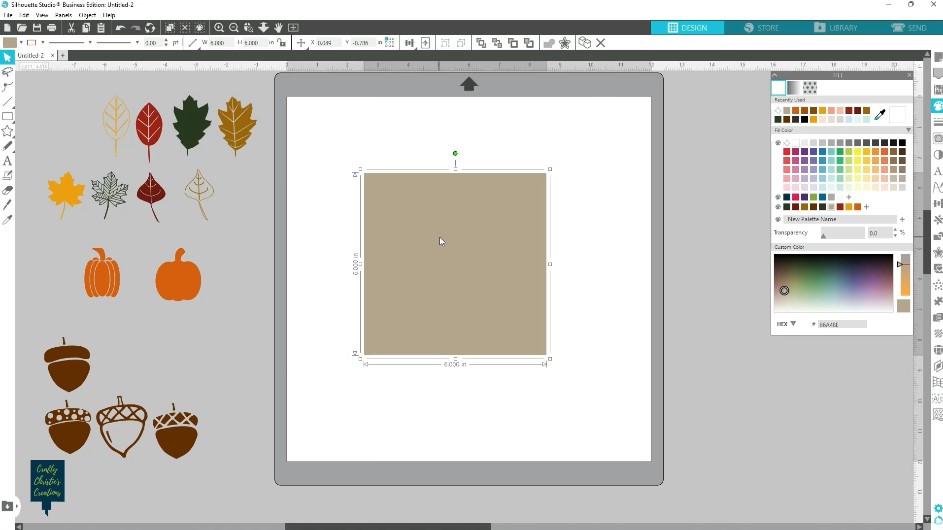
Step 2: Create the Base Square
Begin by drawing a square using the rectangle tool. To maintain a square shape, hold down Shift and the Alt key while scaling it to 6×6 inches. Fill it with a color of your choice and remove the red outline.
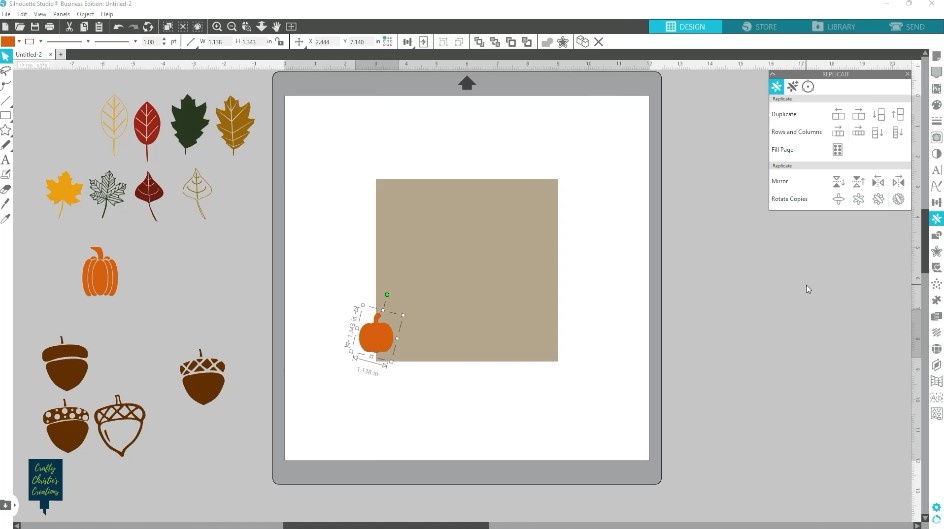
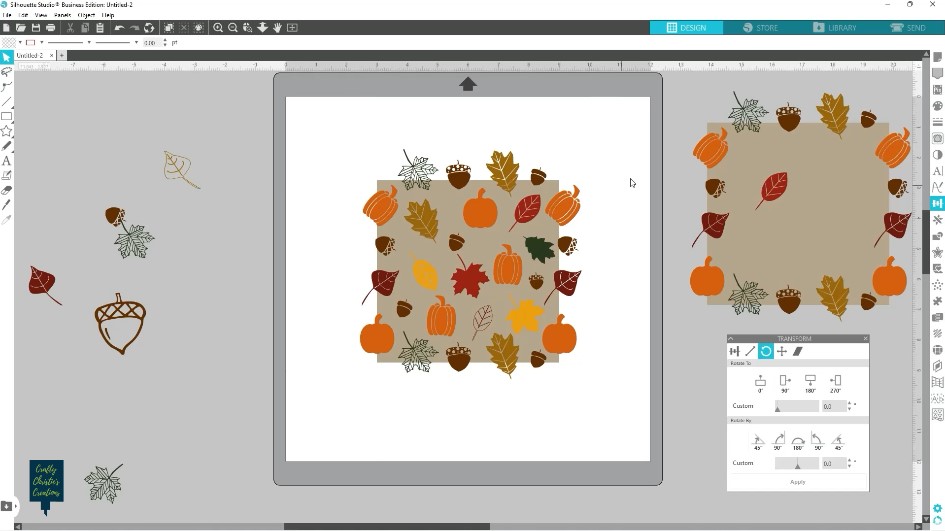
Step 3: Adding Design Elements
Be mindful of design placement. Avoid placing design elements on adjacent edges, as this will affect the pattern’s symmetry when scaled. The graphic should only be hanging off on one edge of the square. Continue adding your chosen design elements around the square’s edges, being cautious not to place them too close to each other. You can rotate or resize elements for variation.
Step 4: Duplicate and Align
To create symmetry, duplicate the elements using keyboard shortcuts (Ctrl + arrow keys). Align them on the opposite edges, maintaining even spacing. This ensures your pattern will seamlessly repeat. If you want to learn more about keyboard shortcuts, click here.
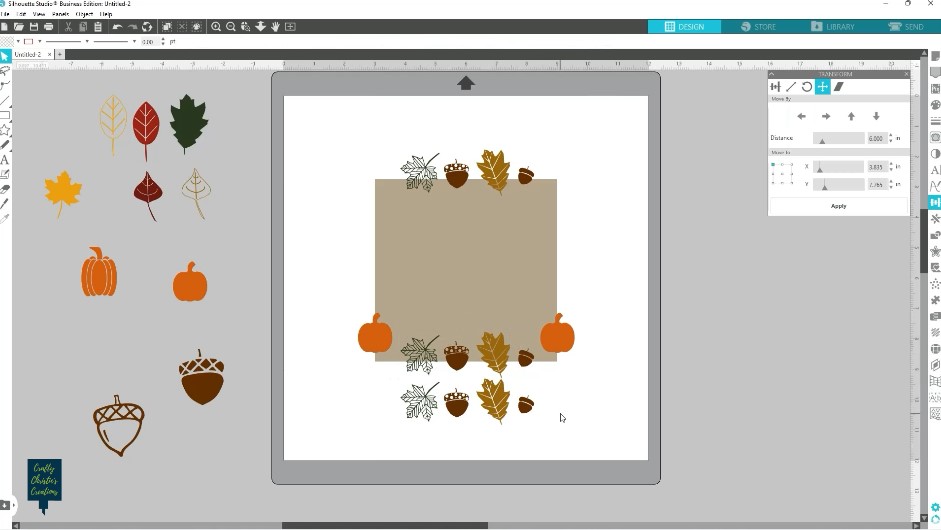
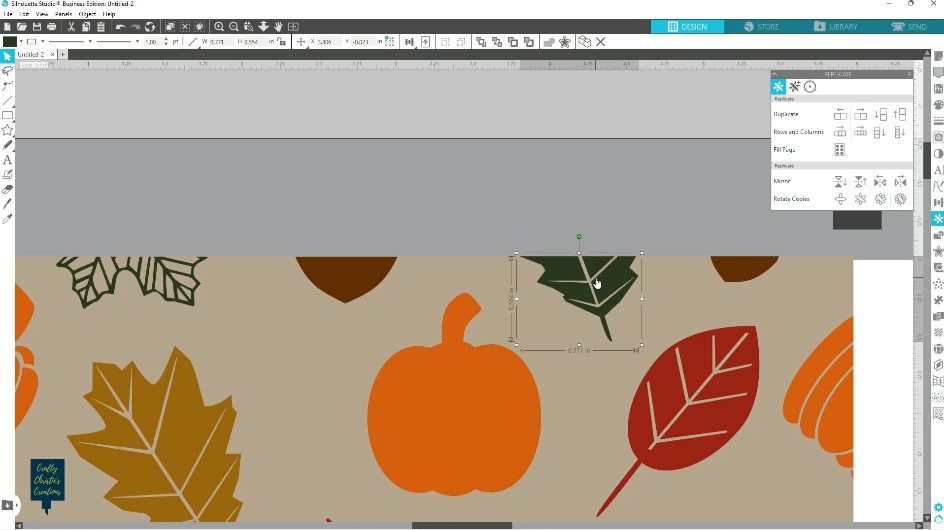
Step 5: Fill in the Gaps
Now, fill in the gaps inside the square with more design elements. Be creative and maintain spacing consistency.
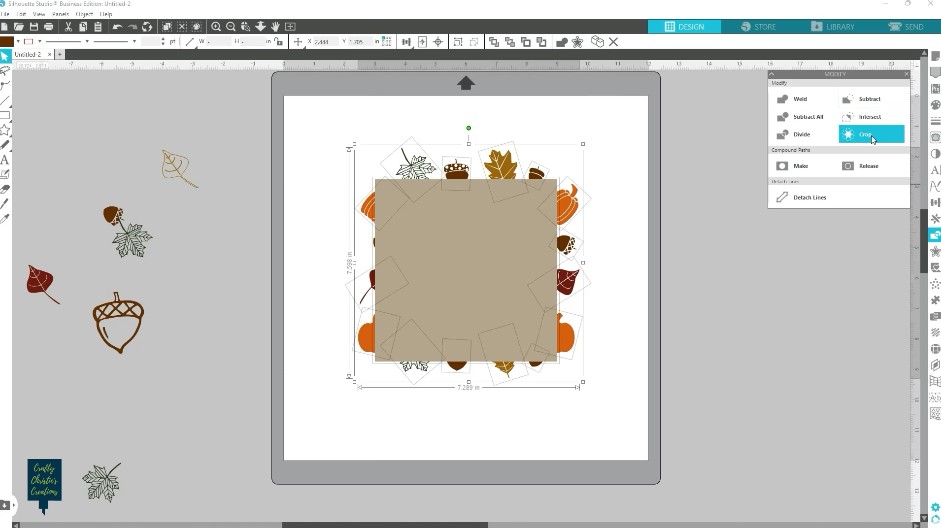
Step 6: Crop and Group
Make a copy of the square and paste it in front. Select all the border elements and your top square then hit crop. This will cut the designs to the square’s shape. Change the colors of the cropped designs back to their original colors, and make each design a compound path for easier editing.
Step 7: Final Adjustments
Select the entire design and duplicate to the right and below. Inspect the pattern for any lines between the duplicated pieces. If this occurs make adjustments to graphics as needed. If the gaps can’t be fixed, use the undo button to go back to the crop step and start fresh. It is likely elements were moved when selecting and changing colors.
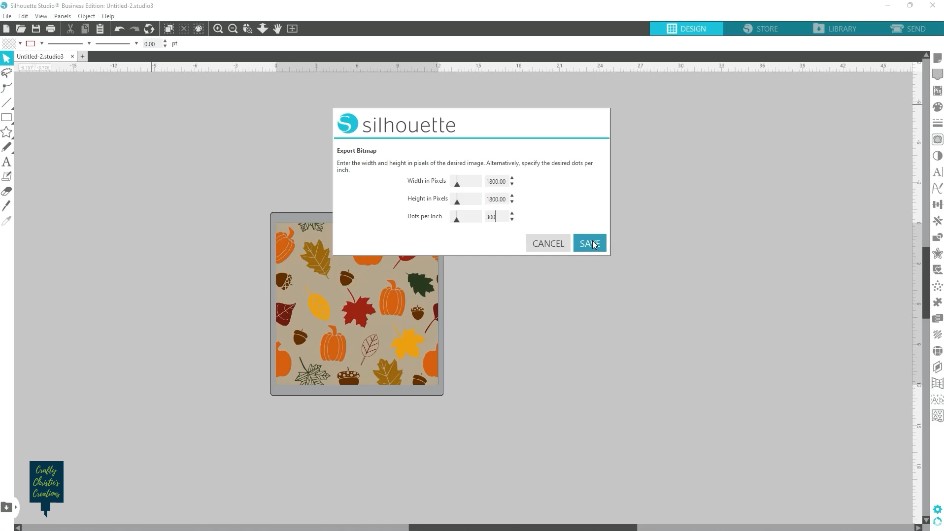
Step 8: Saving Your Pattern
To save your pattern, resize the square to fit the mat size (e.g., 12×12 inches) and center it on the page. Save your design as a high-resolution JPEG or PNG, ensuring it’s suitable for sublimation printing.
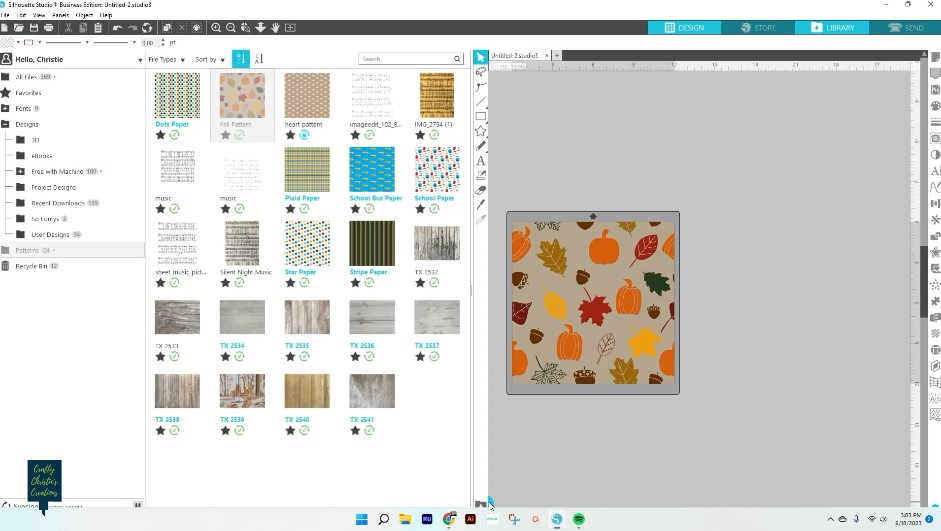
Step 9: Importing the Pattern
Open Silhouette Studio’s library and navigate to the Patterns section. Drag and drop your saved pattern into the library.
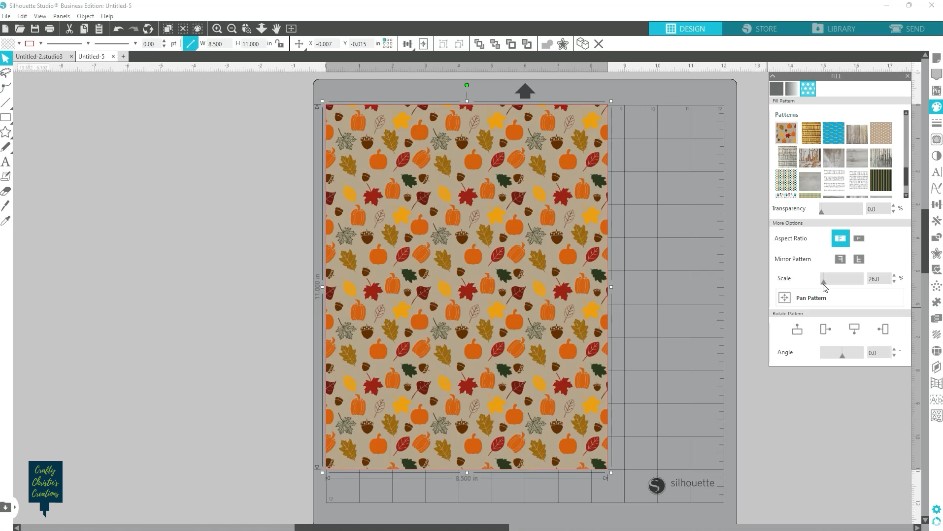
Step 10: Applying the Pattern
Create a new project in Silhouette Studio and draw a shape to represent your printing surface (e.g., 8.5×11 inch box ). Fill this shape with your pattern from the library. Scale and position it as needed.
Step 11: Printing for Sublimation
With your sublimation pattern ready, print it onto sublimation paper using a sublimation printer. Apply it to your sublimation-friendly surface and follow your sublimation heat press instructions for the best results.
And there you have it—a beautiful custom sublimation pattern designed in Silhouette Studio. A seamless, scaleable pattern like this can be used for sublimation, cardmaking, or scrapbooking. Check out the video below for more details on creating the pattern.


