
Christmas is coming and what better way to prepare than to start making your Christmas Cards! Follow along as I show you how to design a foil Christmas card from scratch in Silhouette Studio. This is a fantastic beginner card design to make and the foiling will WOW the recipient with all the sparkle and shine.
Supplies:
Cameo 5
Heat Pen
Mr. Rabbit Font
Recollections Holiday Cardstock Pack
Tape Runner
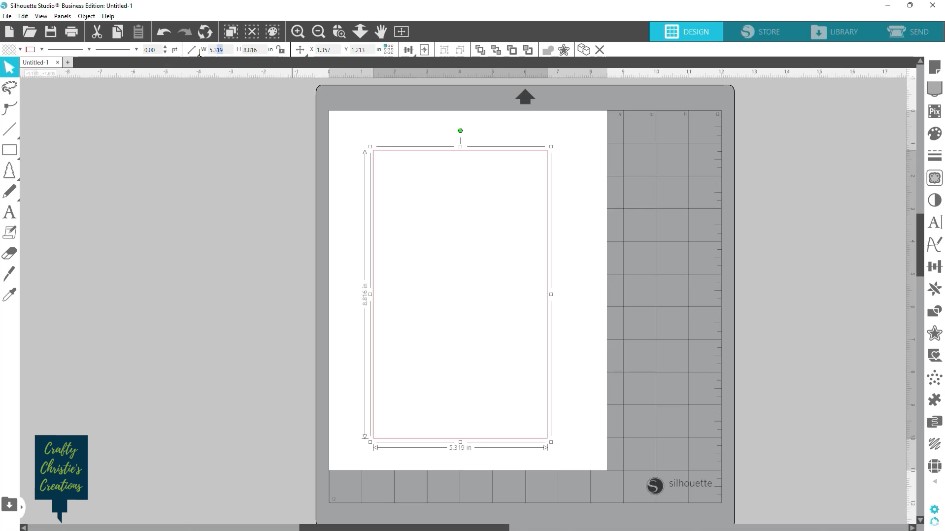
Step 1: The Christmas Card Base
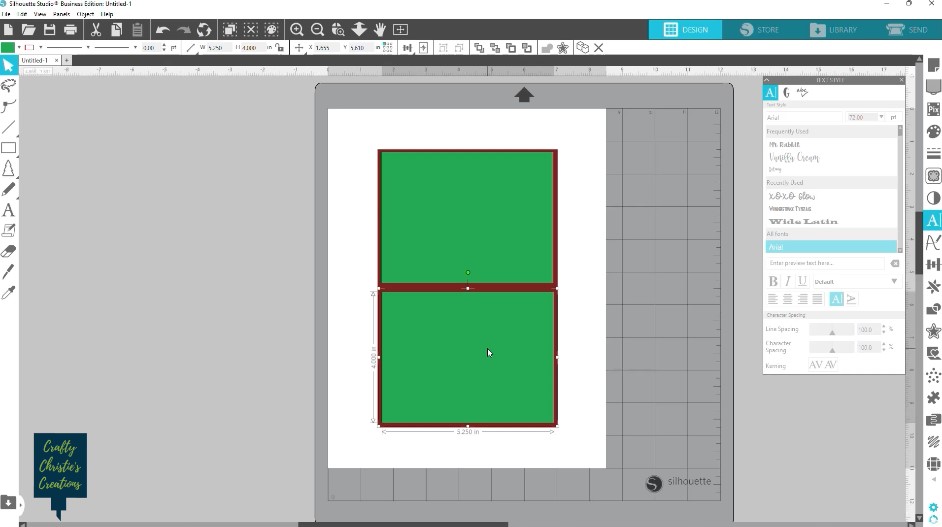
In Silhouette Studio draw out a rectangle measuring 5.5 inches wide and 8.5 inches tall. Add a scoreline to the center. This is the Christmas card base.
Step 2: Design the front of the Christmas Card
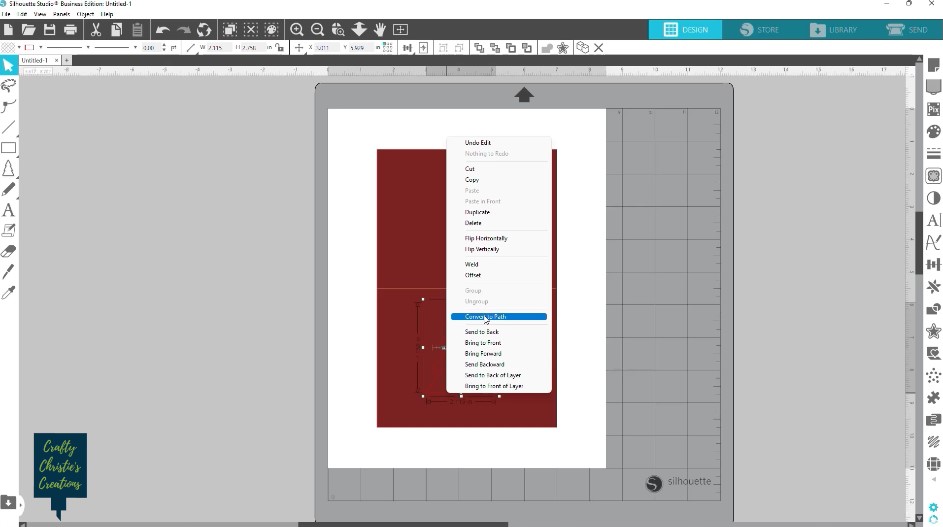
The bottom half of the card base will the the front of the card. Here I’m adding a Christmas tree from the flexi shapes. You need Designer’s Edition Plus or Business Edition to have access to these flexi shapes. You can always add a file from your library instead.
Use the dots and slider on the Christmas tree to adjust its shape. When the shape is how you like it, right-click and select convert to path. This changes the flexi shape into an uneditable shape that is ready for cutting.
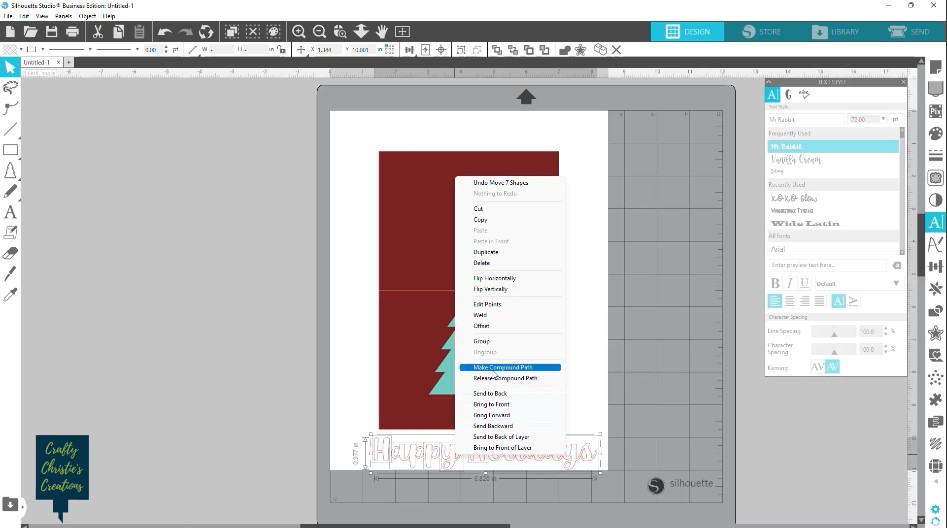
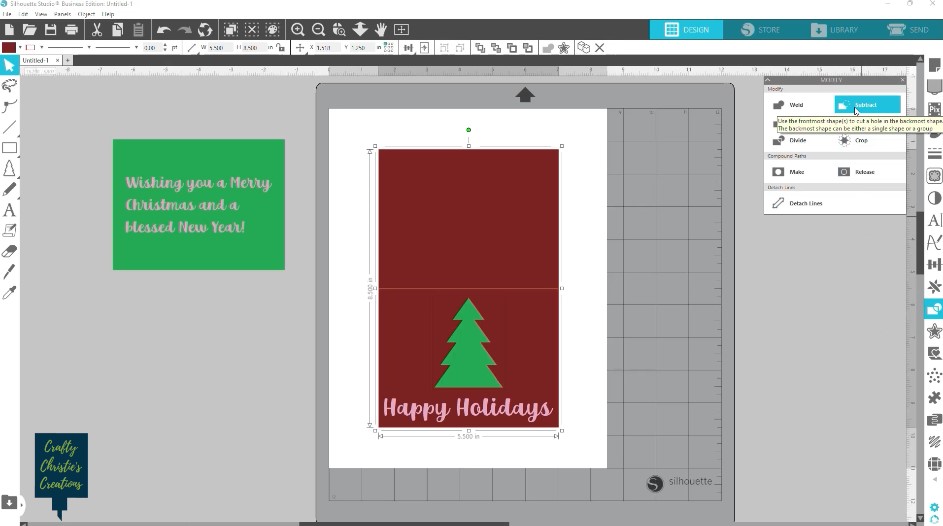
Use the text tool to write out “Happy Holidays” to fit under the tree. Weld the letters together. If there are multiple bounding boxes around the letters then right-click and create a compound path. This will keep all the letters “glued” together in 1 bounding box. If you move the words around they will go together and nothing will be left out.
Select the Christmas tree and the card base and choose subtract. This will remove the Christmas tree shape from the card base.
Step 3: Create Card Insert Panels
Draw a rectangle that is slightly smaller than the front of the card (5.25 x 4 inches). This will sit behind the card front to show a different color through the tree cutout.
Make a copy of this rectangle. This will be for the inside of the card where the message will go. Using the same font as the card front, type out a message for the inside of the card and center it onto the rectangle.
Step 4: Set Up for Foiling
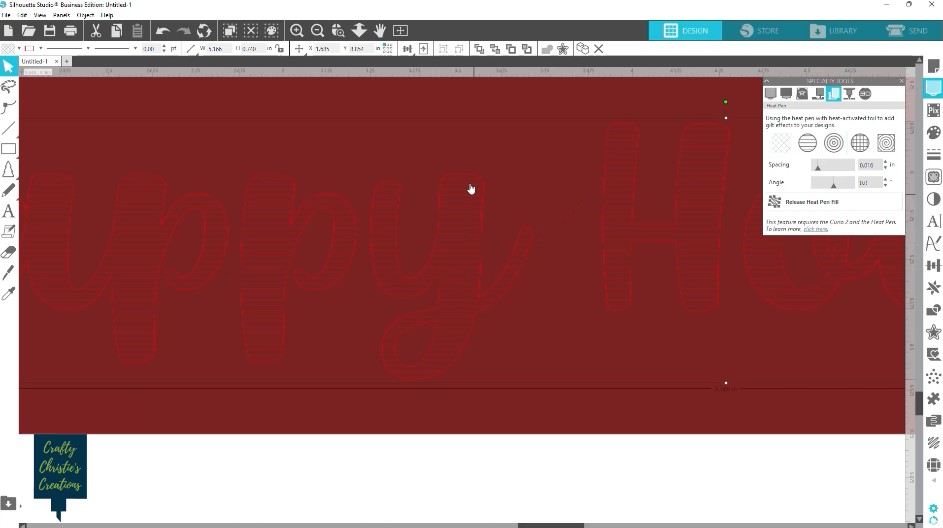
Select the text on the card front and open the heat pen panel. Choose a fill for the text and decrease the spacing to fill the text with lines for the heat pen to follow. Repeat this process for the sentiment on the inside of the card.
Step 5: The Send Panel
With the card base on the mat, select cut by line color. Do the foiling first then the cutting. The text is blue so choose that one and change the action to foil. If this is your first time using the Heat Pen, read this post to get it set up.
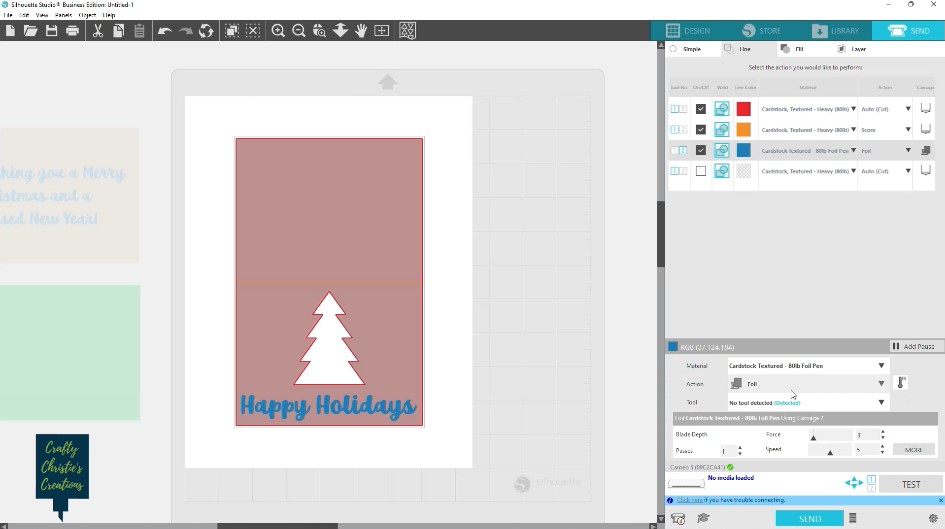
Once the foiling is done, send the card base to cut, and the scoreline to score. Repeat this process for the sentiment layer for the card inside. Then cut the card front layer like normal.
Step 6: Assembling the Foil Christmas Card
Now for the fun part! Adhere the green rectangle behind the front of the card. There should be a small, even border around the edges. Do the same for the inside of the card with the sentiment layer.
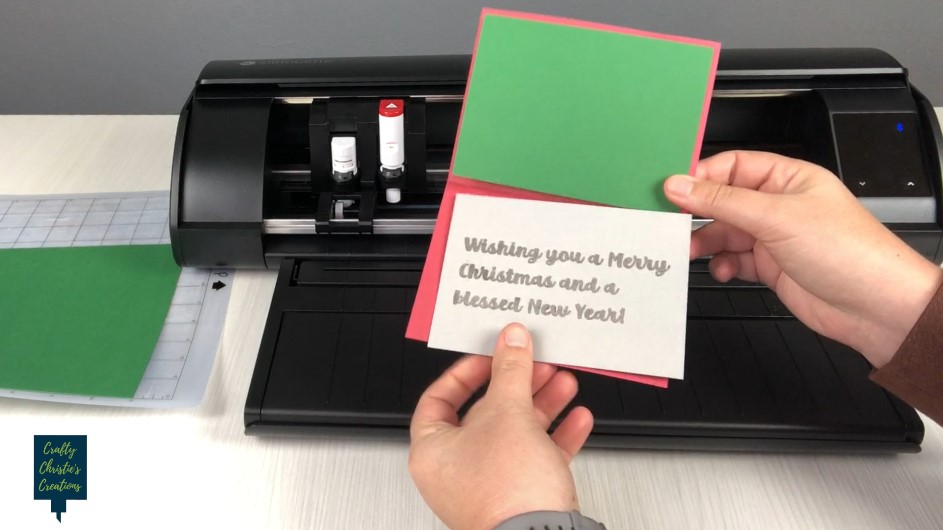
This is a simple and easy card to put together. The foiling took me about 30 minutes total for both pieces, but the results are worth it!


