One of my favorite things to do with cardstock is heat foiling. It adds an extra layer of shine and sophistication to a project. In this blog post, I’m going to walk you through setting up and using the Cameo 5 heat foil pen. This is a 1 time set up and then you’ll be ready to foil to your heart’s content.
Supplies
Step 1: Turn on the Cameo 5 Heat Pen
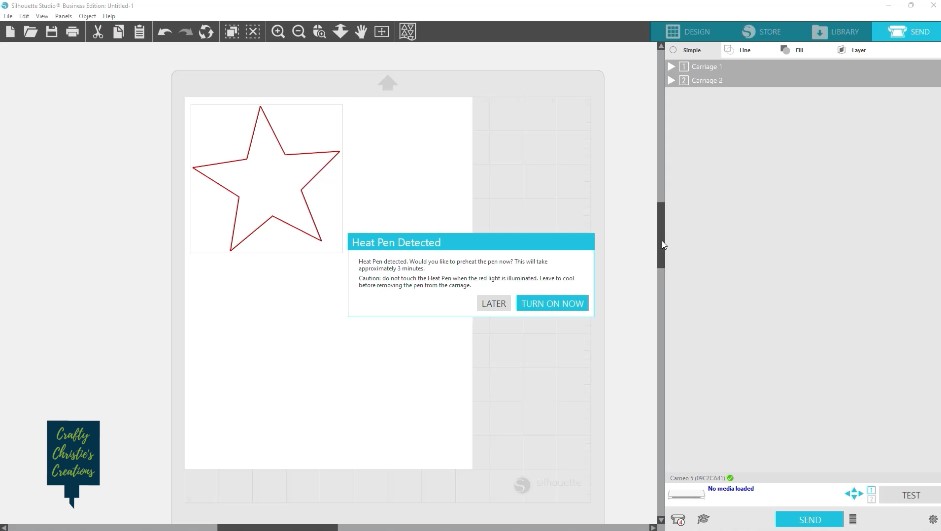
Load the Heat Pen into Carriage 2 on the Silhouette Cameo 5. This carriage is equipped with a power supply to use power tools like the heat pen. Push down on the heat pen to load it into the carriage. A pop-up will appear on the screen in the software asking if you’d like to turn the pen on now or later. If you choose later, I’ll show you another way to power it on in the Send Panel.
Step 2: Setup the Design
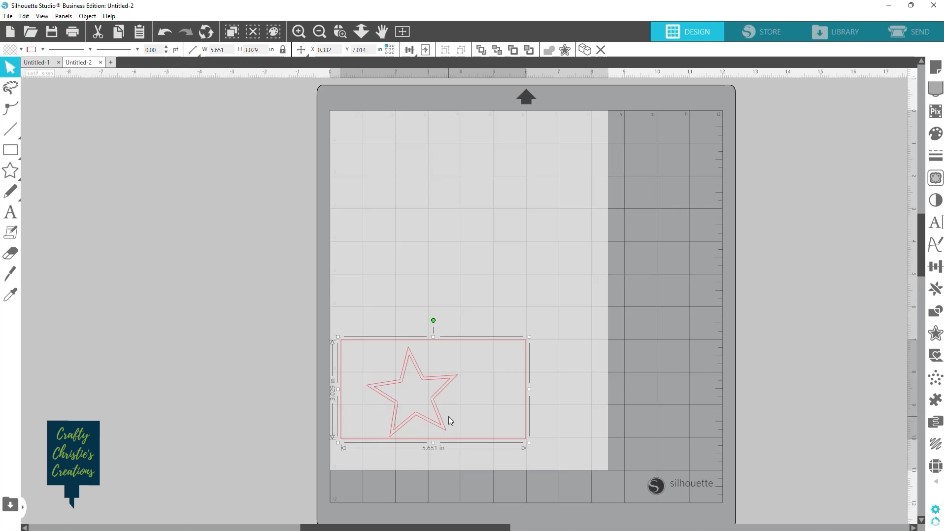
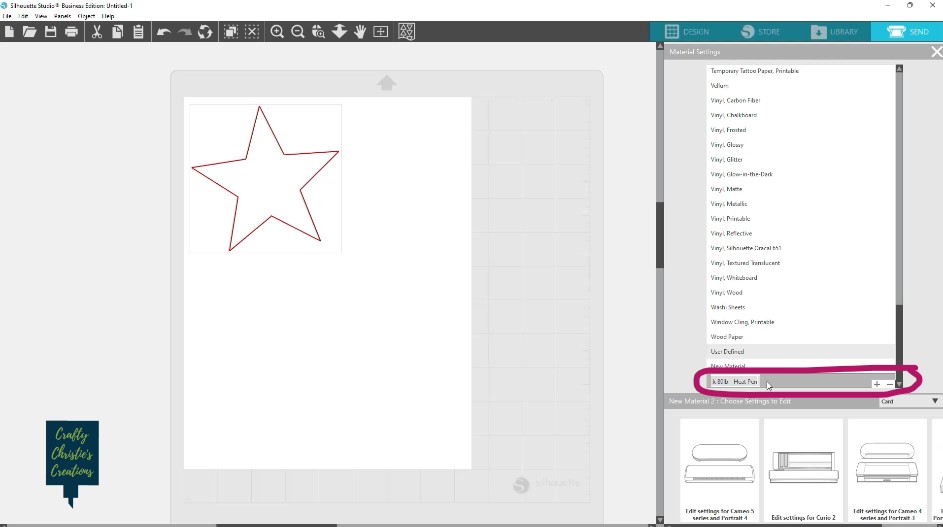
I used the flexi shapes to make a star. Then I made an offset that will be used for cutting. Move the design to the bottom of the page so you have plenty of room to work with the foil without removing the mat from the Cameo 5 between the foiling and cutting.
Step 3: Setup the Cameo 5 Heat Pen
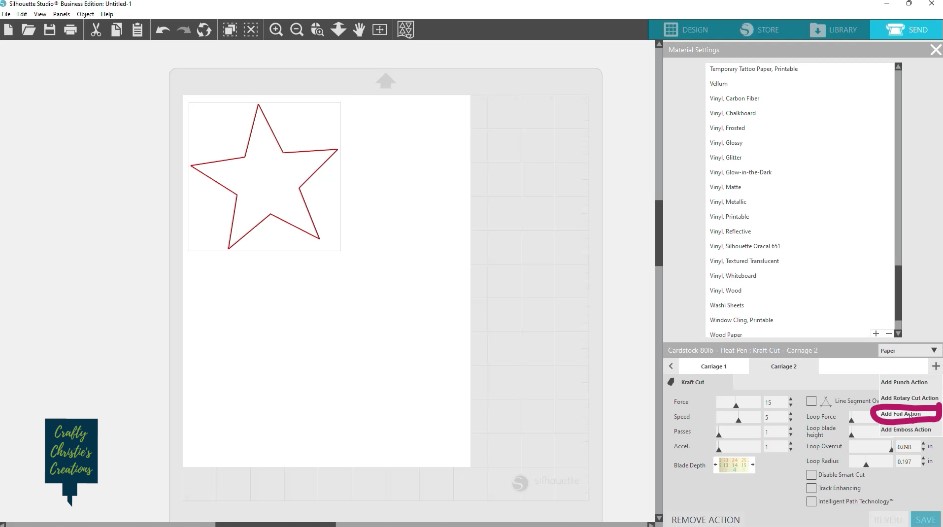
With using just 2 lines I don’t need to add any special actions from the heat pen panel. I’m jumping straight to the Send Panel. Here I am selecting the larger star and selecting a NO CUT command on Carrier 1. For the smaller star shape, I changed that command to foil on Carrier 2. You’ll notice there are no default settings in the software for the heat foil pen. You’ll need to add a user defined material and create the settings.
Add a new material, I called mine Cardstock 80lb – Heat Pen, but you can call yours whatever you’d like. I chose 80lb because this is the same preset I use when cutting most of my cardstock. I do recommend using the material name in case you need to adjust settings to foil other objects like leather. Then select the Silhouette Cameo 5 as the machine for this material.
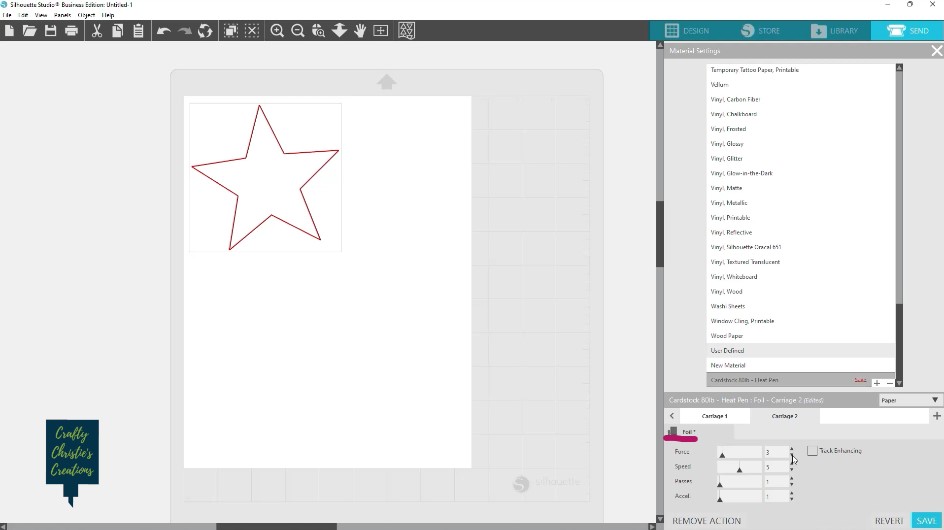
On the right side select the add foil action from the drop-down menu. This will add foil settings under Carriage 2.
Adjust the pressure down to 3. I found this to work perfectly with my 65lb cardstock. Then click save and your material is all set up. I also like to go to Carriage 1 and adjust the cut settings to match what I normally use for the auto blade. I found a blade of 4, force 25, speed 4, and 1 pass works perfectly. Hit save again.
Step 4: Add the Foil with the Cameo 5 Heat Pen
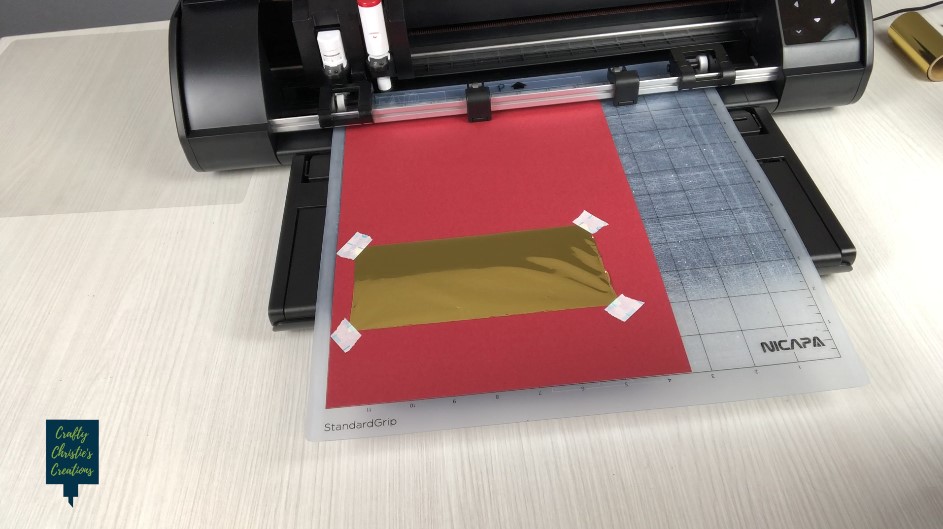
Being mindful of the washi tape, I place my design towards the bottom of the page and away from the edges. I cut more foil than I need to have extra so I won’t be foiling through the washi tape.
On the Send Panel, there is a temperature symbol next to the foiling commands. You can click this symbol to turn on and off the heat foil pen. When you hover over the temperature symbol it will say if the heat pen is warming up. You can also find this information when you hit send, a new pop-up will display all the steps to complete before sending the commands to the Silhouette Cameo 5. If the heat pen is not ready it won’t let you send your project to the machine.
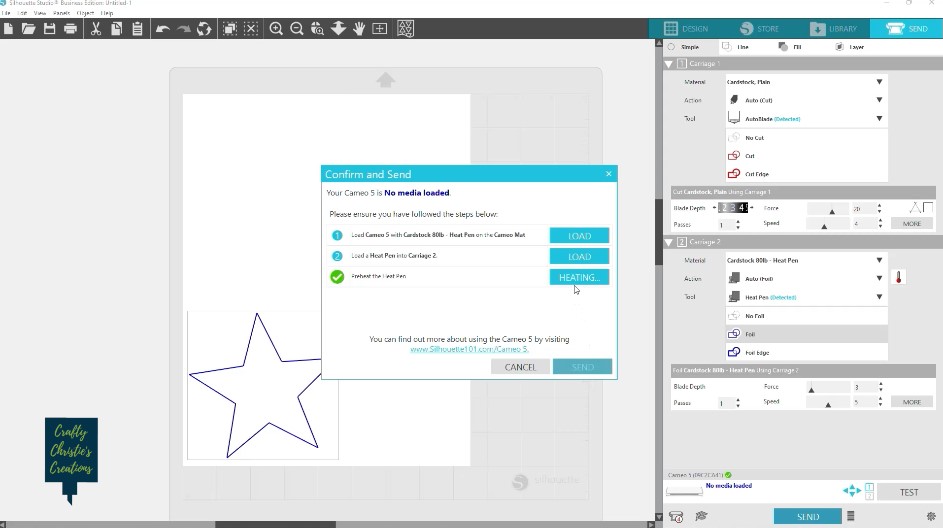
It takes about 3 minutes for the heat pen to warm up, when the heat pen is fully warmed, you can send the cardstock to foil.
Step 5: Cut the Design
On the Send Panel, select the outer star and make it a cut action. Select the inner star and make it a NO FOIL action. Send the cardstock to cut.
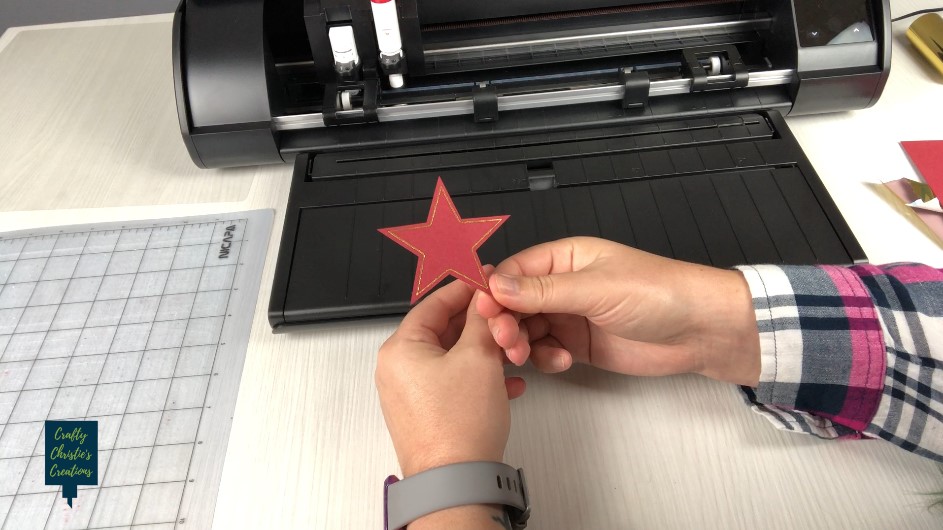
Step 6: Show Off Your Foiled Design
Now it is time to peel your project off the mat and watch it shine under the light! You’ve successfully completed your first cardstock foiling with the heat foil pen on the Silhouette Cameo 5!