
One of my favorite ways to embellish craft projects is with heat foiling. The metallic shine from the foil and the crisp lines make every project look more elegant and sophisticated. Especially during the holiday season, heat foiling fits in with all the tinsel and twinkle lights.
What is Heat Foiling?
Heat foiling is when heat and pressure are applied to a metallic foil to press a design or text into a base material.
There are several ways to accomplish this task, but I will focus on how to achieve this with a cutting machine.
What supplies do I need to Heat Foil?
To perform a heat foil, you will need a heat source, heat activated foil, tape, and a base material.

Silhouette recently released the heat pen for the Curio 2, Cameo 5, and Portrait 4. These newly designed machines have a power source in the blade carriage where the heat pen will sit. Learn more about there Silhouette Heat Pen Set Up Here.
Older Silhouette machines use the Foil Quill heat pen with an external USB power supply.
These heat pens come with rolls of heat-activated foil and tape to hold the foil in place while drawing.
Heat foil can be applied to many materials such as cardstock, acetate, vellum, leather, vinyl, canvas, wood, and more!
How to Heat Foil with Silhouette
While the heat tool is warming up, place the base material on the cutting mat and apply the foil over the design area. Leave extra foil to make room for the tape on the edges. Load the cutting mat into the machine.
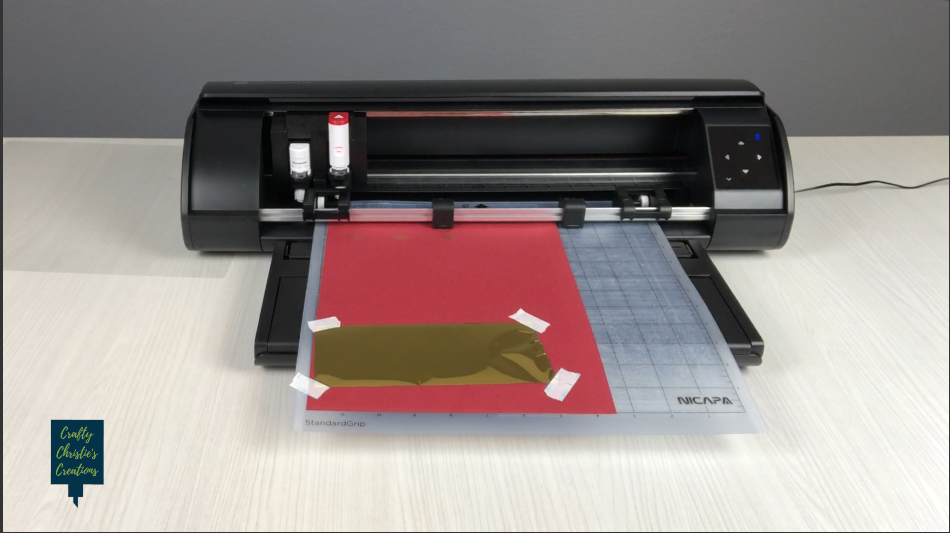
If you plan to cut the design after foiling, use the lower half of the cutting mat. This way you can leave the mat loaded in the machine while removing the foil.
When using the Foil Quill, set the action to sketch. To fill the entire design with foiling use the sketch panel or internal offsets.
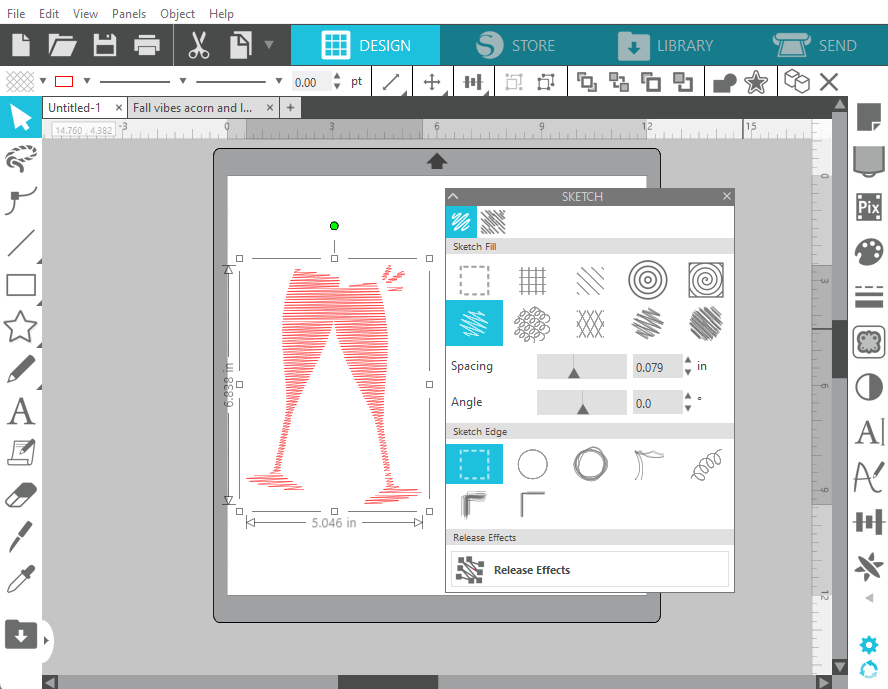
When using the Silhouette Heat Pen, software version 4.5.735 or later will display the Heat Pen Panel to fill the entire design, or make internal offsets.

The first time using the Silhouette Heat Pen a user defined material needs to be set up. I’ll walk you through the process here.
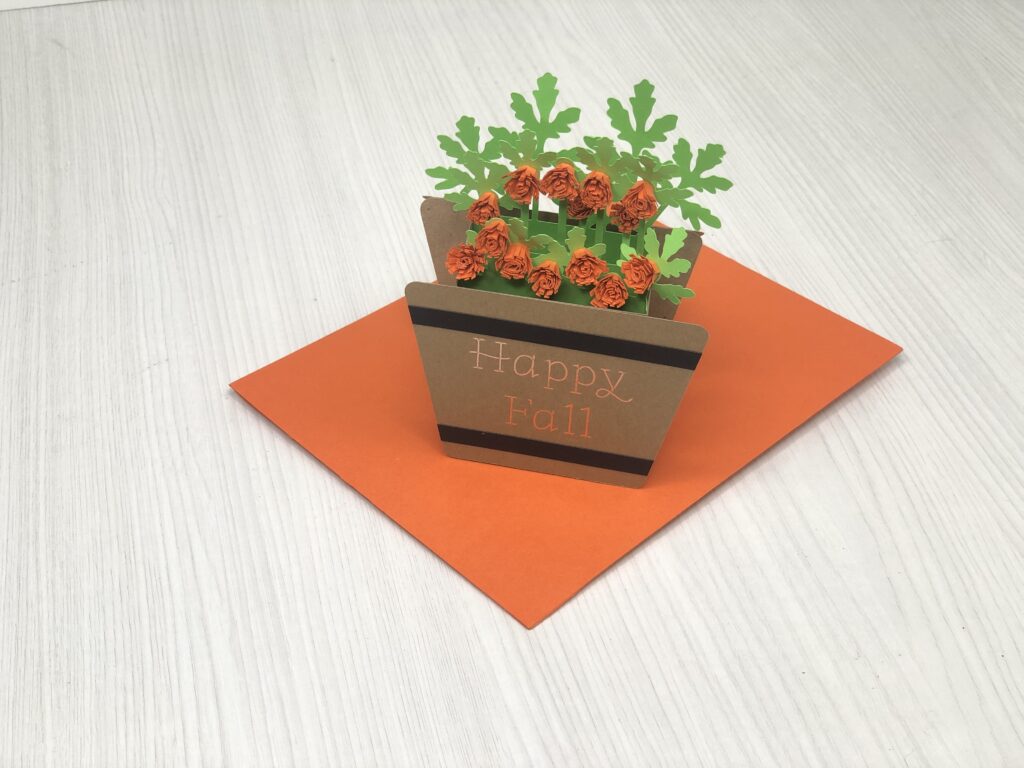
Send the design to the machine to be foiled! Once it is complete carefully remove the foil. If you will cut the design, remove the heat tool and load the cutting blade. Cut the outline of the design and display your foiled masterpiece!
For more information about heat foiling and project ideas check out these posts:
How to Use the Foil Quill in Silhouette Studio
Cameo 5 Heat Pen Setup and First Foil
Foil Christmas Card with Cameo 5


