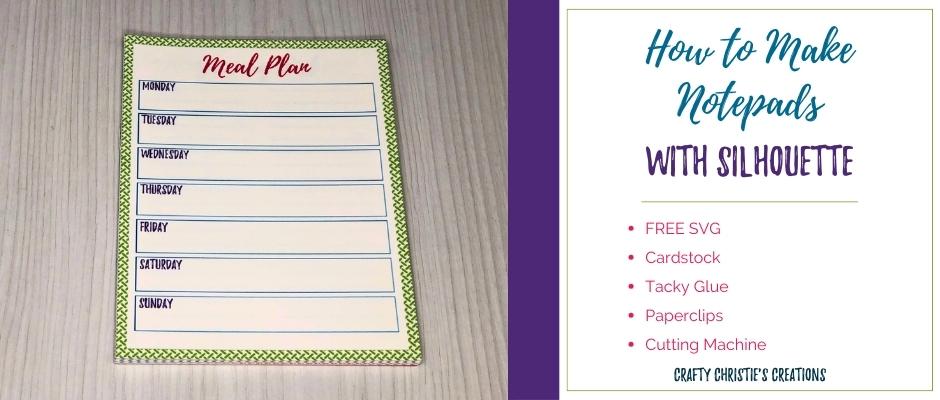
Do you create meal plans? How about a weekly grocery list? Personally, I have lists all over the house, and I’m great at losing them. Why not keep the meal plan and grocery list in the same notepad? In this post, I’ll teach you how to make a DIY notepad with Silhouette. Let’s dive in and explore the delightful world of stationery together!
Supplies:
White Cardstock
Tacky Glue
Paper Clips
Foam Sponge
Cutting Machine
4 FREE Notepad Pages (see below)
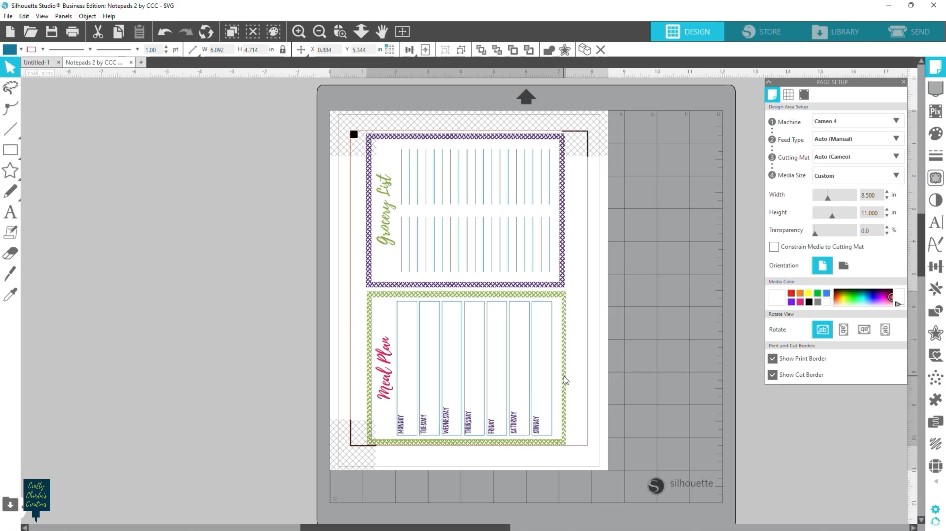
Step 1: Setting Up Print and Cut in Silhouette Studio
First things first, fire up your Silhouette Studio software. Import the notepad sheet designs and adjust them to your desired size. Turn on the registration marks, adjust the inset sizes, and draw a cut box around each sheet.
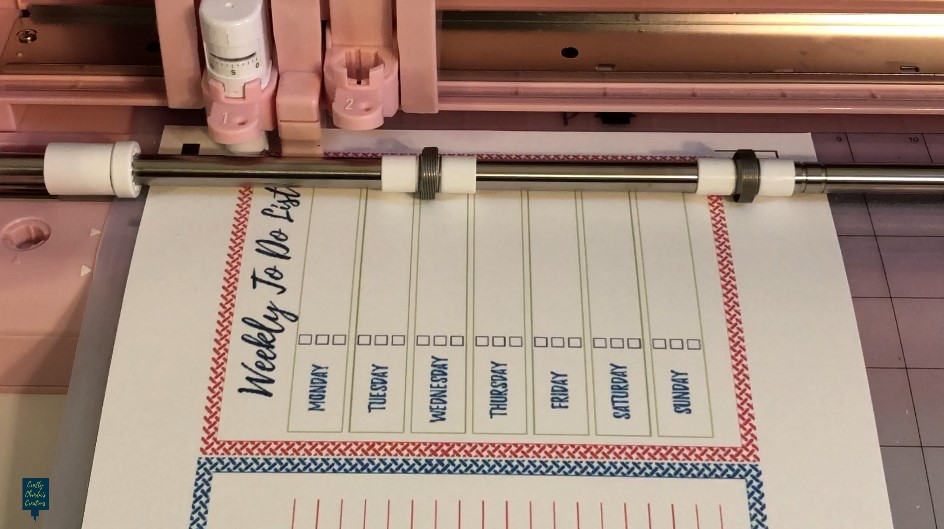
Step 2: Printing and Cutting Your Notepads
Once your designs are set, it’s time to print and cut. With the print border turned on, check your print preview page and make sure all the registration marks and designs are within the border. Print a few copies and cut them out. Place the page on the mat with the black square in the left upper corner. Do this for every page.
Step 3: Assembling Your Notepads
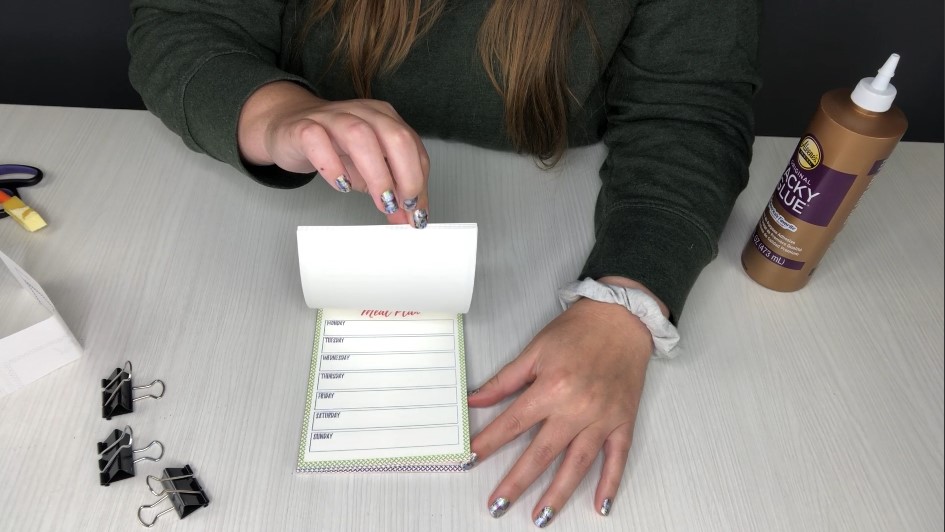
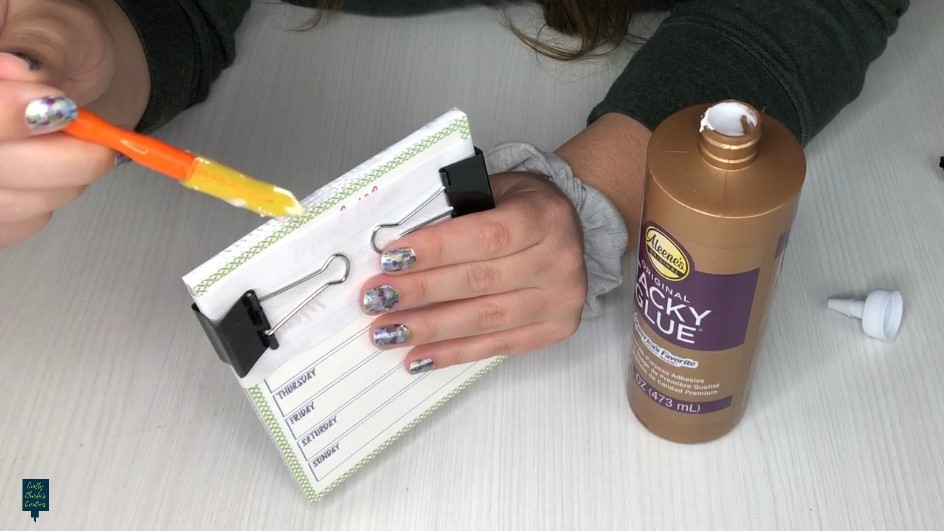
Now comes the fun part – assembling your notepads! Carefully stack the print and cut sheets together, ensuring they align perfectly. Use a strip of scrap paper to add padding under the paper clips. Clip both sides of the paper stack to hold the sheets together tightly. Apply glue along the top edge, creating a secure bond between the pages. Add another paperclip to the top and set aside for the glue to dry. Add another coat of glue and let it dry completely.
Crafty Tip: To make your notepads more professional looking, add a sheet of chipboard to the back of the stack.
Step 4: Enjoy Your Notepads
These DIY notepads aren’t just delightful for personal use; they also make fantastic gifts for friends, family, or colleagues. Additionally, consider showcasing your creations at craft fairs. Handcrafted stationery items are always a hit, and your unique notepads are bound to capture the hearts of buyers.