

Have you tried matless cutting? In theory, this is a wonderful idea. Today we will explore matless cardstock cutting using the pop-out cut feature with the Cameo 4. Follow along for my complete review of the feature.
Cutting cardstock has never been easy: the corners wrinkle, it doesn’t cut through all the fibers, or it warps from the sticky mat. Silhouette has another feature for matless cardstock cutting with newer machines like the Cameo 4 or 5 called pop-out cut.
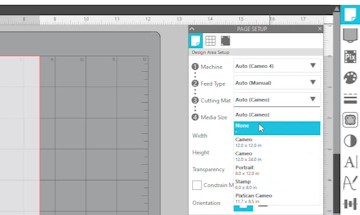
Step 1: Setting Up the Pop Out Cut
On the page setup panel, change the mat size to no mat. This will automatically trigger the pop out cut feature when cardstock material is selected on the send panel.
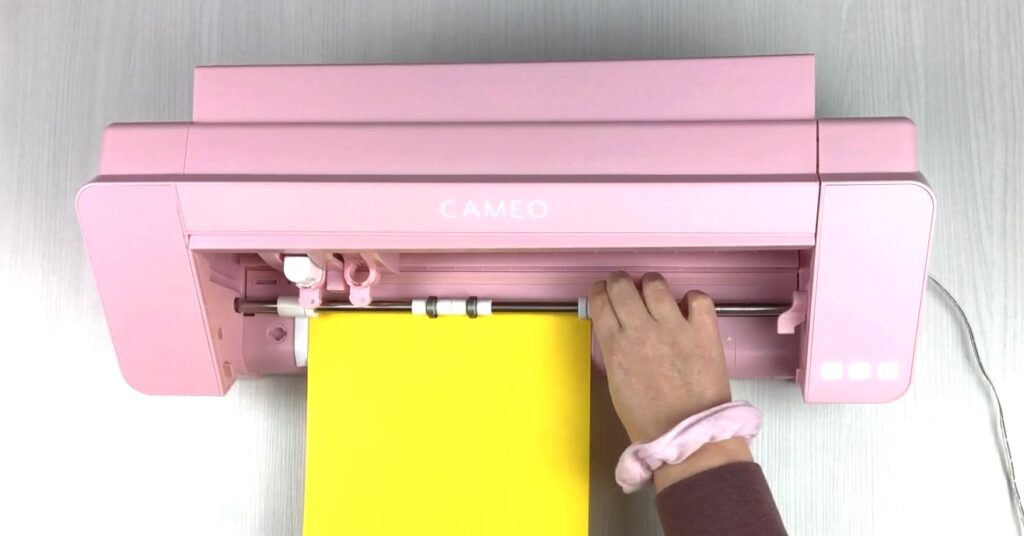
Step 2: Adjust the Rollers on the Cameo
If you usually use a 12×12 mat you have to adjust the rollers so the edge of the far roller goes over the edge of the cardstock. For the Cameo 4, push down the lever to lift the roller bar. Click the lock key on the far roller to slide it along the bar. When you are done making adjustments, lift the lever to lower the roller bar back down.
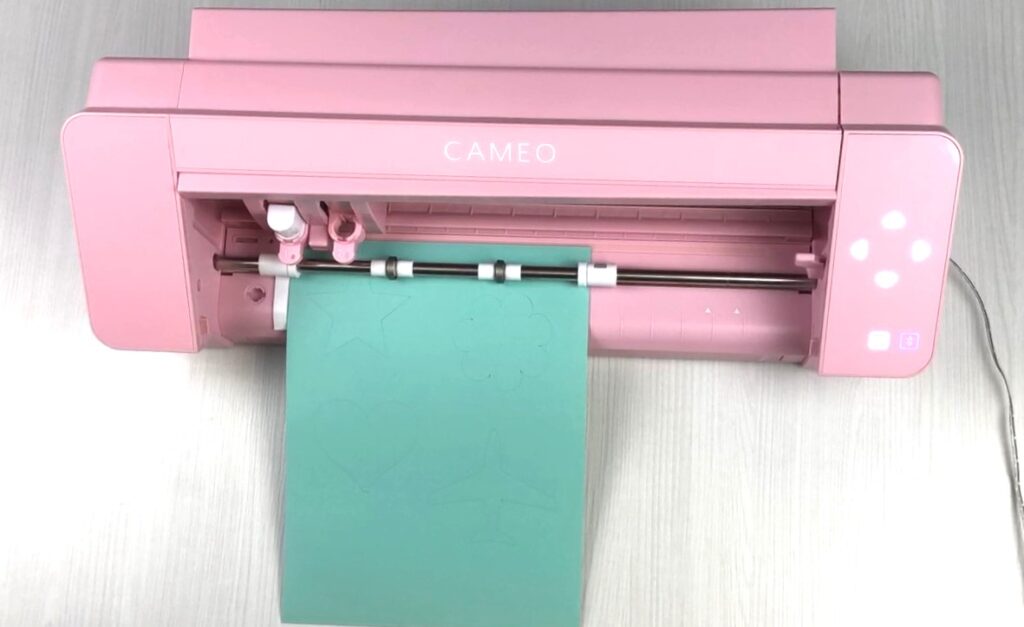
Step 3: Send the Design to Cut
Load in your cardstock like usual and hit send on the send panel. The pop out cut uses perforations to keep the shape attached to the sheet. Every so often while the machine is cutting it lifts the blade to create perforation areas. Each design usually gets 1 or 2 of these spots so the shape doesn’t fall out of the cardstock while it is still loaded in the machine.
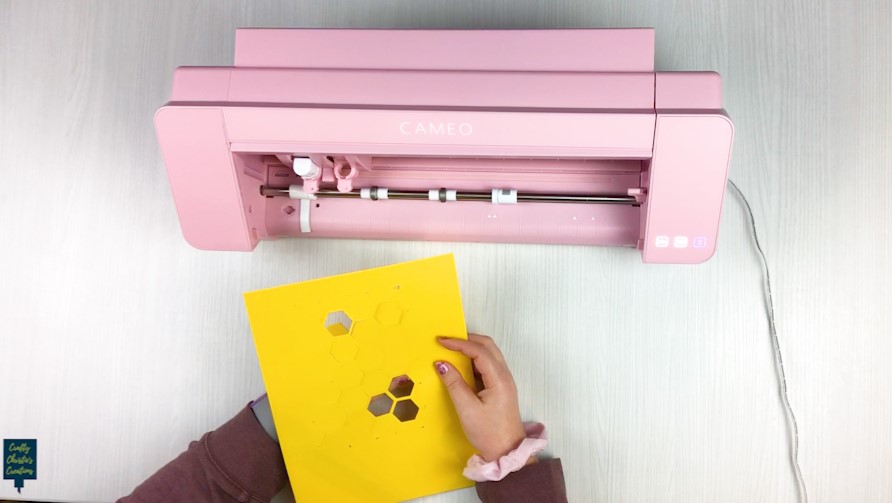
My Review:
I used this method to cut one of the thin layers of my Layered Bee Card from Astrobrights 65lb cardstock. It is an intricate cut and did not work with this method. I used a force of 33 to cut through this cardstock and with the perforations there was a lot of jumping and movement of the cardstock under the rollers. The edges were so bunched up that I wasn’t able to pull the design from the cardstock.
I tried again using some flexi shapes and Recollections 65lb cardstock. These shapes were not as intricate and I lowered the force to 25. There was less jumping and I was able to pull the shapes out of the cardstock.
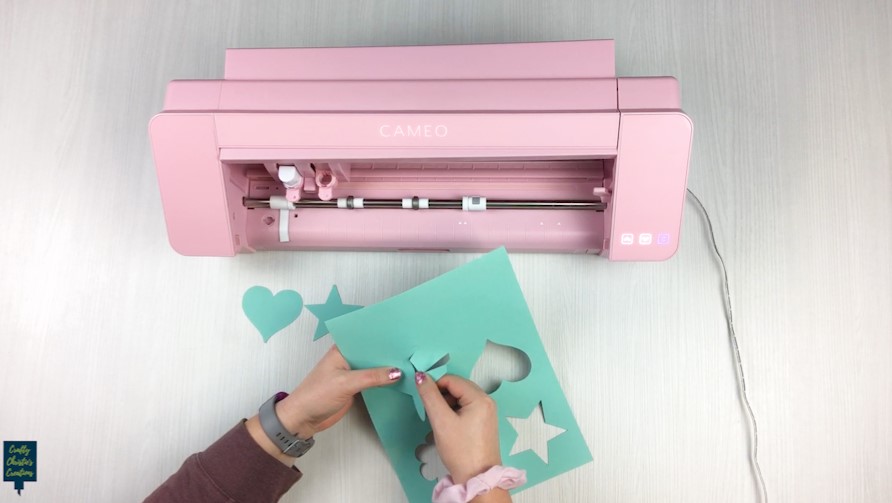
Overall, the perforations don’t allow for clean cuts so this is not a feature I will continue using. I like crisp clean lines and I can achieve that with the right cardstock and cut settings using my sticky mat. If you aren’t concerned about having perfectly clean cuts then this might be an option for you, it certainly makes the process quicker if you’re cutting multiple sheets since you don’t have to clean a mat in between.


