Please note: this post may contain affiliate links to products I use. When you purchase items from these links, I make a small commission that helps fund craft projects I share with you. This does NOT cost you anything extra, but it is a great way to show your appreciation for Crafty Christie’s Creations.
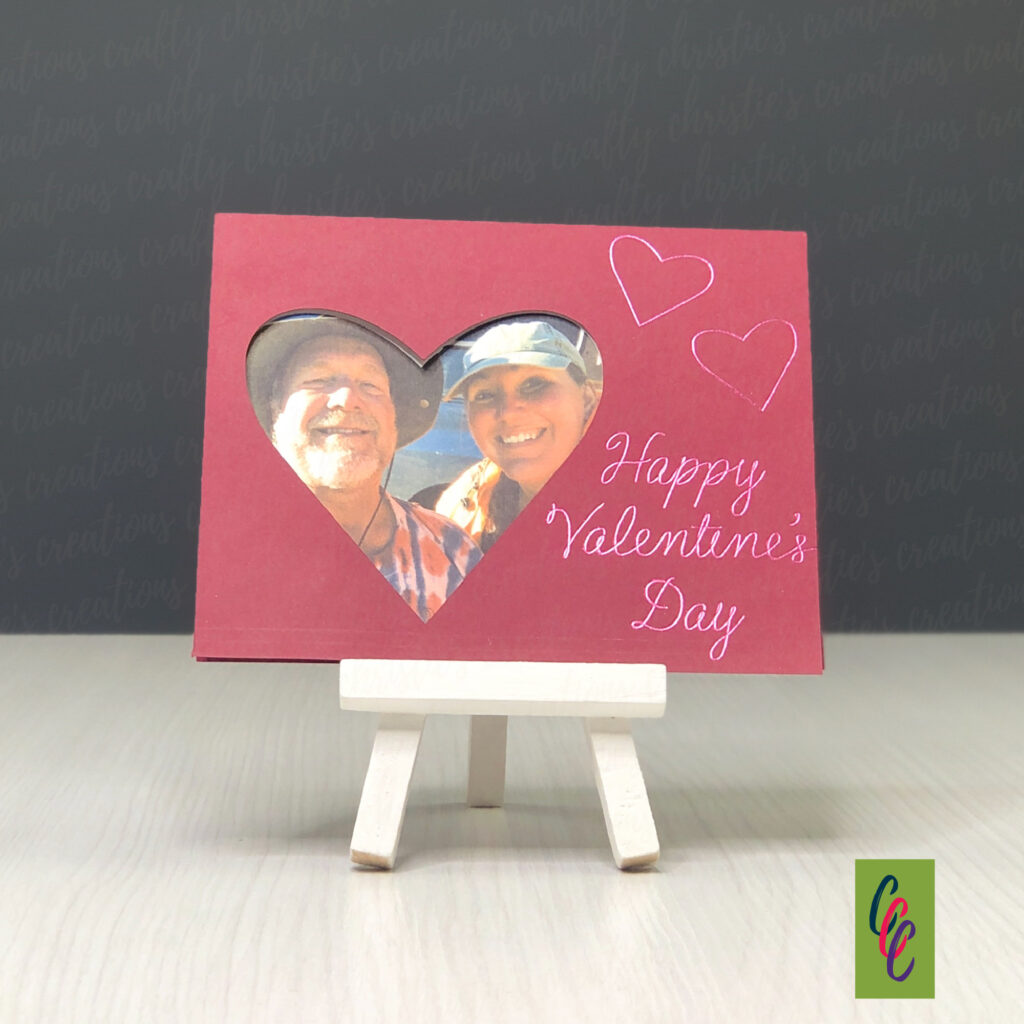
Ready to do something a little more personalized this Valentine’s Day? How about creating a card that has a photo inside in the shape of a heart? I’m going to show you how to use my Valentine’s Day Photo Card svg in Silhouette Studio to create beautiful cards for your loved ones.
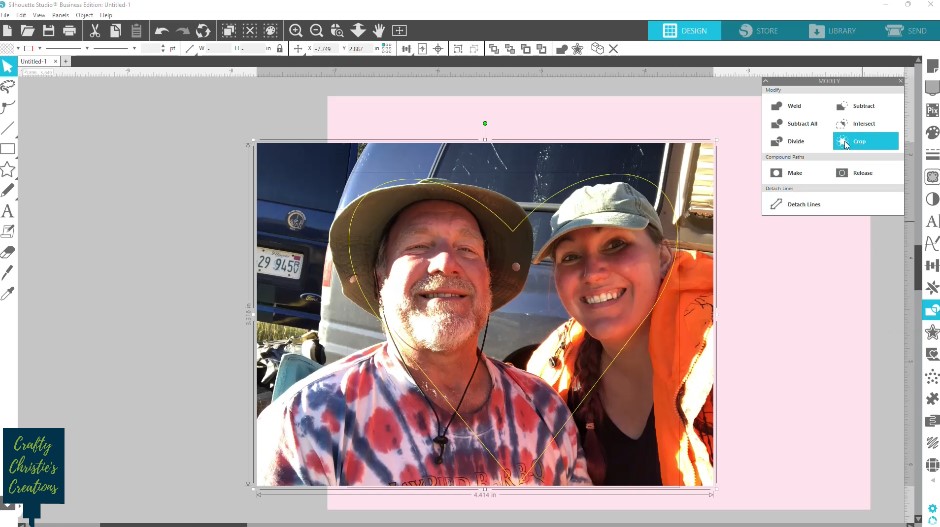
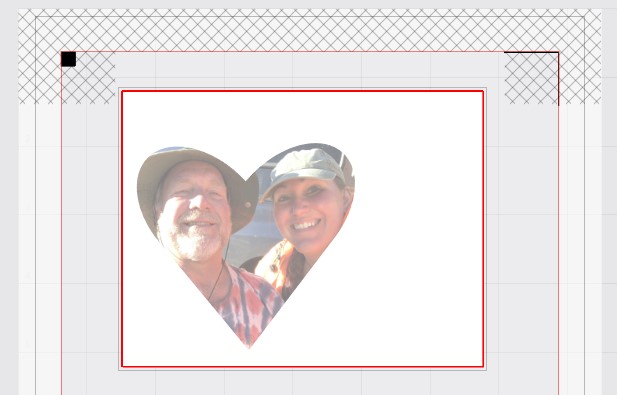
Once the design is loaded into Silhouette Studio, you’ll need to ungroup some layers. Be careful not to move the pink heart on its rectangle. Change the heart from a fill color to an outline color only. I like to use yellow because it is easy to see over a photograph.
Use the merge feature to bring in the photo for your card. Position the photo behind the yellow heart but in front of the pink rectangle. You might need to adjust the layers using the “bring to front” or “send to back” buttons.
Resize the photo to fit into the heart shape. When you have the photo in its ideal place, select it and the yellow heart and choose “crop” from the modify panel. This will delete the rest of the photo that isn’t inside the heart shape.
Step 2: Foil the Card Front
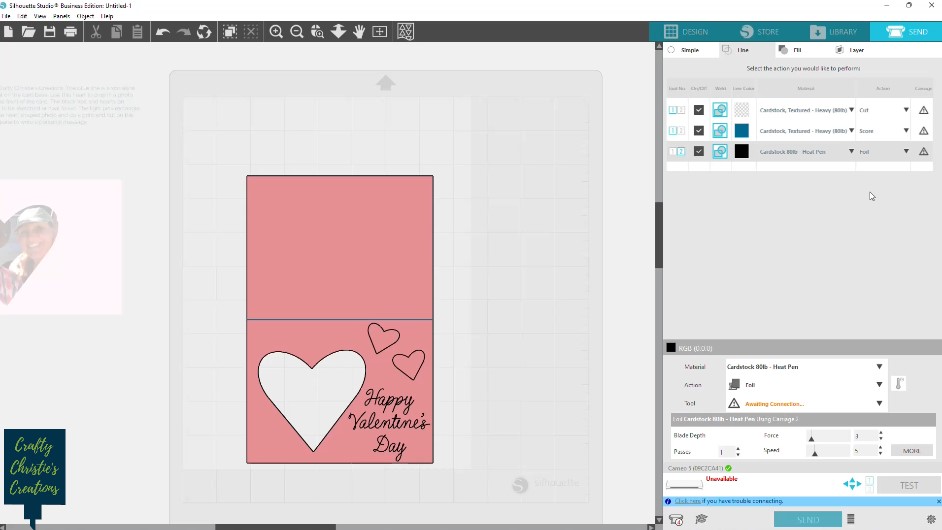
I’m demonstrating with the Cameo 5 and the heat pen, but this can also be accomplished with the Foil Quill. On the send panel choose actions by line colors. Select the black and change the action to carriage 2 using the heat pen. Check out this video to learn how to set up the heat pen.
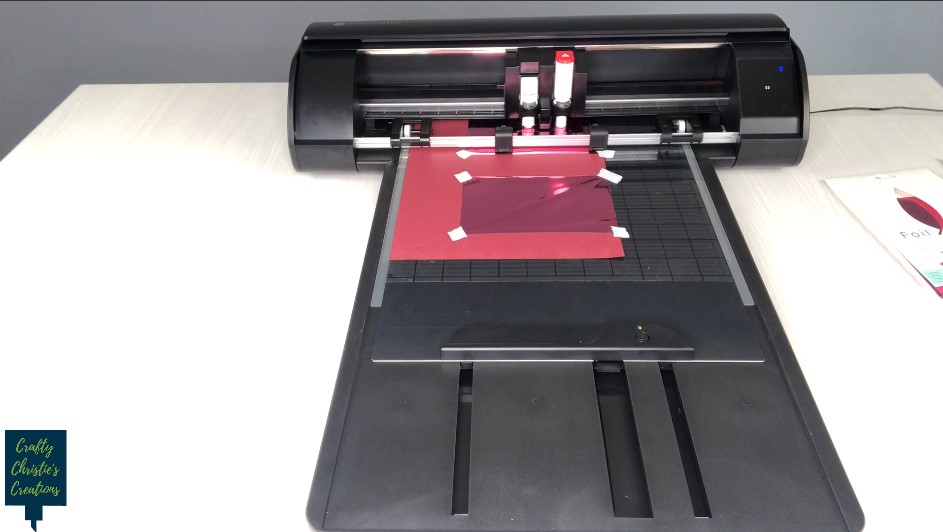
Apply the foil over the cardstock where the black hearts and text will be. Use low tack tape to secure the foil in a taught position and send the foil action to the machine.
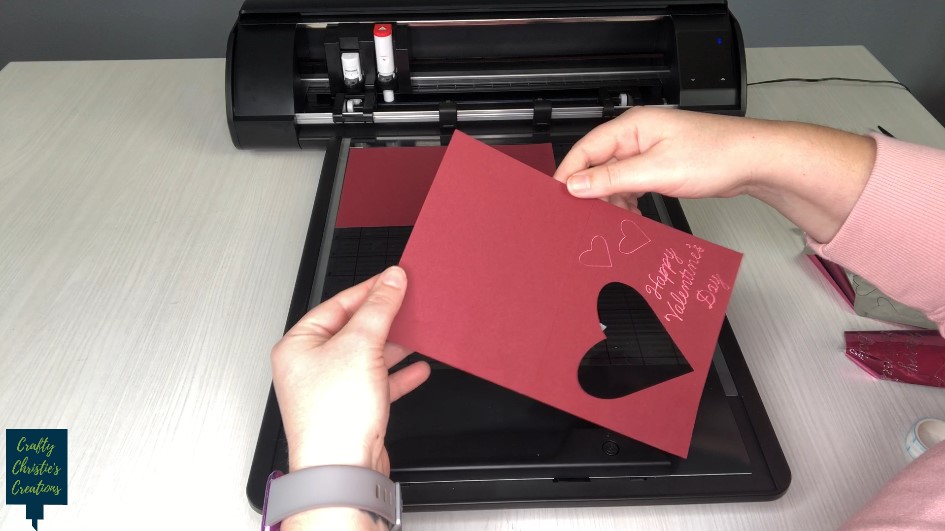
Step 3: Cut the Valentine’s Day Photo Card Front
Now that the foiling is done, carefully remove the foil. In the send panel select the blue and change that action to score and the red and make that action a cut using carriage 1.
Step 4: Print and Cut the Inside Card Layer
Change the color of the pink rectangle if you don’t want it to print that color. Then group the photo heart and the rectangle so the heart doesn’t move from its position. Turn on the registration marks and send these to the printer.
In the send panel, select to cut outline. This should cut just the rectangle, not the heart photo. Send the inside layer to the machine to cut.
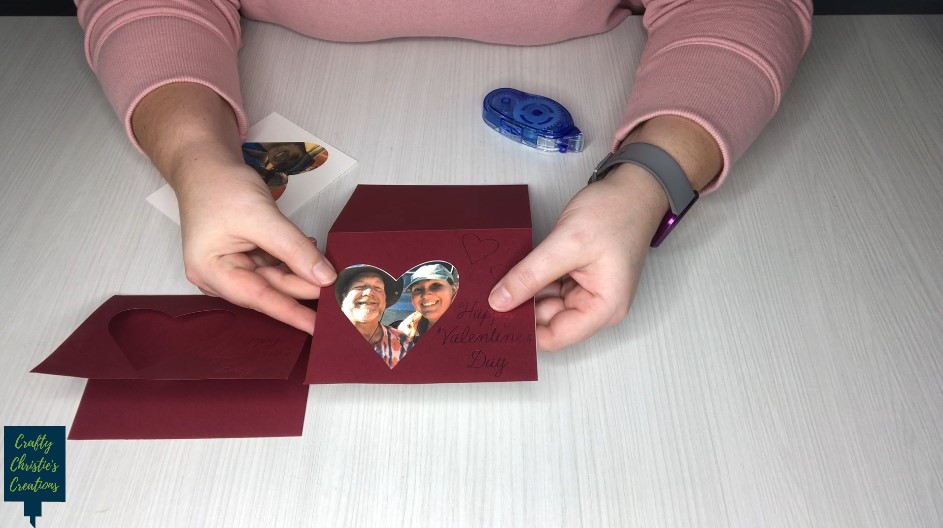
Step 5: Assemble the Valentine’s Day Photo Card
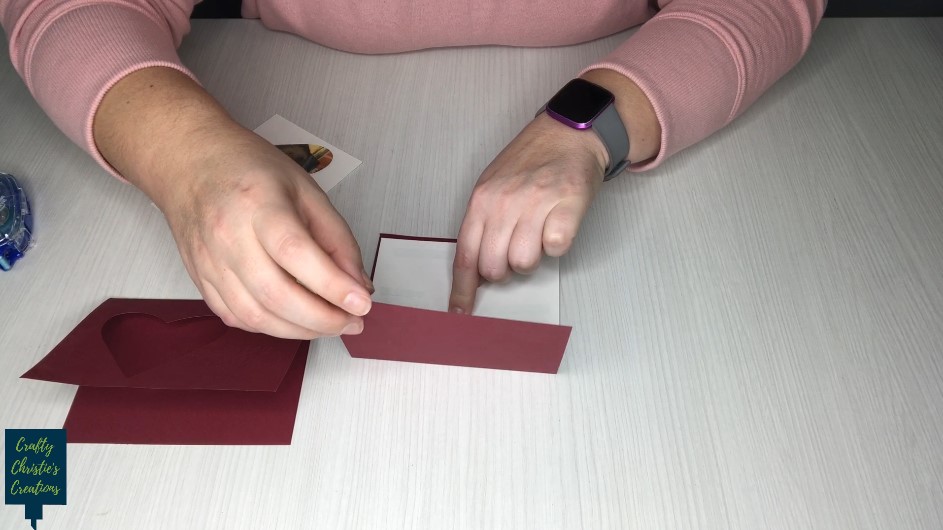
Apply glue or tape runner to the back of the print and cut layer. Align the heart photo inside the heart cutout on the card front. Try not to move the inner layer as you lay the card front on the table.
Then flip closed the back of the card on top of the inner layer.