DIY Napkin Rings

Please note: this post may contain affiliate links to products I use. When you purchase items from these links, I make a small commission that helps fund craft projects I share with you. This does NOT cost you anything extra, but it is a great way to show your appreciation for Crafty Christie’s Creations.

Design DIY Napkin Rings in Silhouette Studio

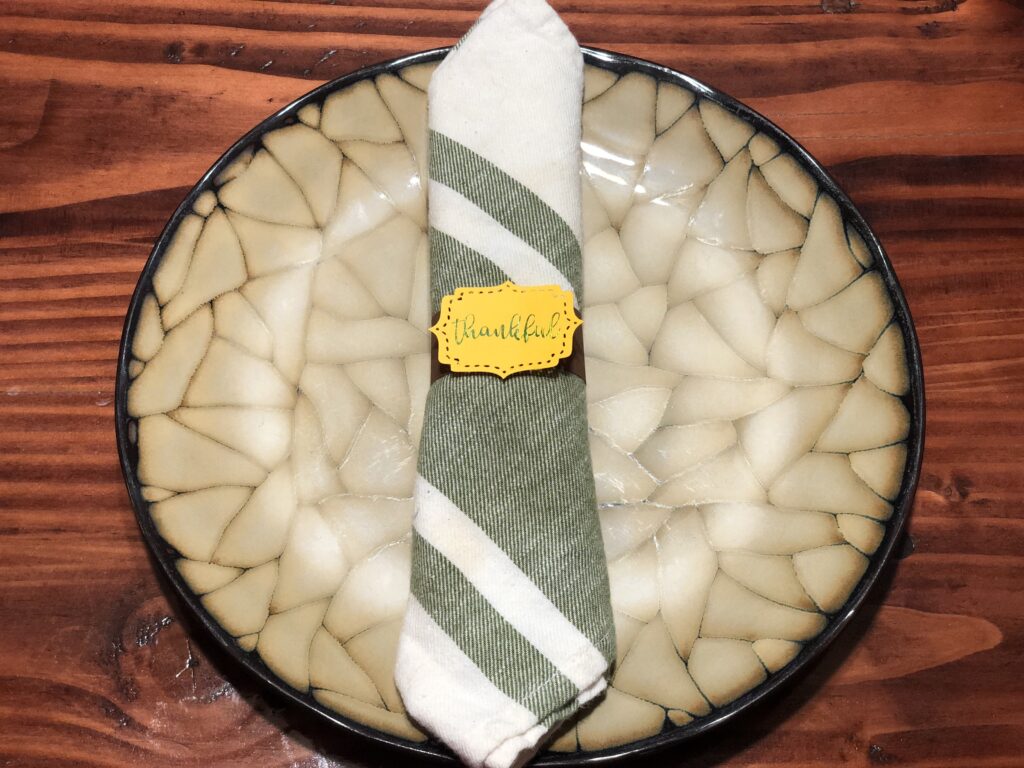
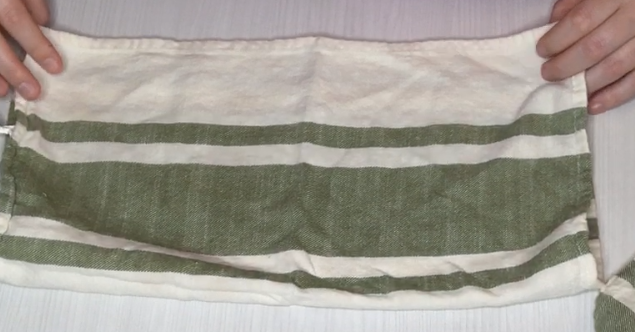
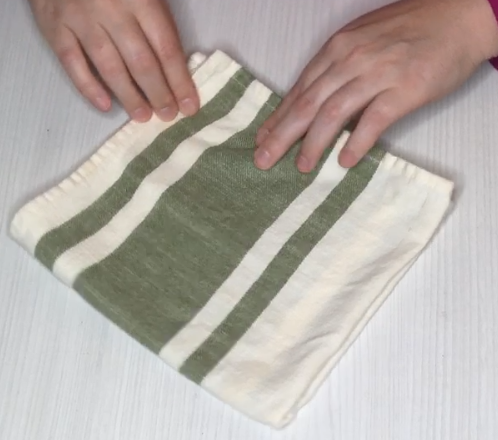
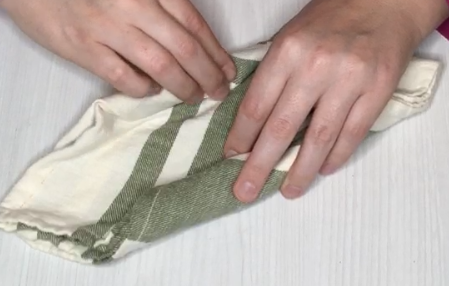
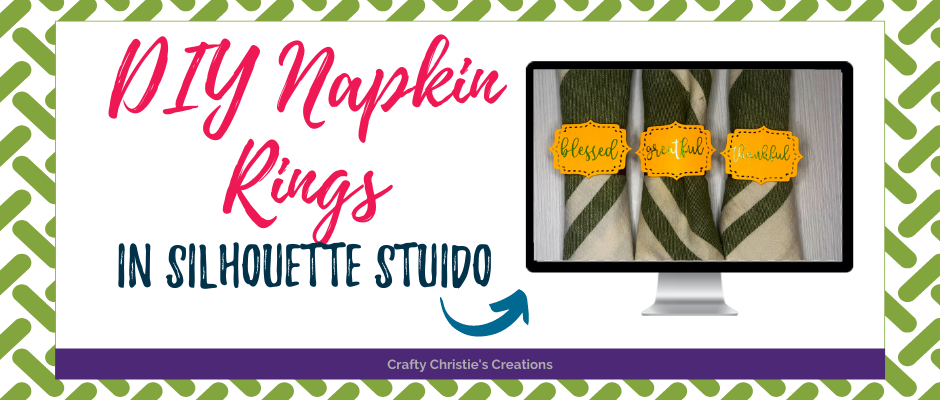
Are you looking for something special to spice up your dinner table? How about a quick and easy DIY that still looks professional? Nothing says fancy like a nicely folded cloth napkin sitting in a ring. Follow along to learn how to design some simple, yet elegant diy napkin rings.
 

Supplies:

Cloth or Paper Napkins
Foam Squares
 

Instructions in Silhouette Studio:

Step 1:

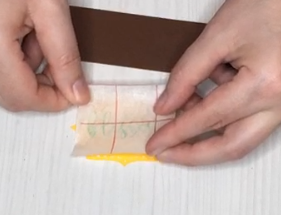
Draw out a rectangle 6 inches long and 1.5 inches tall.

draw out the diy napkin ring itself

Step 2:

Use the line tool to make cut lines .25 inches from each end of the rectangle. Each line should be .75 inches tall. Place one line at the top of the left side and the other at the bottom on the right side.
Add cut lines to the diy napkin ring

Step 3:

Make a tag for the front of the ring. You can use a flexishape or I used my faux stitched die shape in my finished napkin rings. Lock the ratio aspect and make the tag 2 inches tall.
add the flexishape to the front of the diy napkin ring

Step 4:

Write out the text and center it on the tag. Don’t forget to weld the text if using a script font.
write your text on the yellow shape

Step 5:

Cut out the ring and tag from paper and the word from vinyl.
 

Step 6:

Use low-tack transfer tape to place the text on the tag.
place vinyl word on the yellow shape

Step 7:

Use foam squares to pop up the tag on the ring.
add foam tape to pop up the yellow tag on the diy napkin ring

Step 8:

Fold the napkin and wrap the ring around it. Slide the slits in the ring together and lay the ends flat.
fold the diy napkin ring around the napkin

Step 9:

Display your napkins proudly at your next dinner party!
display your diy napkin ring

How to Fold the Napkin

Step 1:

Lay the napkin flat and fold it in half the long way.
fold the napkin in half

Step 2:

Fold the napkin in half the short way to make a square.
make the napkin square

Step 3:

Roll up the end with all the openings to the center
roll half the napkin towards the center

Step 4:

Roll up the other end to the center
roll the other side to the center

Step 5:

Apply the napkin ring
fold the diy napkin ring around the napkin
I really love how these turned out! I think they really complete my Thanksgiving table display. Even though these are cloth napkins, I still like to add my Pumpkin Napkin Holder to the center of my table. You can never have too many napkins right!?!?
 
For the full details check out the video below.
Picture of Crafty Christie

Crafty Christie

Silhouette Tutorialsist and SVG Designer

Hi! I'm Christie!

I am passionate about helping other crafters unlock their creativity and take their crafting skills to the next level.

Let's Connect!

Blog Categories

Design Faster with Silhouette Keyboard Shortcuts