DIY Wine bottle tags

Please note: this post may contain affiliate links to products I use. When you purchase items from these links, I make a small commission that helps fund craft projects I share with you. This does NOT cost you anything extra, but it is a great way to show your appreciation for Crafty Christie’s Creations.

Create DIY Wine Bottle Tags in Silhouette Studio

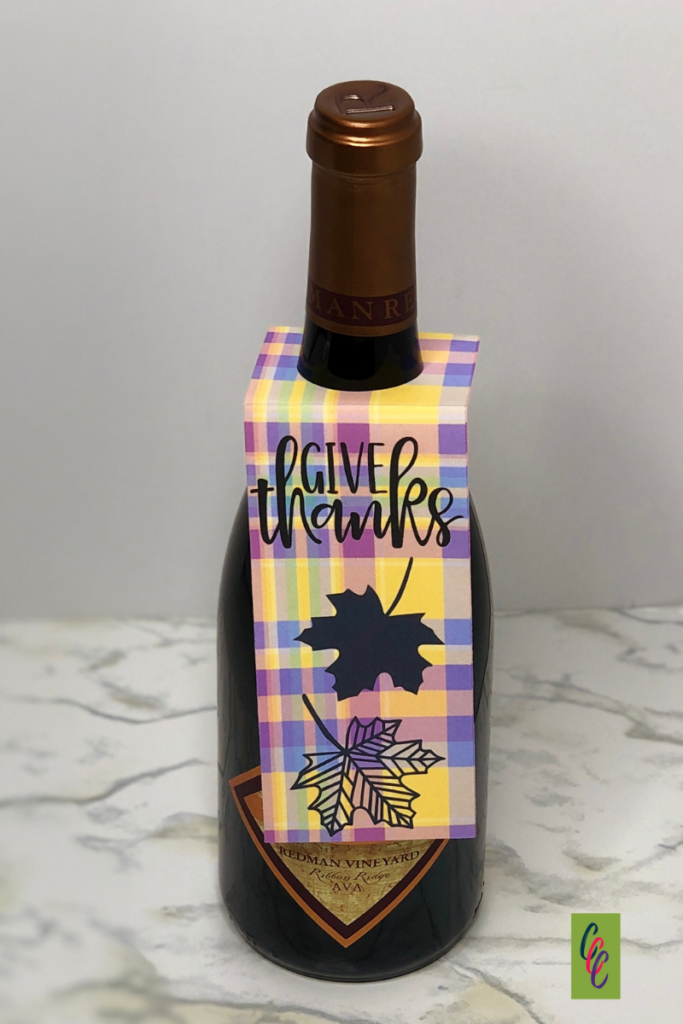
Are you stocking up on wine to take to parties and to send as gifts? Wine is always a great option for a host(ess) gift, Secret Santa, and of course birthdays. But you need to dress up those bottles so it doesn’t look like you just stopped at the store on your way over. This is why DIY wine bottle tags are a necessity.
 
Fire up Silhouette Studio and in under 5 minutes, you can have yourself the perfect tag for your occasion. I recommend making a few different ones and keeping them stashed away for last-minute wine gifts.
 
Is wine not your thing? No worries, these tags will fit on any bottle, even that fancy BBQ sauce bottle.
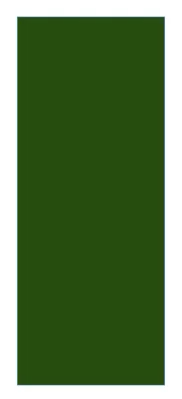
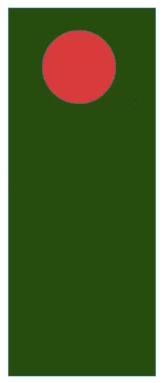
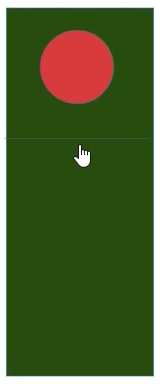
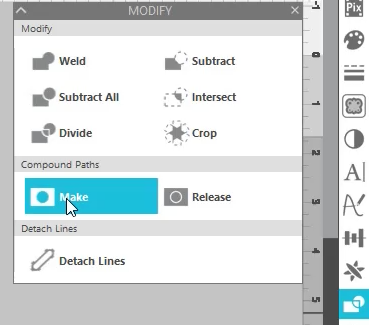
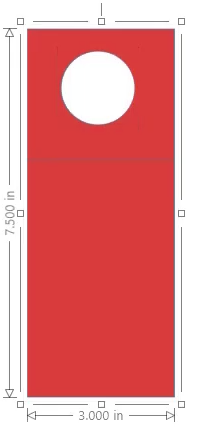
 

Supplies:

Bottle of your choice
 

Instructions in Silhouette Studio:

Step 1:

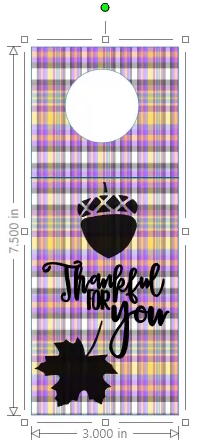
Draw a rectangle that measures 3 inches wide x 7.5 inches tall.
draw a rectangle to serve as the base of the diy wine bottle tag

Step 2:

Draw a circle that measures 1.5 inches and align it to the center in the rectangle slightly below the top.
at the circle to the rectangle to serve as the hole in the diy wine bottle tag

Step 3:

Make a scoreline straight across the rectangle slightly below the circle.
add a scoreline to let the tag lay in the bottle

Step 4:

Rubberband select the circle and rectangle and make them a compound path.
make a compound path
tag with hole

Step 5:

Add your saying and SVG designs to the bottom half of the tag.
add sayings and svgs to bottom half of tag

Step 6:

Add a pattern to the background and choose the transparency level. Check out this post for more information on adding custom patterns to Silhouette Studio.
digital pattern added to diy wine bottle tag

Step 7:

Change the line color for the tag to red and the scoreline to blue. This makes it much easier when it is time to cut.
 

Step 8:

Turn on the registration marks to get ready for printing and cutting. Be sure everything fits within the print border and the cut border.
prepare print and cut

Step 9:

Print your design and then cut by line color. Only turn on the red outline color for cutting and make the blue scoreline a score action. Make sure you have the correct media selected for both actions.
 
cut by line color

Step 10:

Add your tag to your bottle for a festive look for the dinner table.
 
completed diy wine bottle tag

Check out the video below for the full tutorial.

Picture of Crafty Christie

Crafty Christie

Silhouette Tutorialsist and SVG Designer

Hi! I'm Christie!

I am passionate about helping other crafters unlock their creativity and take their crafting skills to the next level.

Let's Connect!

Blog Categories

Design Faster with Silhouette Keyboard Shortcuts