
I’ve been slowly cleaning out and reorganizing my pantry. It is amazing how much food and supplies get duplicated in a messy pantry. Part of this journey led me to add more spice jars to my collection. I love having them all looking uniform on my over-the-door hanging spice rack.
I’m sure you can relate to my Type A personality which demands clean lines and organization. Well except for my craft room, it seems to always be a disaster zone…
What better way to organize than by making my own DIY Spice Jar labels? Like most crafters, I am always looking for a reason to fire up my trusty Silhouette Cameo.
Supplies:
Spice Labels SVG
Rubbing Alcohol
Lint Free Cloth
Step 1: Cutting the Vinyl
My spice jar svg file contains 45 different spice labels. This should cover the basics. I’ve been known to make custom labels for anything that is missing. To make these labels fit the Ikea Rajtan jars, resize each label to 2.2 inches round. Then cut them out of permanent vinyl. I went with black for a classic look but these will look great in any color.
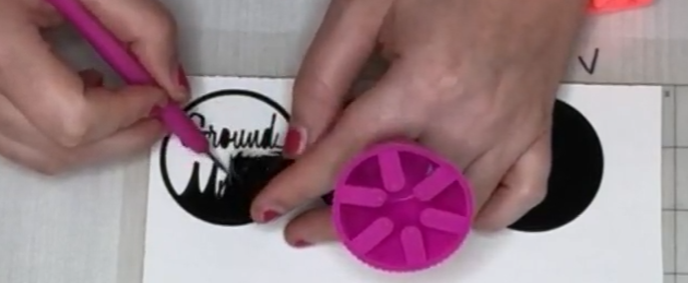
Step 2: Weed the Designs
This is probably my least favorite part. Sometimes I struggle to get all the vinyl out of the opening in “E”s and such. Take your time with this process, you don’t want to pull up the wrong parts and end up recutting labels. I have really been enjoying using my Dollar Tree weeding tool and vinyl scrap holder (aka nail polish holder). These tools make the job a lot easier and clean-up is a breeze.
Step 3: Clean off the Jars
Use rubbing alcohol and a lint-free cloth to wipe off the jars. This is a super important step to get rid of all the oil, fibers, and residue on the glass to ensure the vinyl adheres well.
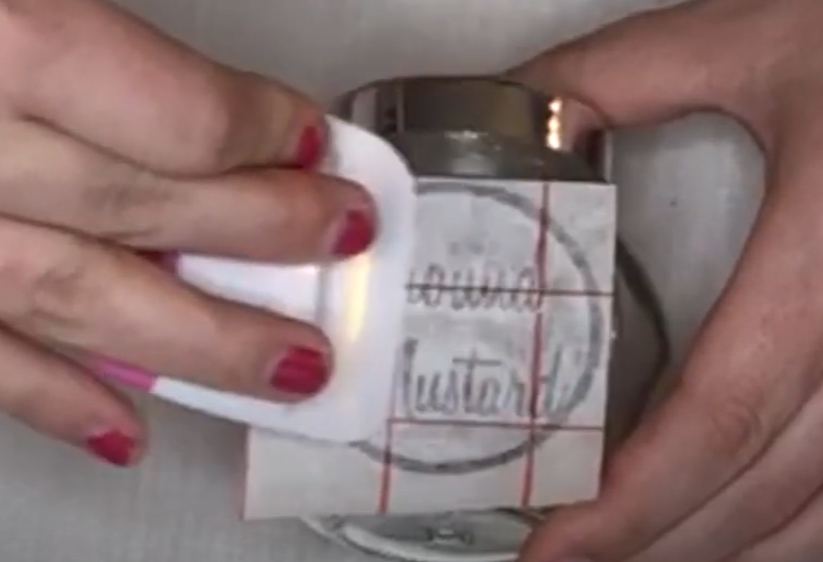
Step 4: Apply the Labels
Use transfer tape to get the vinyl off the carrier sheet. Align the edge of the circle with the edge of the flat surface on the jar. Lightly lay the vinyl on the glass so you can still maneuver it if needed. Once the vinyl is in position, use your scraper tool to burnish down the vinyl. Slowly peel up the transfer tape at an angle. If any letters are coming up, reapply the transfer tape and burnish down those areas again.
Perfectionists beware: these jars have a small flat circle on one side. You’ll want to have your vinyl labels consistently on the same side of the jar.
Step 5: Show Them Off!
Now that you have some professional-looking spice jars, don’t forget to put them on display!
Check out the video below for more details


