
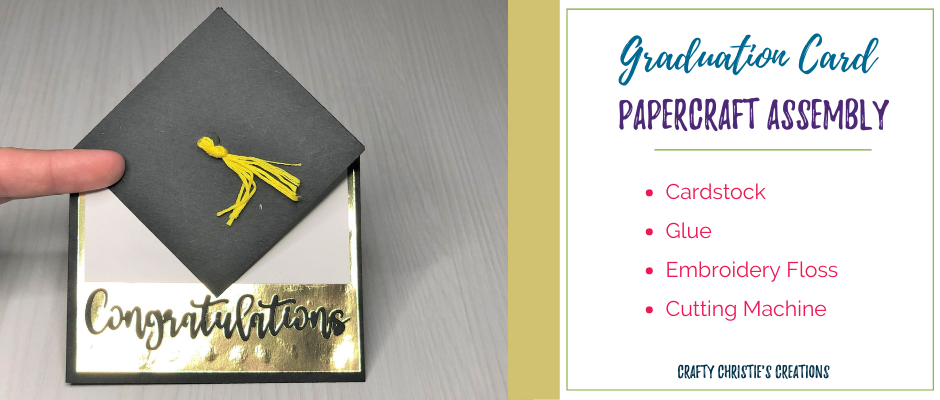
Are you looking for a fun homemade card to celebrate graduation? Look no further than this super easy to make graduation cap card. With a few fancy bends and some cardstock layering, you’ll have yourself a fantastic 4.25 x 5.5 inch card to give to your graduate.
Supplies:
Glue Dots
Embroidery Floss – Yellow
Directions:
Cut and score the Graduation Card SVG cut file using your favorite cutting machine. I’m partial to my Silhouette Cameo 2. I like to cut by line color so that I can tell the machine which lines to cut and score and get it done all at once. I chose to use the layer that had the word congratulations cut out of it. To do this, I used the overcut button to make the word come out cleanly. In fact, I can save the word and use it on a different project.
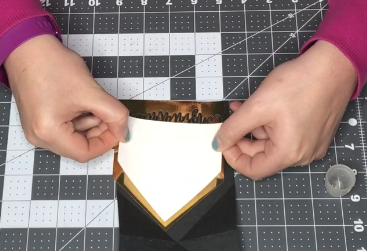
When it comes to layering cardstock, foil is always tricky to use. Since the cardstock is not porous, it does take longer to dry so I like to layer on these first. The shininess is a bit unforgiving, so you really only get one shot at layering so the glue doesn’t show. I like to hover my layer over the gold foil and once I’ve got it in the correct spot I’ll lay it down.
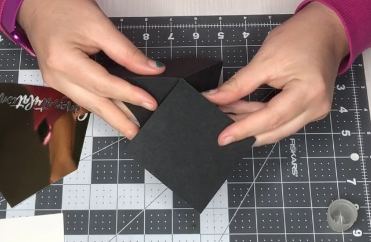
On the black card base, fold and crease the scorelines. The line that goes left to right across the card will fold in towards the center to make a diamond shape for the top of the card.
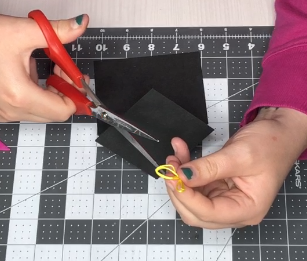
Grab some embroidery floss and cut it about 1 foot long, maybe a bit longer if you’d like longer tassel strings. Fold the floss in half until you’re left with 2 inch lengths of string. Tie a knot in one end and cut the loops on the other. Use a glue dot to adhere the tassel to the front of the card.
All that is left is to add the layers to the inside of the card. Be sure to leave a gap around the edges so all the colors can be seen. Stamp or write your message on the top layer. You can also do your sentiment as a print and cut if you’d like.
Your graduation card is complete!
For the full assembly check out the video below!


