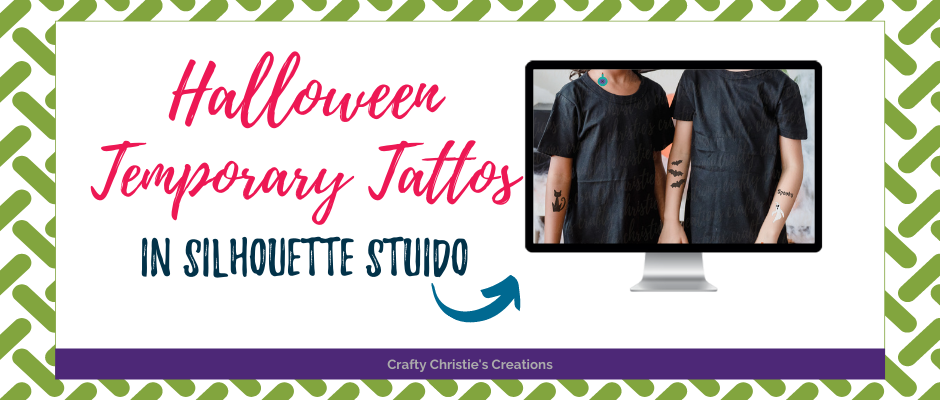
It feels like it has been a while since I’ve done a craft project that doesn’t involve glue. I’ve been racking my brain for some more fun Halloween crafts and then I found a package of tattoo paper I bought a while ago. So I bring you Halloween tattoos!
These can easily be made from any SVG or PNG you have in your library. Just like with stickers, the kids are going to go nuts for these fun Halloween treats.
Not only are they a fun way to celebrate, but they make a neat alternative to passing out candy. What parent won’t thank you for sparing a little extra sugar, am I right?!?!
Supplies:
I have to throw in a little warning here: I had a brain fart and purchased tattoo paper made for laser printers. I have an inkjet printer. Also, that annoying light is flashing on my printer saying it’s time for more color ink. So your results will most likely be much better if you use the correct paper and aren’t running low on ink.
The nice part is that this is a super quick project. Pull in your favorite SVG files. I’m using my Halloween SVG Bundle, but any SVG or PNG will work great.
Set up your media size to fit your printer, for me this is letter size. I turned on my print border so I can make sure to not cut off any of the designs. Fill the page with fun SVG designs. I opted to fussy cut mine instead of adding a cut border. You can certainly do this, you’ll just want to cut after applying the sticky adhesive. You’ll need to play with your cut settings to cut through both layers.
Once you have your page filled, select all the designs (Ctrl + A) and group them together (Ctrl + G). Now mirror your design and delete the original.
Send your page to the printer and then apply the adhesive sheet. Per the directions that came with the tattoo paper, it suggests drying the ink before applying the adhesive sheet when using an inkjet printer. I dried mine with my heat gun. If you’re patient, wait an hour for it to dry so your page doesn’t warp. This will make adding the adhesive much easier.
When applying the adhesive sheet, start in one corner and slowly cover the entire page. I took my tattoo paper and laid it on my cutting mat to help hold everything still. Use one hand to smooth out the adhesive while pulling away with the other. Much like you would do when applying transfer tape.
Now just cut the tattoos down to size and apply them to the skin. My paper is clear, but I still cut the tattoo down pretty close to the size of the graphic. That clear adhesive will still show up on the skin.
Another word to the wise I forgot to mention… Printers don’t print white ink so I made my ghost a little off-white/ gray so they would show up.
That’s it! Such a fun and easy project. Your kids will thank you for these. Also if you are thinking about getting a real tattoo, try it out as a temporary one first to make sure you really love it.
Check out the video below for all the steps on how to make Halloween temporary tattoos.


