how to make a graduation banner in silhouette studio

Please note: this post may contain affiliate links to products I use. When you purchase items from these links, I make a small commission that helps fund craft projects I share with you. This does NOT cost you anything extra, but it is a great way to show your appreciation for Crafty Christie’s Creations.

How to Make a Graduation Banner in Silhouette Studio

Graduation is usually a time for big celebrations and family gatherings. I remember my senior year of high school, that summer I had a party to attend almost every weekend through July! I can’t even imagine all the memories our 2020 seniors are missing out on this year.
 
In an attempt to make things extra special, I’m going to walk you through the steps of making a graduation banner from scratch, well almost scratch! Reader be warned, this is more of an intermediate user project. If you’re anything like me, you never start with a simple project, so no worries, I’ll hold your hand while we complete this one together.
 

Supplies:

String
 
I start off with a blank canvas that is 12×12 and turn down the transparency so I can see the grid lines on the mat. Later, I’ll end up switching to full white canvas and turning on my grid lines so I can see the half inch marks too. I suggest starting here to save yourself a little work later.
 
Make the banner base first. Grab the rectangle tool and draw a rectangle. I went with 3 inches wide x 5 inches tall. Now to add the split to the bottom to make it look like a ribbon. Double tap on the rectangle to bring up the point editing.
 
point editing
We are going to add an extra point at the bottom. Hover over the bottom where you want to add another point. Once your mouse becomes a small arrow with a / line, click on the rectangle and it will add another dot.
 
add point at the bottom
Click on the point, we just added and drag it up. You can accomplish this by using the arrow keys or by clicking and dragging. I like the click-and-drag method when moving a far distance. Moving this point will give us the ribbon look. Use the gridlines to get the point centered from left to right. Give your banner a fill color to make it easier to see.
make banner shape
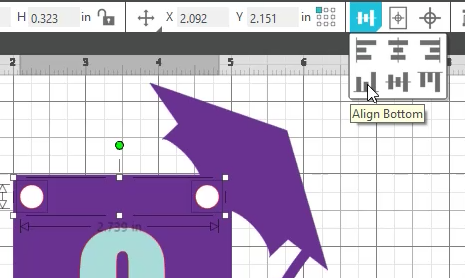
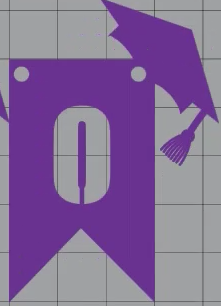
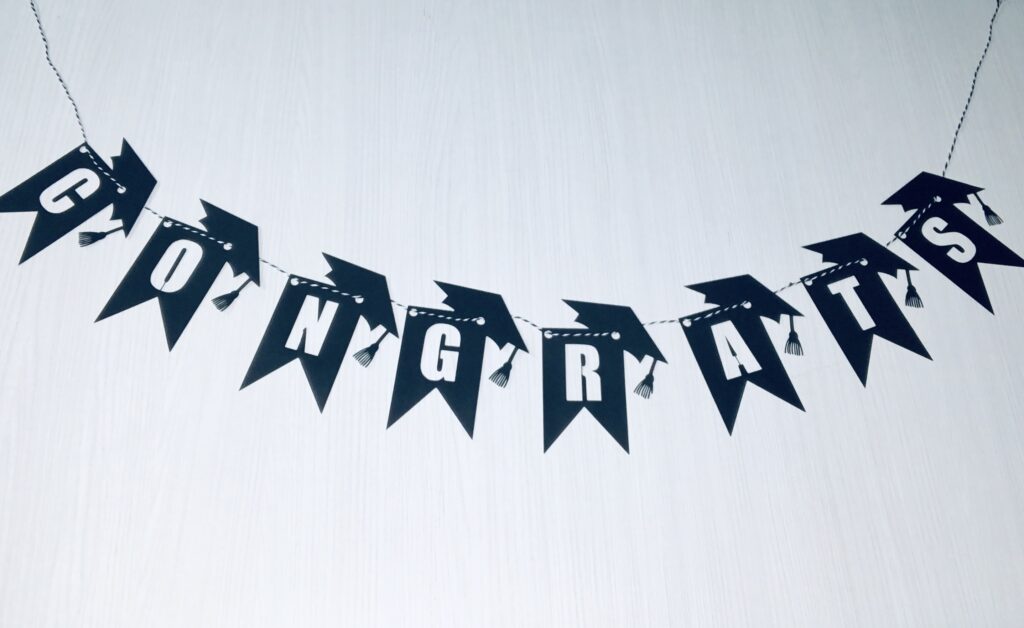
Now that we have the base of the banner complete, its time to add the words. I’m spelling out “Congrats” but feel free to spell anything you’d like. Remember you’ll need to do one letter at a time. Type out all the letters, choose a font, I used Impact, and give them a fill color. Place a letter on the banner to figure out the font size. Before moving forward, now is a good time to make all the letters the same size, I forgot to do this and had to eyeball it later.
 
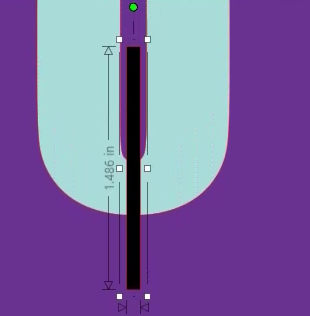
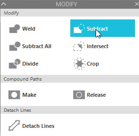
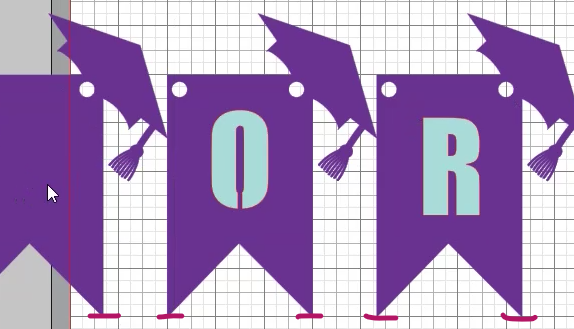
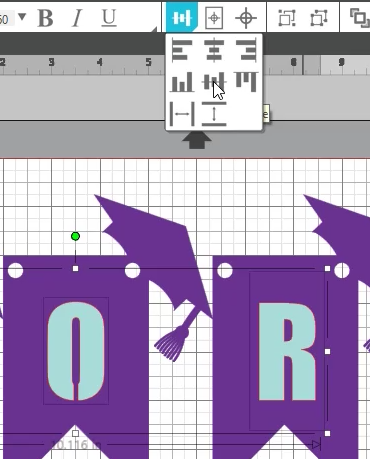
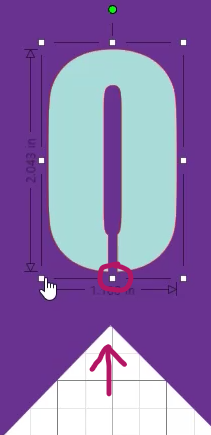
This next step is only necessary depending on the font you choose and the look you want. Since this is being cut out of paper, the center of the letters like A, O, R, and such will fall out. This is the trick I use to keep the center of the letters in place. Draw a thin rectangle and place it over the letter to connect the center to the outside of the banner.
making the stencil letter
Make a duplicate of your thin rectangle so you can use the same size on all your letters. Now hold down the shift key while you select the thin rectangle and the letter, then go to the modify panel and click subtract.
 
subtract button on modify panel
This will cut out the bottom piece of the letter and leave the middle of the letter to connect with the banner. This will make more sense when we use the same method to subtract the letter from the banner in a minute.
cutout
Continue to do this to all your letters that have cut out pieces. In the video, I show you how I do this for my Rs and As too.
 
Now let’s add the circles that will be cut out for the banner string. Use the ellipse tool, hold down the shift key while expanding the ellipse and it will make a perfect circle. Place it in the top left corner where you want it.
 
cut out holes in the corner to feed string through to hang the banner
So here is the part that isn’t scratch. I added the graduation cap design to the right corner.  I resized the graduation cap and rotated it to fit.
 
adding the graduation cap
In order to attach it to the banner base, go to the modify panel again, this time hit weld.
weld function
After you do this, your letter and circle might disappear. Click on the banner and go to the top panel and click send to back. This will bring all the items back into view.
 
Now make a copy of your circle and place it on the right side of the banner. Use the align tool to get both circles at the same height. With both circles selected click on the banner base and again hit subtract. This will leave cut-outs for the string.
align the pieces
This banner is really coming along. At this point, the banner base is completed. Make a few copies of the banner base for rest the of your letters. Align all the banner bases at the bottom.
 
align all banners to the bottom
Now apply the letters and eyeball the center for now. Align all the letters across the middle. Now everything will be top to bottom the same.
 
align the letters
To center the letter left and right on the banner, click on the letter and make the middle square line up with the V on the banner. Go through and do this for every letter.
center letter above middle of banner
The last step is to click the letter and the banner, head to the modify panel again, and hit subtract. Now the banner has the letter and the circles missing with the center of the letter staying in place.
 
subtract letter from banner
Now cut them out. I used the nesting tool to get the best bang for my buck when it comes to cutting. Watch the video and I’ll go over the details for this. Be sure to use the overcut function when cutting these out. It will help get a cleaner cut on the first try!
 
With all the pieces cut out all that is left is to string them up! The graduation banner is done!
 
Thanks for sticking with me on this one, it was kind of hard to explain everything. Please check out the video for more of the minute details.
Picture of Crafty Christie

Crafty Christie

Silhouette Tutorialsist and SVG Designer

Hi! I'm Christie!

I am passionate about helping other crafters unlock their creativity and take their crafting skills to the next level.

Let's Connect!

Blog Categories

Design Faster with Silhouette Keyboard Shortcuts