Please note: this post may contain affiliate links to products I use. When you purchase items from these links, I make a small commission that helps fund craft projects I share with you. This does NOT cost you anything extra, but it is a great way to show your appreciation for Crafty Christie’s Creations.
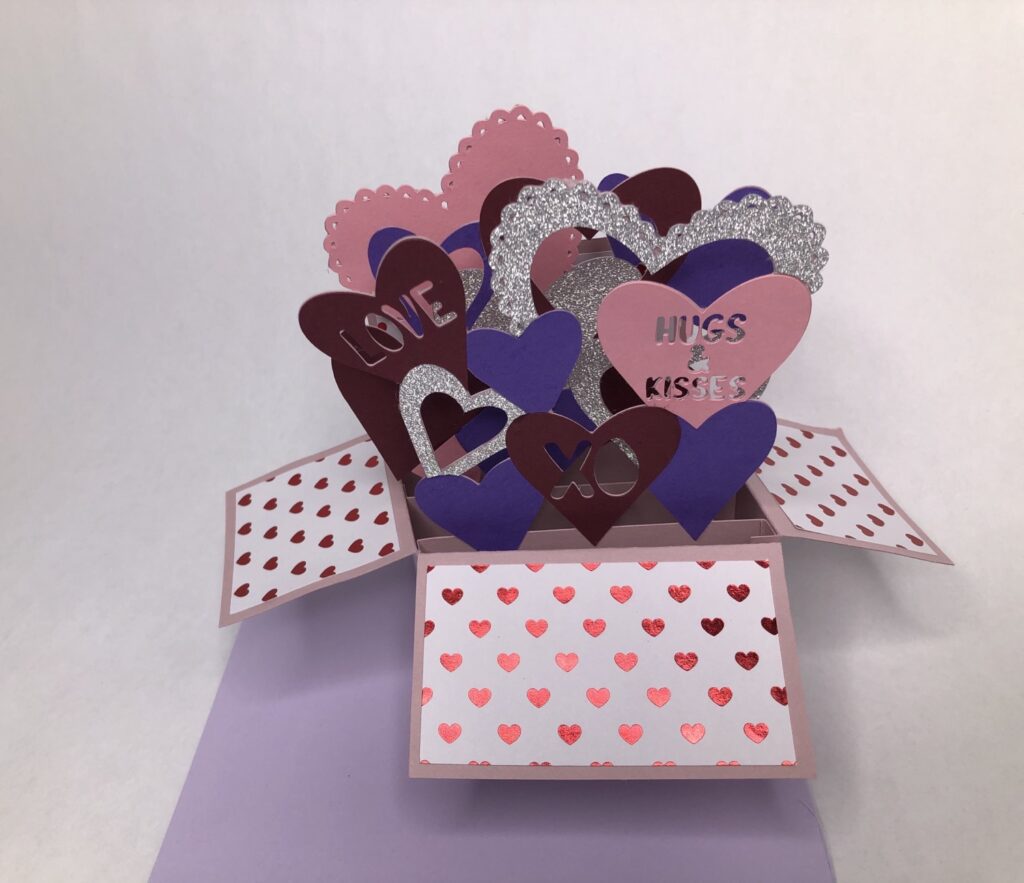
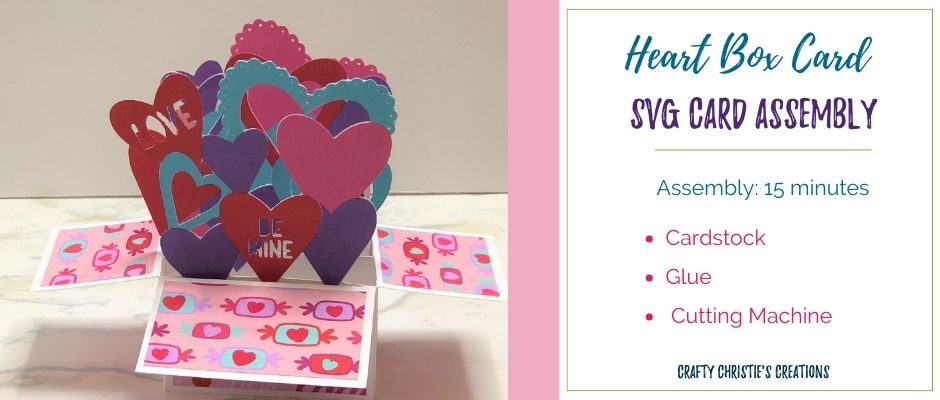
Have you been eyeing this adorable Heart Box Card SVG and wondering how on earth I put this together?!?! Have no worries, not only did I supply some basic directions in the actual card file, I made a video too. I’ll admit this one took me a long time to create and a few assembly trials as well.
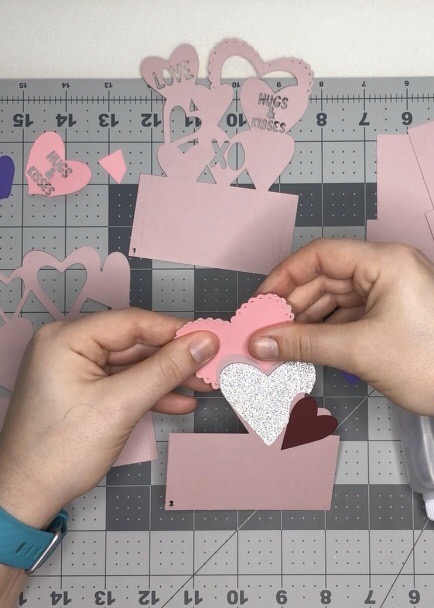
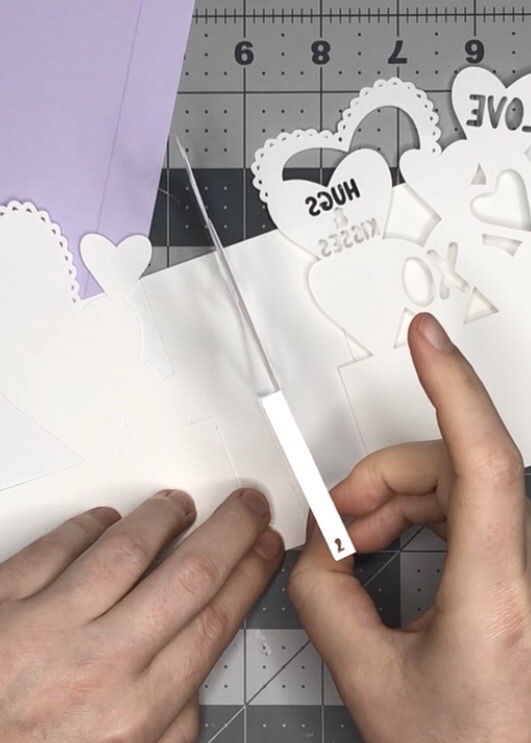
Start paper-piecing the hearts onto the base. I like to use liquid glue for this job. A little can go a long way here, don’t overdo it with the liquid glue because the paper may curl later.
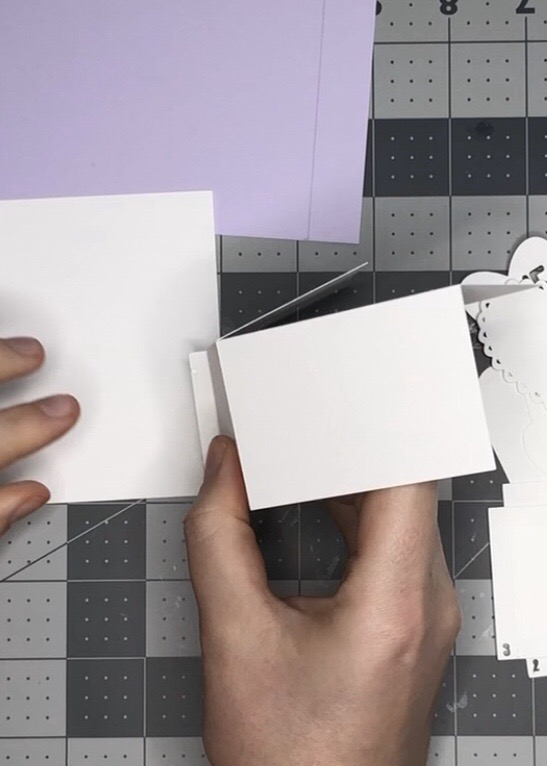
Step 2: Assemble the card box
Fold the score lines. Remember the top flaps will fold out. Sorry, this is easier to do than explain! Now find the base piece that has the large rectangle with no scoreline. This is the backside of the box card. Add glue to the other base piece on the side tab. Adhere this to the back panel of the box card. The flap will get covered with patterned paper in the next step. Make sure these pieces are well pasted together and flush along the side and bottom. Once that is good and secure it is time to move on to the pattern paper.
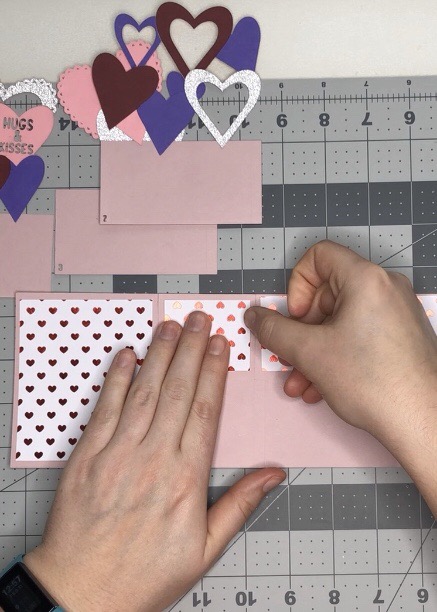
Step 3: Decorate the Box
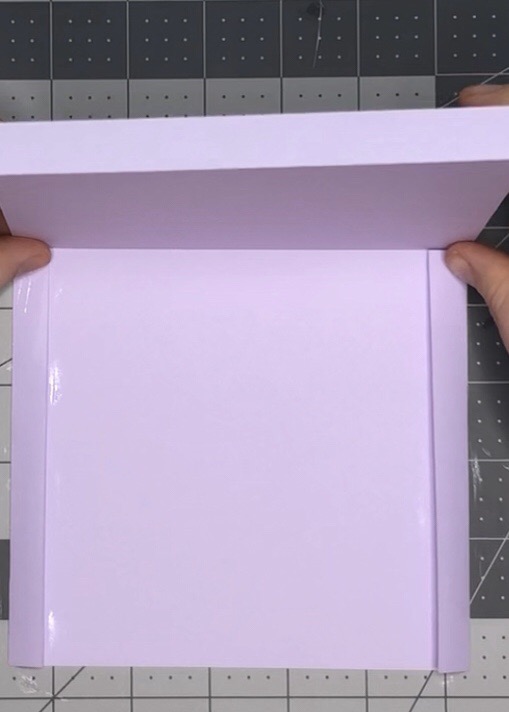
Flip your box card over and apply the patterned paper to the outside of the box. Be sure the pattern is going in the same direction on all of the rectangles! Now you can flip it over again and do the same thing on the inside. The only difference is the flaps need the paper going in the opposite direction. This is so it will be the correct side up when the box is standing and the flaps are folded down. You’re nearly done now!
Step 4: Card Inserts
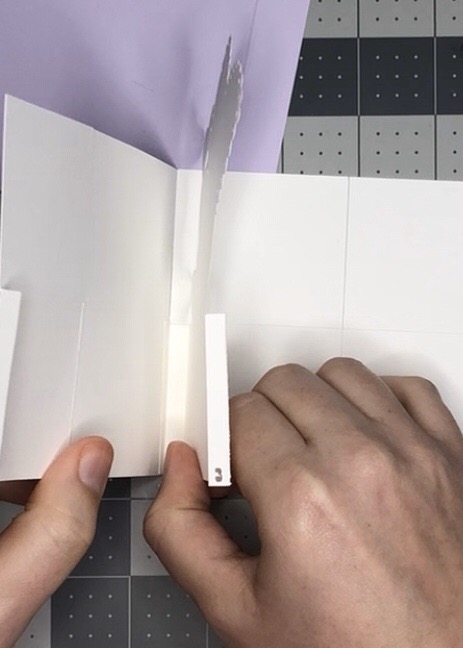
It’s time to add the inner base panels. I like to start with panel 3 and fold the score lines away from me. Lay the card flat and glue the side tab flush against the corner where the sidewall meets the back wall of the box. Do the same thing with panel 1 to the front where the sidewall meets the front wall of the box.
Personal preference: I like to score these tabs towards me to get extra space between the front of the box and the first tab. There is no right or wrong way for this. For tab 2 eyeball the middle of the other tabs and adhere it. Can you taste the sweet success of victory?
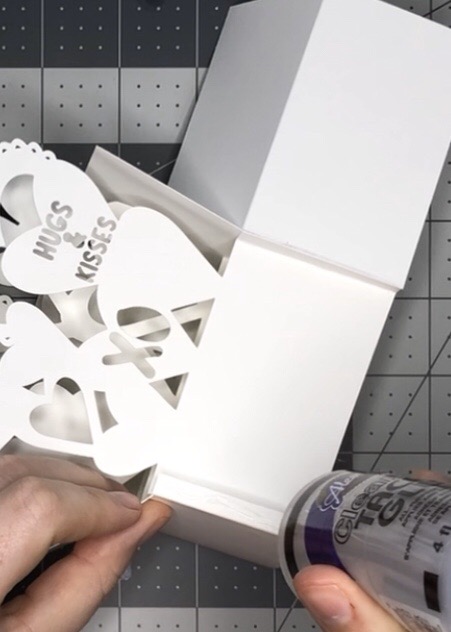
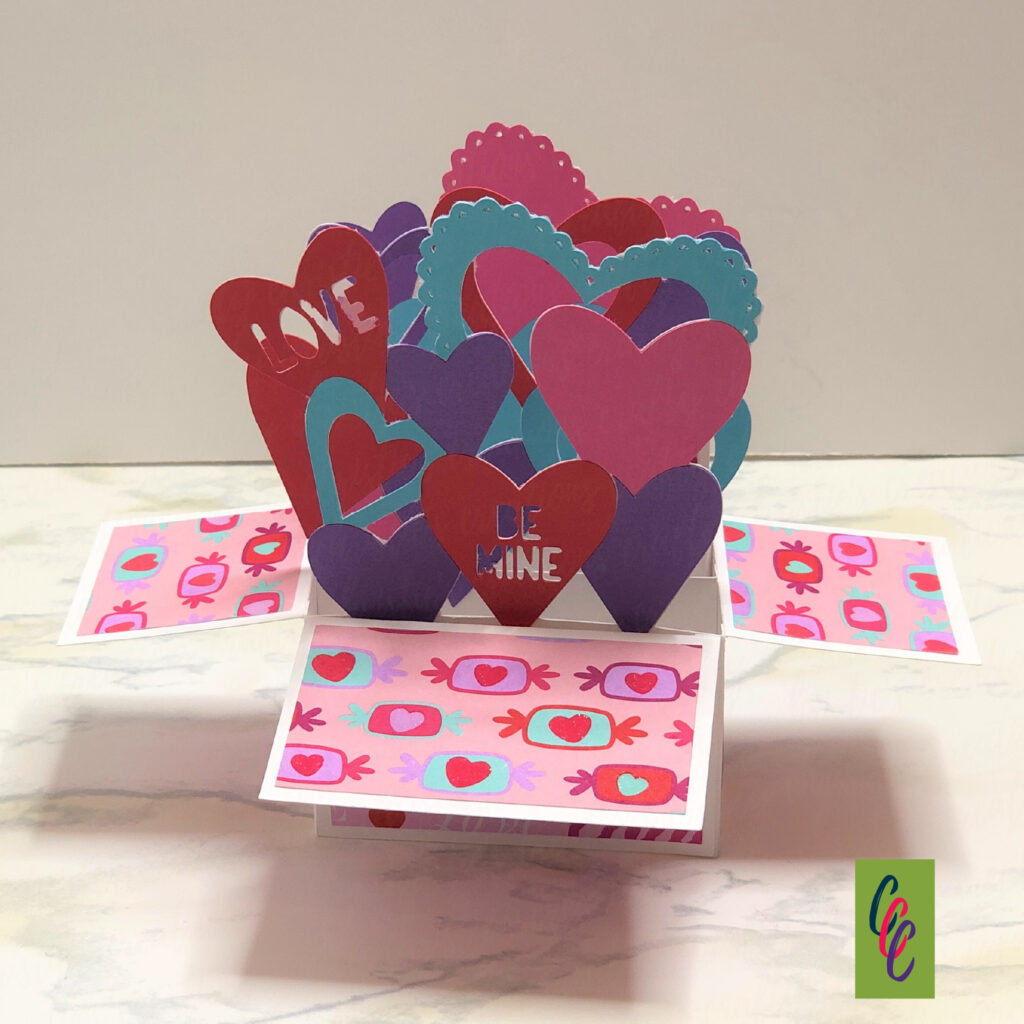
Glue down the front tab to the inside of the front of the box. Be sure all your seams match up and everything is flush at the bottom of the box. Ladies and Gents, your box card is complete!
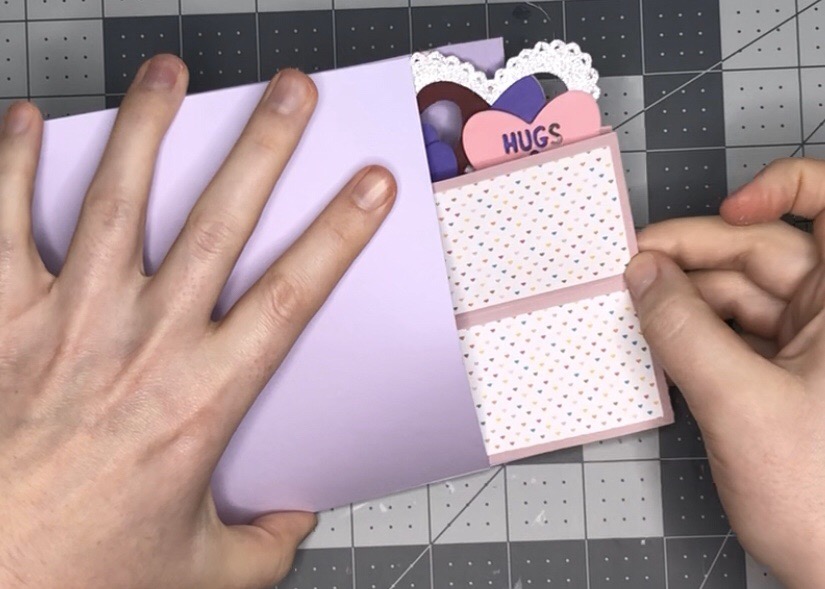
Step 5: the Envelope
This is the only item that needs to be cut from 12×12 inch paper. Fold all the score lines and put glue on the side tabs. Be sure the edges are flush and fold over the top to adhere to the side tabs. Press these really well and give them a minute to dry before putting the card inside. You may need to manipulate the envelope a bit to make it ready for a card. Slide the card inside and be careful not to get it caught on the side tabs. It’s a snug fit so be gentle. Fold over the top flap and close with tape or stickers.
I do believe this size is still okay for a single stamp, but you may want to check before dropping it in the post. Now give yourself a pat on the back, this card was a doozie!
The video helps to explain things better so check it out. Plus my videography skills are improving, I’ve added some music for your listening pleasure!
January 2023- This card design has been updated to comply with copywriting laws surrounding some of the phrases on the hearts. This is what the new file looks like now. The assembly remains the same.