Please note: this post may contain affiliate links to products I use. When you purchase items from these links, I make a small commission that helps fund craft projects I share with you. This does NOT cost you anything extra, but it is a great way to show your appreciation for Crafty Christie’s Creations.
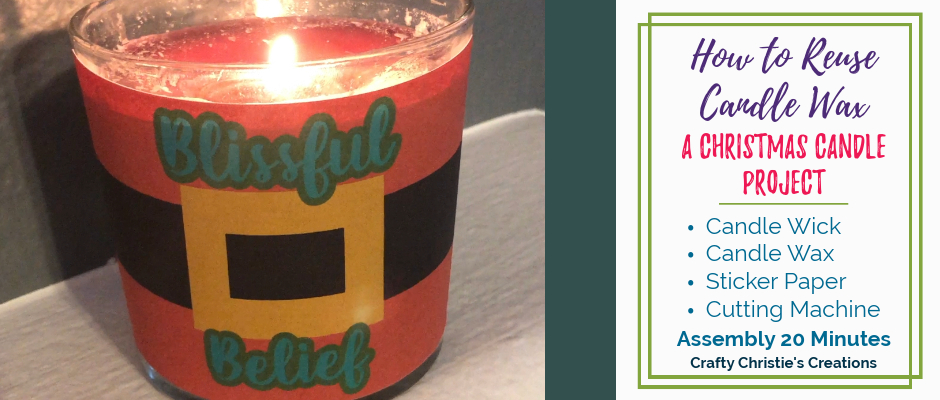
Do you find yourself with jars of candles that will no longer burn? I hate when the wick is burned out but there is still lots of wax in the candle. Don’t throw those candles away! I will teach you how to reuse candle wax to make new candles perfect for gifting this holiday season!
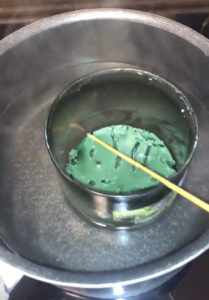
Place a pot of water on the stove and set the used candle jar in the water. Turn on the heat and wait for the wax to begin to melt. Melt it just enough so the wax begins to move around in the jar. Remove the jar from the water (be careful! The jar may be hot!)
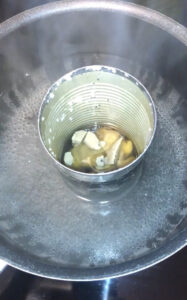
Pull the wax out of the jar and cut it into chunks. Toss the old candle wick. Place the wax chunks into a clean tin can. I saved an old can of beans and washed it out.
Place the tin can in the pot of water and turn the heat on high. Melt down all the wax to a liquid.
Step 2: Prepare a New Candle
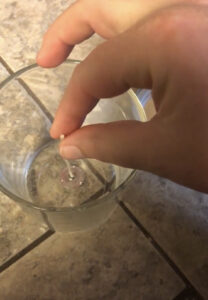
Either clean out the old candle jar or use a new glass jar. Add a candle wick to the center of the jar. If the wick is long enough it might be helpful to use a skewer or popsicle stick and wrap the wick around it on top of the jar to hold it in place.
Step 3: Add the Melted Candle Wax
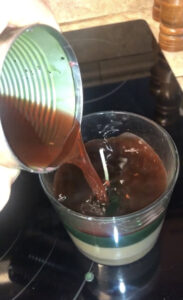
Pour the reused candle wax into the clean jar over the base of the wick. Let the wax dry for at least 24 hours before burning.
Repeat steps 1-3 to add extra layers until the jar is filled. Then trim the wick as needed.
Step 4: Label the Candle
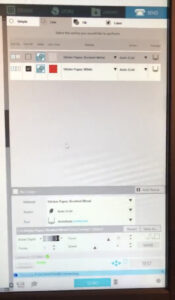
Use my FREE Christmas Candle Labels as print and cuts to decorate the jar. When you load the SVG file into Silhouette Studio, turn on the registration marks then send it to print.
For cutting, choose cut by line color and only cut the red outline of each label.
These candles are great for using around the house or gifting!