
With the new year upon us, it’s the perfect time to kickstart those healthy habits, especially focusing on hydration. To help you stay on top of your water intake, I’ve created a free SVG file that you can use to make a DIY water tracker bottle. Now, let’s dive into the step-by-step process of creating your own awesome water tracker bottle using the free SVG file.
Supplies:
Permanent Vinyl
Transfer Tape
Rubbing Alcohol
Lint Free Cloth
Cutting Machine
Step 1: Download and Open the SVG File
Download the file by filling out the form below. In Silhouette Studio navigate to where you’ve saved the svg file and open it.
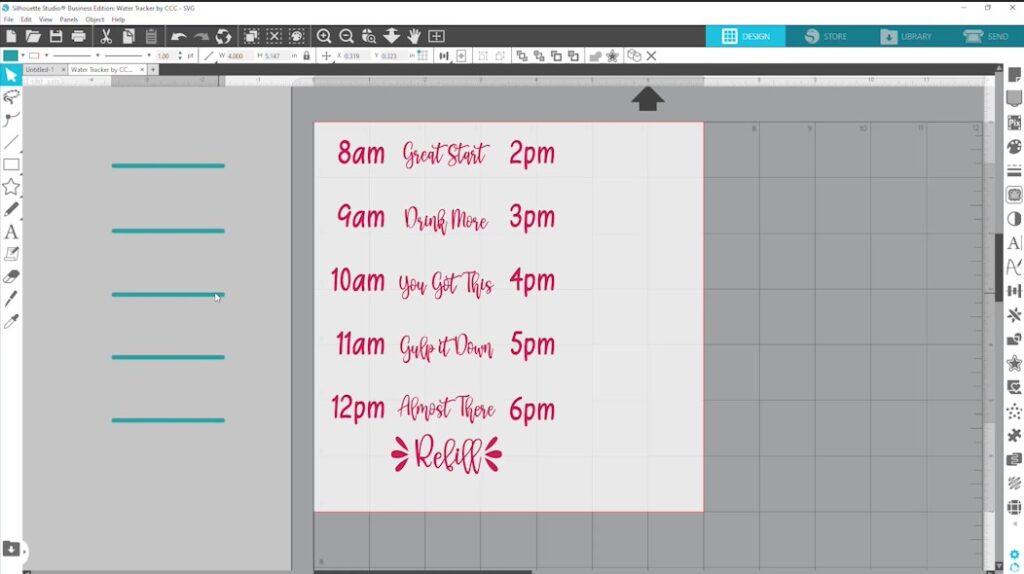
Step 2: Design Preparation
Measure your water bottle to determine the appropriate size for the design. There are 3 parts to this design, the time, the words, and the lines. All of these can be cut from different colors or weld the line with the words and make everything 1 color.
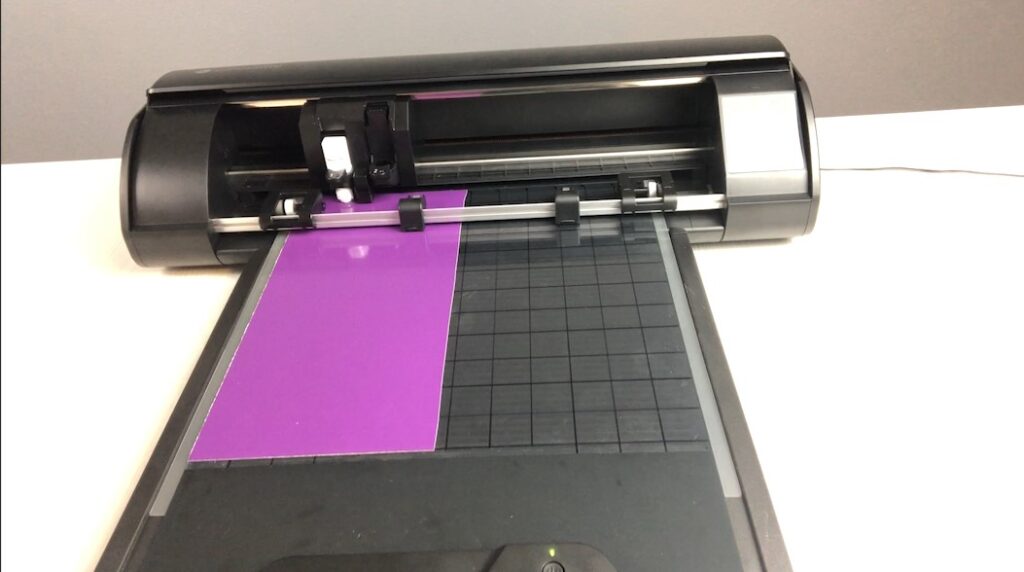
Step 3: Cutting the Vinyl
Load the first vinyl color onto the cutting machine, I’m using my electrostatic mat. Do test cuts if needed before cutting out the design. Repeat the process for the second vinyl color.
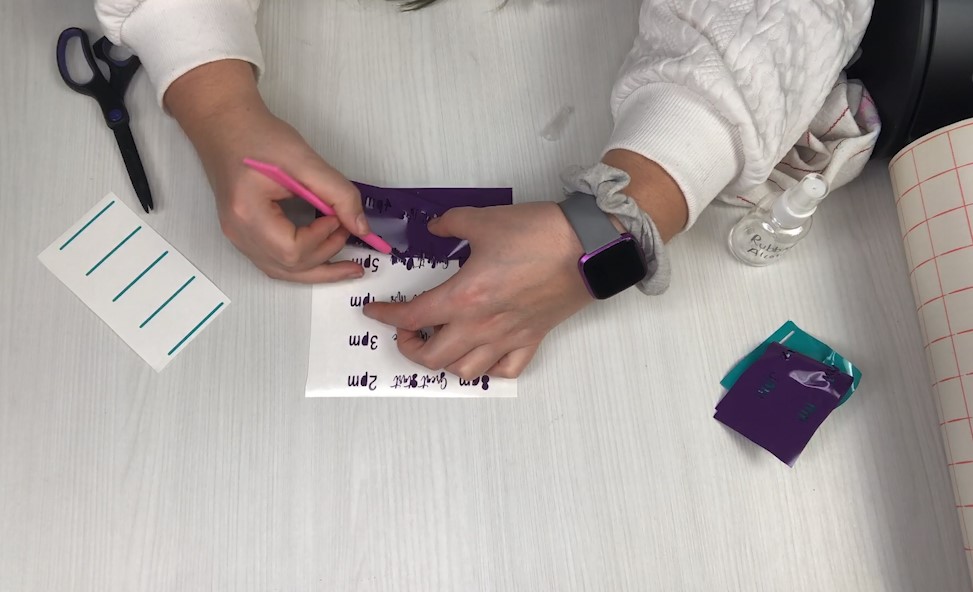
Step 4: Weeding and Applying Transfer Tape
Weed the excess vinyl from the cut design. Layer the vinyl colors on the transfer tape to apply the design onto the water bottle. Cut out any extra transfer tape you can to make applying the vinyl to the curved surface a bit easier.
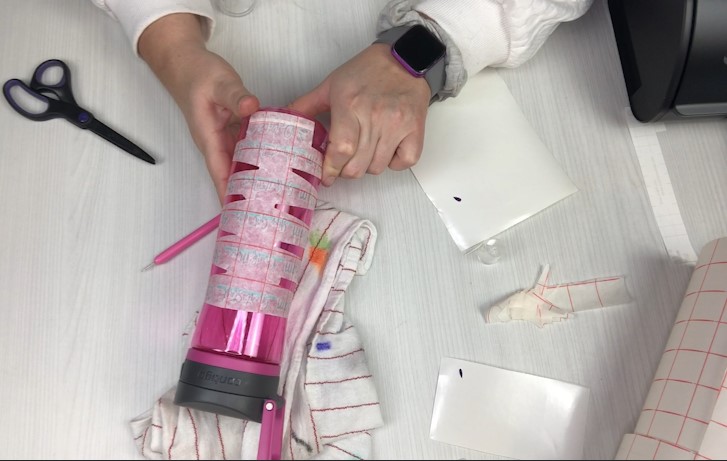
Step 5: Applying the Vinyl to the Water Bottle
Clean the water bottle with rubbing alcohol to remove any dirt or oils. Position the decal on the water bottle, starting with the bottom. Gradually press down the vinyl, ensuring a smooth application.
Step 6: Finishing Touches
Carefully peel back the transfer tape to reveal your water bottle decal. Address any issues with peeling vinyl. Admire your personalized water tracker bottle!
Congratulations! You’ve successfully created your own DIY water tracker bottle using the free SVG file. Staying hydrated has never been this stylish and personalized. Feel free to experiment with colors and designs to match your taste. Here’s to a hydrated and crafty new year!


