
Spring is in the air, flowers are in full bloom and so are my allergies! As much as I love the smell of flowers, my nose doesn’t overly agree. My solution is paper flowers! They look real and brighten up any space. Best of all, they are allergy approved.
Supplies:
Typically when you search for rolled flowers, you’ll see flowers that are made to lay flat. While they look great on a card or in a frame, putting them in a vase really doesn’t work. That is why I have made my rolled roses with stems. I wanted to be able to put them out on display like a real bouquet of flowers.
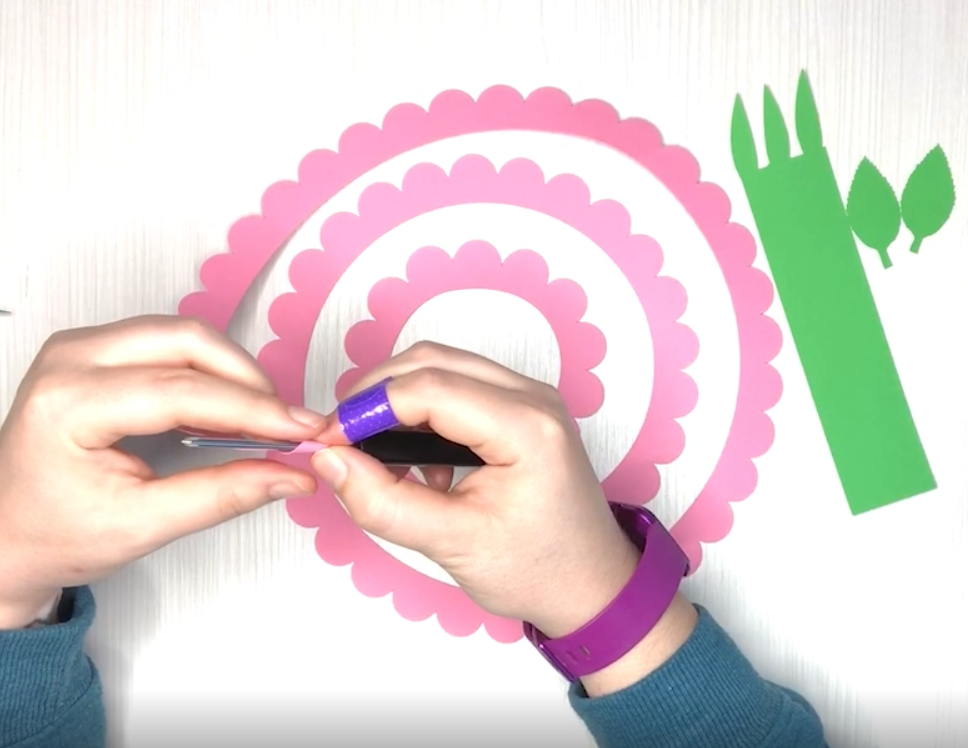
These flowers are very easy to assemble. I resized the file to make the flower spiral fill a 12×12 inch sheet of cardstock. Be sure to grab all aspects of the design when resizing or the proportions will not be correct.
Once I cut everything out, I started rolling the spiral. I used a small screwdriver as my quilling tool to wrap the paper around. On a few of the roses, I bent back some of the petals before I rolled it up. I found this made it harder to roll, so I suggest waiting to mold your petals until the end.
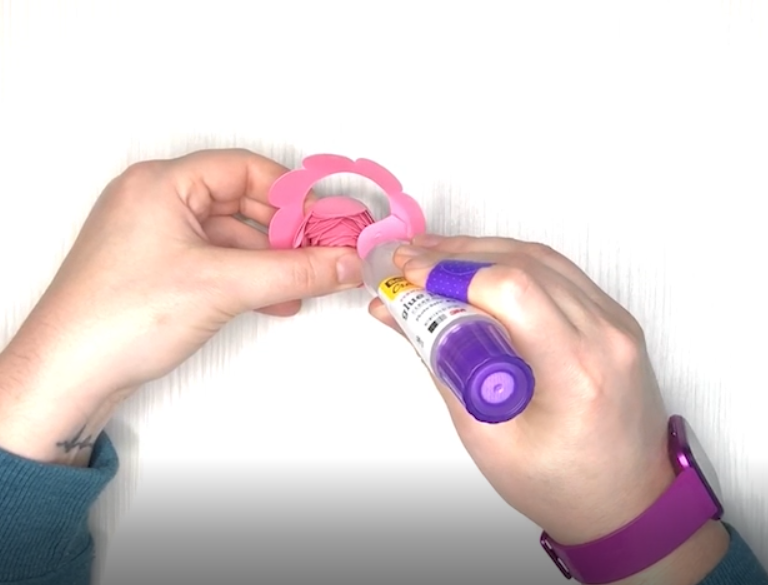
With the flower rolled, carefully release the roll to let it loosen up just a bit. Sometimes I will spin the center counter-clockwise to help loosen up the middle. Add glue to the last circle petal and attach it to the bottom of the roll. Hold on to it for a bit to allow the glue to dry. I like placing it on the table and pushing down.
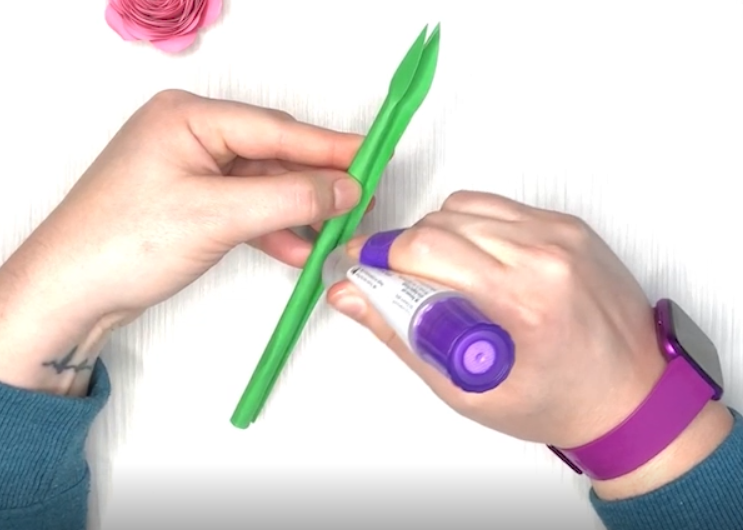
Now it is time to move onto the stem. For this, I used a pencil to train the paper to curl. Then I started at one end and almost folded the paper over until it would start rolling.
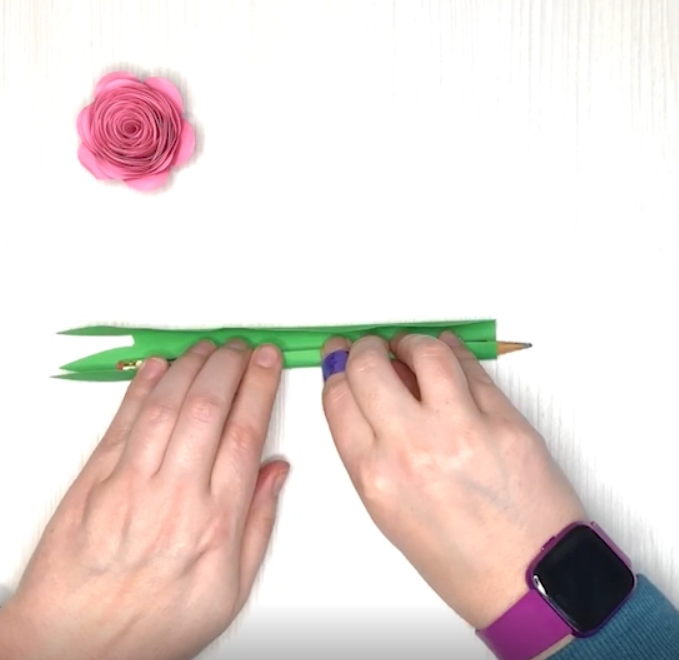
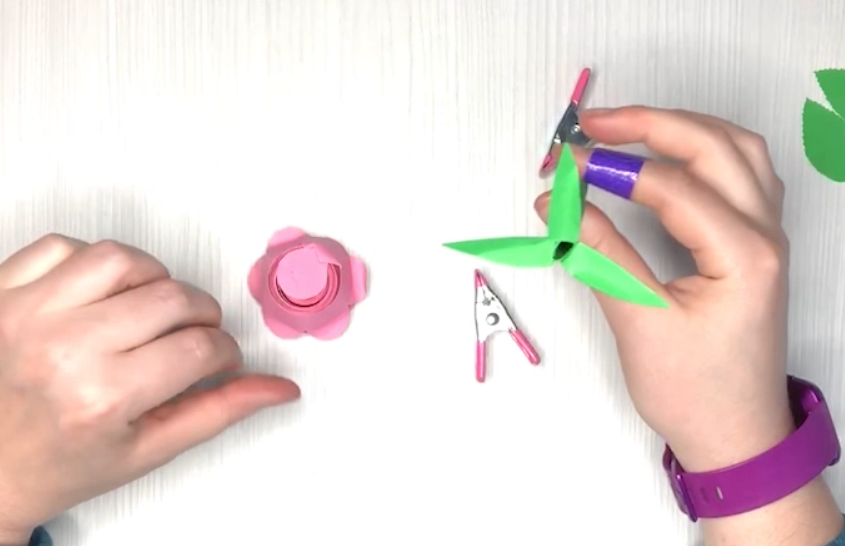
Add a line of glue to the end of the stem roll and give it time to try. I used some craft clamps to hold it down. They did leave some marks on my stems but I am not terribly worried because I think it makes the stem look more real. Natural stems are not perfectly straight and they have bumps and thorns sticking out of them. If you’re lucky, when it is all rolled up the top leaves will fan out in opposite directions. If not, just fold them over to fill in the empty spots.
Next, add glue to the bottom of the flower and adhere it to the top of the stem. I like to fan out the leaves, flip my flower upside down and push the stem onto the underside of the flower. I’m using heavier cardstock so I’m not worried this amount of pressure will ruin the flower.
Once that is all dry, go ahead and add all the extra leaves to the stem. I like to fill them in on opposite sides of the top leaves. Usually, I’ll place one of the leaves right on the seam of the stem.
All that is left to do now is curl the petals and leaves to your liking. I use a small screwdriver to curl my petals, a pencil or a round doll rod will work as well.
Make a few of these rolled roses and you’ll have a beautiful bouquet. They make a great centerpiece for a table or perhaps a lovely bouquet for a bride. Either way, you can’t go wrong.
Check out the video below for the full tutorial.


