Fonts are by far the one thing I love to hoard on my computer. I do find it funny that while I can’t resist buying more fonts, I really only use a handful of them. One thing I’ve been looking for lately is a good stencil font to use with my card-making. I’ve searched all my favorite websites and I just am not able to find exactly what I want.
Back to the drawing board, I guess I’ll have to make my own! In case you are in this same boat you are in luck. I’m going to walk you through the few simple steps it takes to make your own stencil font.
I have to put this out there, in case you are selling your designs. If you alter a font to make it a stencil font, this still does not give you the right to sell the stencil version because the original font was not your own creation.
Now that the boring junk is out of the way, let’s dive into creating our font.
Step 1: Type out the text
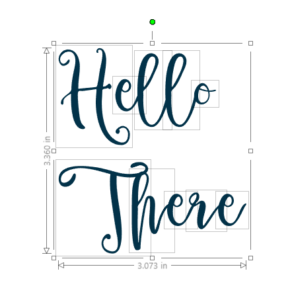
Pick the font you want to use, it can be san serif or script. This technique works with all fonts. Write out your text and then weld the letters together. Now ungroup the words so each letter has its own bounding box around it.

Step 2: Make the rectangles
Using the rectangle tool, make a tall, thin rectangle to place over the letters. Adjust the thickness and height of the rectangle to match the style of the font. Place a rectangle to cut open any closed areas in the E’s or the O’s.

Step 3: Subtract the rectangles
With the rectangles in place, select each letter and its corresponding rectangle and then hit subtract. This will cut out the rectangle from the letter.

Why do we go to all this trouble? I like to layer my cardstock and I find it a lot easier to cut the letters away from a piece of cardstock than to save text to add to a card. I do this pretty often on my cards. Here is an example, my graduation card. The word “congratulations” is cut away from the gold cardstock letting the word show through in black.

Check out the video below for more tips and tricks on how to make your own stencil font.


