
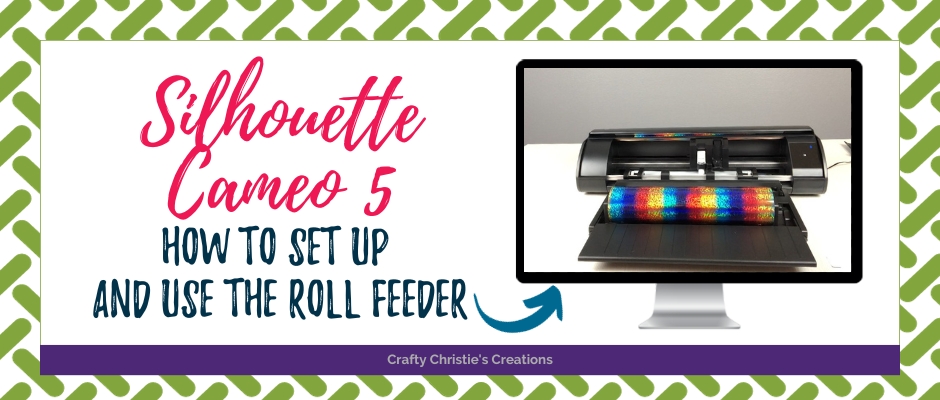
Part of the fun of having a new Silhouette machine is learning how to use it. Well, maybe everyone doesn’t feel this way. It can be frustrating and time-consuming to learn new equipment. That is why I’m here to help. In this post, you will learn how to set up and use the roll feeder on the Silhouette Cameo 5.
Supplies
Silhouette Cameo 5
Holographic Heat Transfer Vinyl
Step 1: Attach the Roll Feeder to the Silhouette Cameo 5
Silhouette redesigned the Cameo and now the roll feeder is an attachment instead of a drawer that pulls out of the bottom like the Cameo 4. To attach the roll feeder, a piece needs to be removed from the bottom of the machine.
Under the Cameo 5 are 2 lock switches that need to be unlocked and then pull off the plastic cover at the bottom of the machine. This will expose 2 cutouts, a short cutout on the right and a longer cutout on the left. These cutouts match with the notches on the front of the roll feeder.
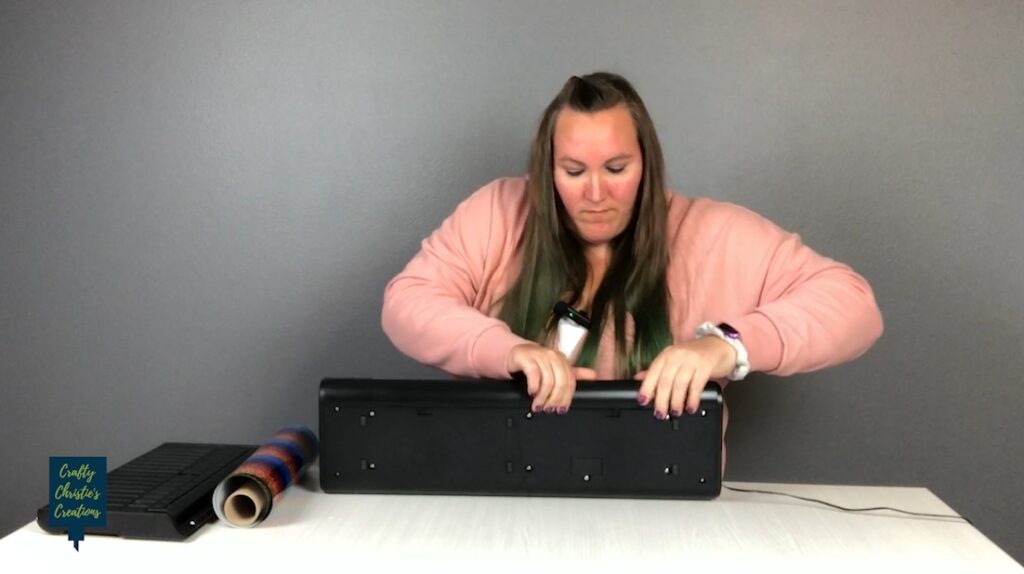
The easiest way to attach the feeder is to lay it on the table. Pick up the front of the Cameo 5 and set it on those notches. Once it is in place, they sit pretty sturdily together, but I don’t recommend picking up the machine with the roll feeder attached it will fall off.
Step 2: Add the Material to the Roll Feeder on the Silhouette Cameo 5
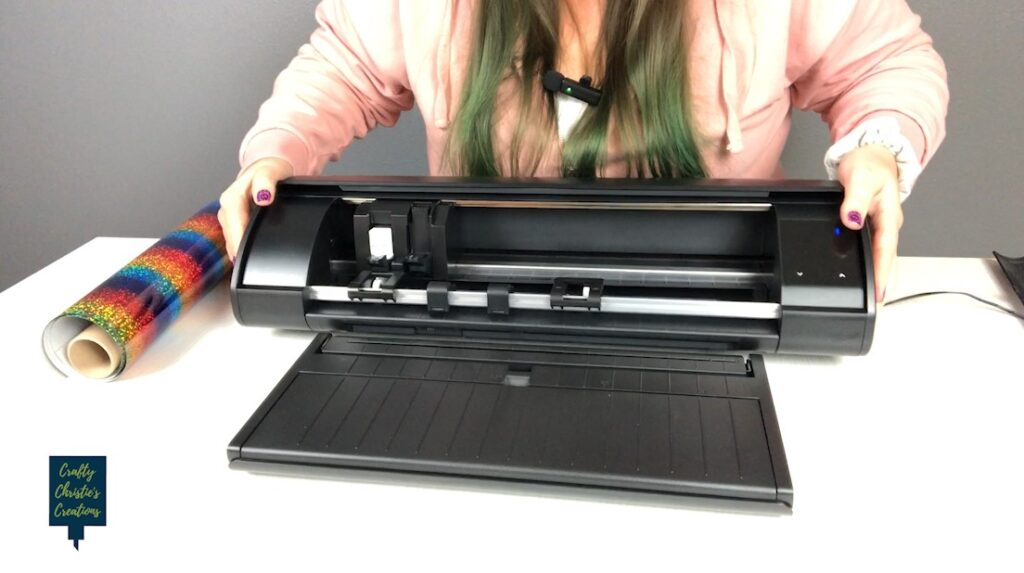
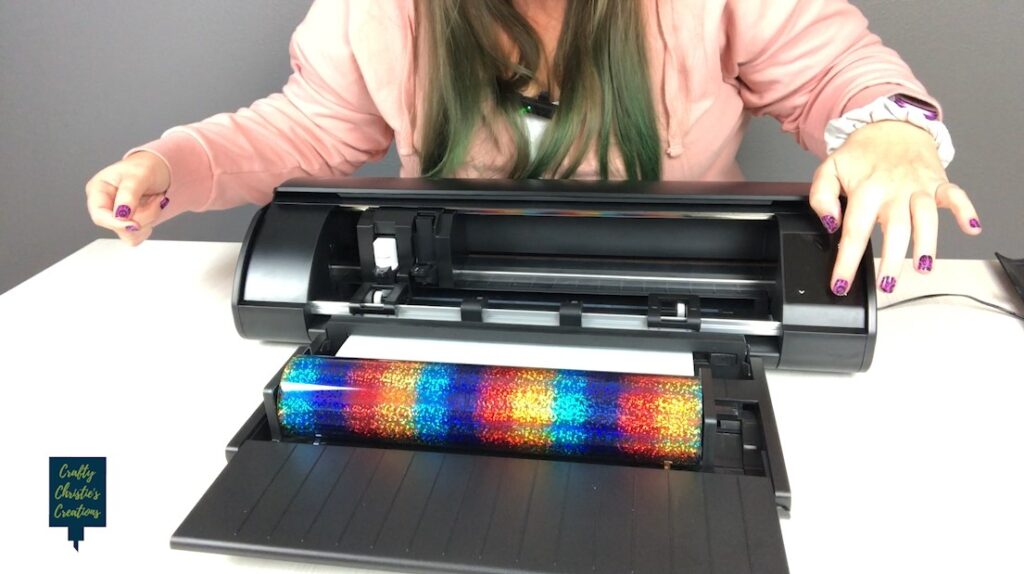
The roll feeder works for both vinyl and heat transfer vinyl on rolls. Slide open the top of the feeder to expose the roll holder. Pull those open and place the roll on the holder. The left side holder is adjustable to accommodate multiple sizes of rolls.
Closer to the Cameo 5 is a feeder bar that helps keep the material flat and in line. This piece will pull up and rotate towards the machine. Insert the material through this feeder bar before sending it under the rollers.
Step 3: Adjust the Rollers on the Cameo 5
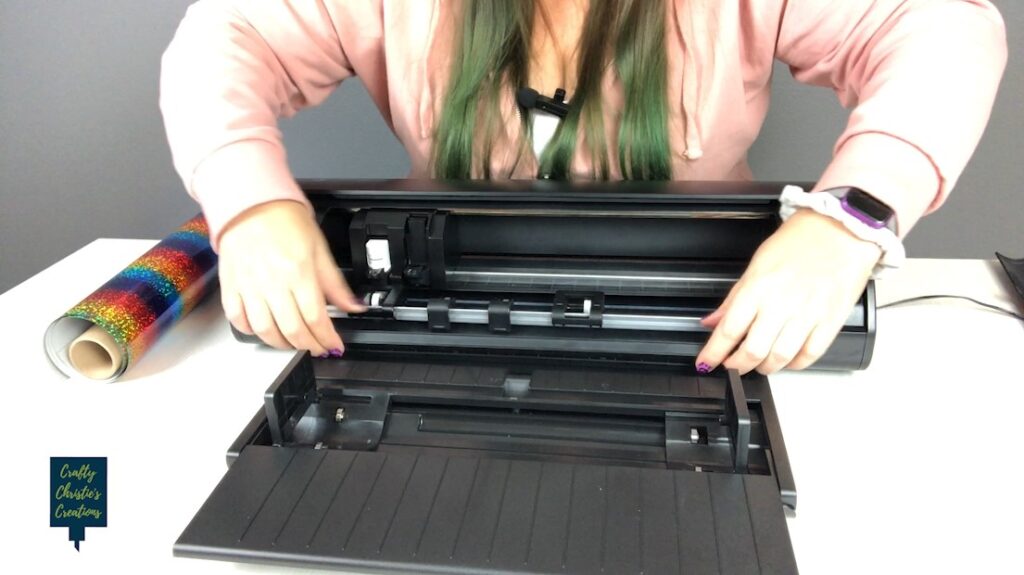
Depending on the width of the material, the rollers might need to be adjusted. To move the left side roller lift on the handle and slide it side to side to cover the edge of the material. Lower the handle to lock it into place. The middle rollers slide without any handles. Space the middle rollers evenly across the material to keep it flat and moving smoothly back and forth while cutting.

Step 4: Load the Material into the Cameo 5
Before hitting the load button, slide the material into the machine until it is touching the right stationary roller. Hit the load button on the Cameo 5 and watch the rollers grab the material and pull it farther into the machine.
I found this difficult to do with the heat transfer vinyl because the material wants to curl up. What worked best for me was to stand next to the machine and assist the htv in going under the bar that holds up the blade carriers. I did have to fiddle with this a few times to get the htv to feed correctly. Thank goodness for the new emergency stop button! I used it a lot to make adjustments to the htv and then remove it and feed it back into the machine.
Step 5: Send the Design to the Cameo 5
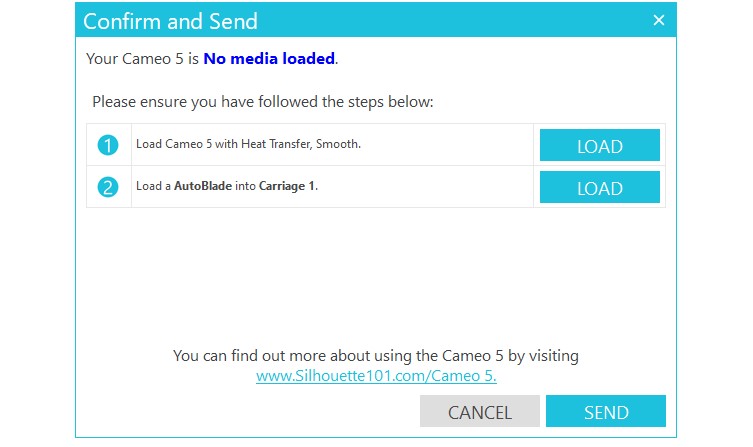
Go back to the software and send the design to the machine. Remember when using htv to mirror the design. The software will still ask if you want to send the design as is or mirrored. There is also a new pop-up telling you to add the blade and load the material. For anyone used to Silhouette, this is a change in the workflow. Typically I have that done before I hit send. I don’t like that I can’t tell it to stop showing me the new pop-up. But you can skip those steps and just hit send.
As with all machines, be sure to do a test cut before wasting all your precious material. Below you can get my cut setting tracker form for FREE! Keep track of your cut settings so you don’t have to test cut every time you use the same material and blade.
If you liked this post be sure to check out my unboxing and setup post for the Cameo 5.


