
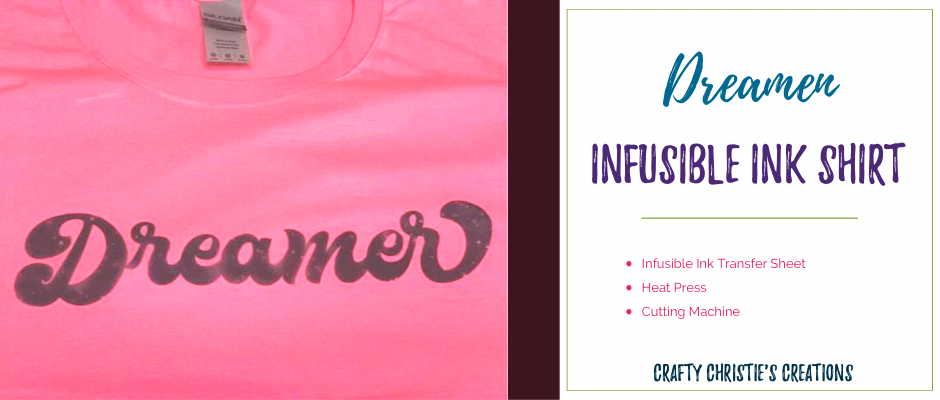
Infusible ink is the perfect place to start if you’re thinking about getting into sublimation. Cricut makes it really easy with their infusible ink transfer sheets and markers. I’m going to walk you through my first experience and teach you how to use infusible ink transfer sheets on shirts.
In this post you’ll learn:
- Supplies Needed
- The Chemical Process
- How to Prepare a Design in Silhouette Studio
- Weeding a Transfer Sheet
- How to Prepare a Shirt
- Heating Up the Design
- My Thoughts on Infusible Inks and What I Learned
Supplies:
100% Polyester Shirt
Cardstock
Butcher Paper
How It Works:
The ink turns into a gas when heat is applied. The gas is then absorbed into the material dying it the color of the ink. As the ink cools, it turns back into a solid that is trapped inside the material. This process it why infusible inks do not fade over time unless the material begins to degrade. Infusible ink works best with fabrics that are 100% polyester. It doesn’t stop there! Any blank made for sublimation should work with infusible inks as well.
Step 1: Cut the Design
In Silhouette Studio, choose your design and size it for your project. Just like with heat transfer vinyl, you’ll need to mirror your design before cutting.
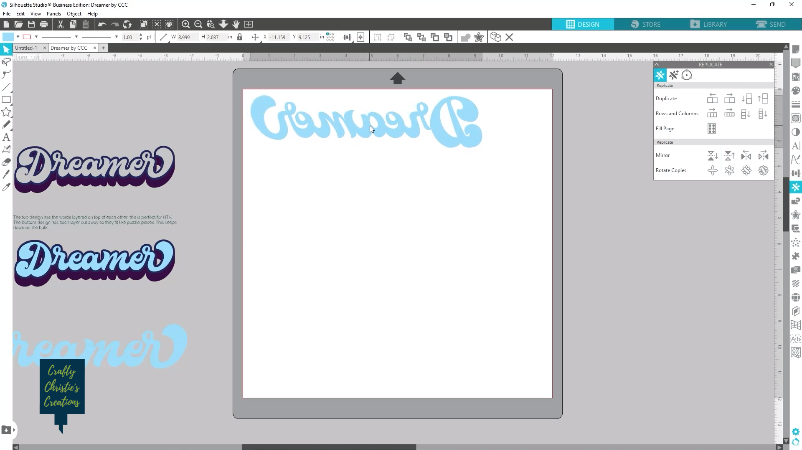
Apply your transfer sheet to the cutting mat, pattern side up. Cut out the design. Since this is my first time, I picked my favorite htv setting and did a test cut.
Test cutting infusible ink sheets is more difficult than htv. Trying to crack the design while still in the machine proved a bit troublesome. I cut my sheet using the flocked htv cut settings.
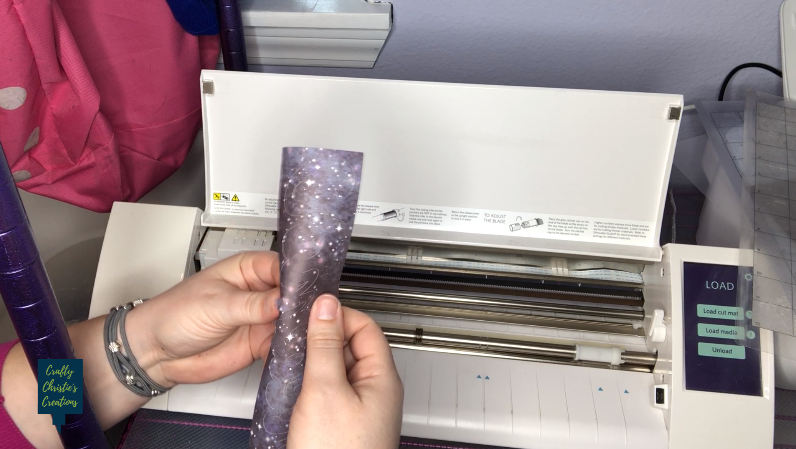
Step 2: Weed the Design
To prevent tearing, crack the design around the edges before weeding. The sound is pretty satisfying to hear. Weed like normal for any design cut from htv.
Step 3: Prepare the Shirt
Infusible inks work best with 100% polyester clothing. The fibers in polyester absorb the ink best and prevent fading over time.
Lint roll the shirt and then preheat to remove any moisture and wrinkles. Make sure you are working on a flat, solid surface as well. This part is the same as when applying htv.
Add some cardstock to the inside of the shirt to prevent any ink from absorbing into the back of the shirt.
Step 4: Add the Heat
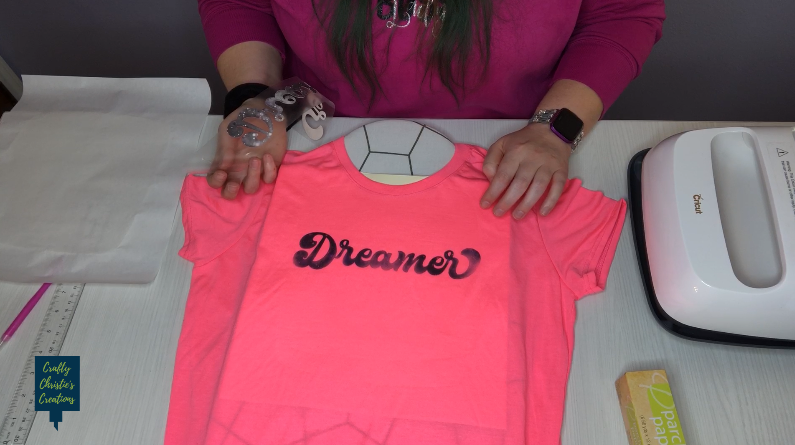
I’m using the Easy Press 2 and Cricut recommends 380 degrees for 40 seconds. I center the design on the front of the shirt about 2 inches from the collar and stick it in place.
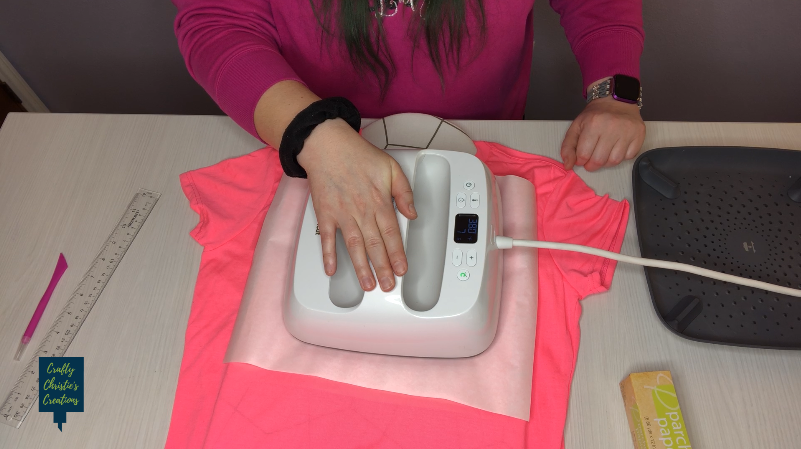
The infusible ink sheets come with butcher paper to place on top of the design to protect the heat press.
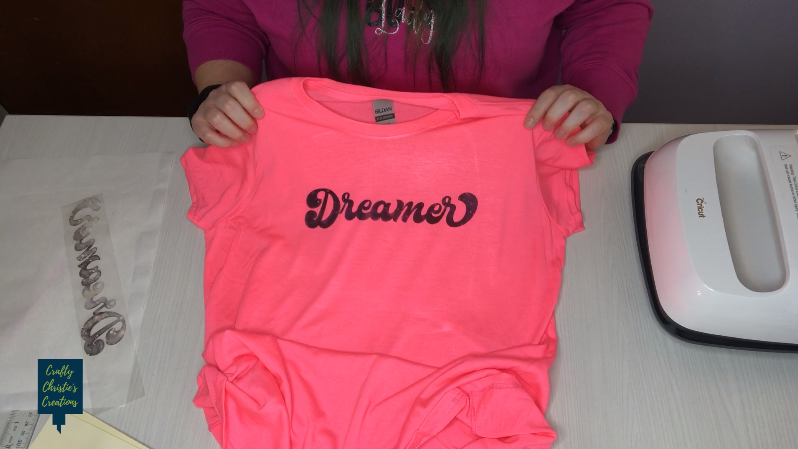
Ideally, the design will completely transfer to the shirt in one press. I am not so lucky! My flat surface isn’t so flat and the edges of my design look very faded.
Round 2 of applying heat, I use my desk as my flat surface. I also decided to press the design in 2 sections to ensure the entire transfer gets heat.
Before peeling the design back off, let it cool to room temperature. This ensures the chemical process is complete and all the ink is absorbed into the material.
My Thoughts and What I Learned:
- Using a flat sturdy surface for pressing is a must! This is where I really went wrong. My ironing board is wobbly and held together with metal rods. It really showed that I wasn’t getting even pressure across my design because parts were faded. I could really tell where there were metal rods under each portion of the design. Those areas absorbed the ink better than the rest.
- It is best to make the design fit under your heat press! The edges of my design were a bit faded and I think that is because my heat press wasn’t big enough to cover the entire design. While I was able to press the design in 2 sections, this is not ideal.
For the full tutorial on how to use infusible ink transfer sheets on shirts check out the video below!


