
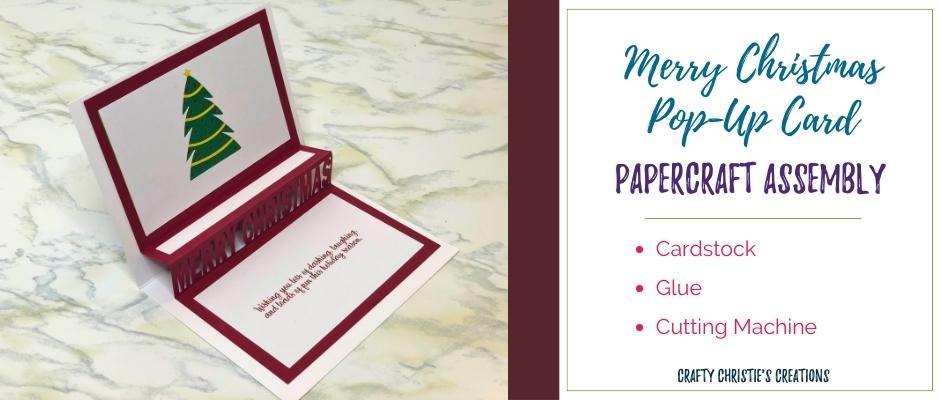
Are you looking for a fun card to send out this Christmas? This Merry Christmas pop-up card has lots of details and a pop-up feature on the inside. While this wouldn’t be my choice if you’re making more than a few, it is worth the time and energy.
Supplies:
Merry Christmas Pop-Up Card SVG
White Cardstock
Black Cardstock
Brown Cardstock
Yellow Cardstock
Red Cardstock
Green Cardstock
Glue
Printer
Cutting Machine
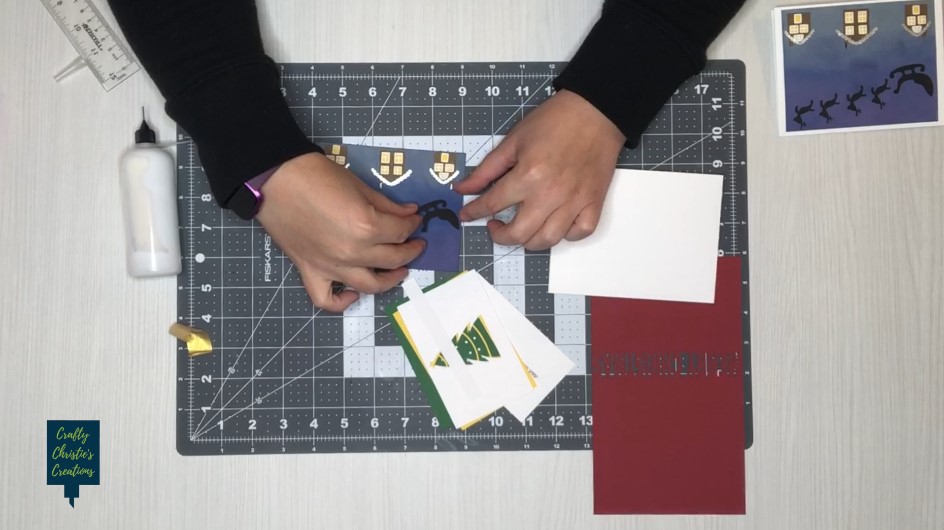
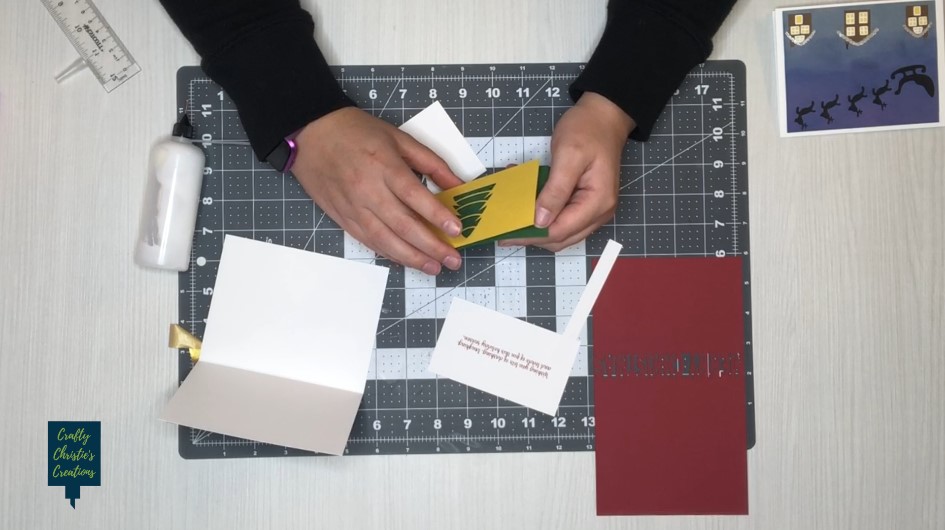
Step 1: Make the Card Front
Paperpiece the houses by adding the 2 layers for the windows, the snowy roof line, and the smoke from the chimney. There are scorelines on the houses to help place the doors and windows.
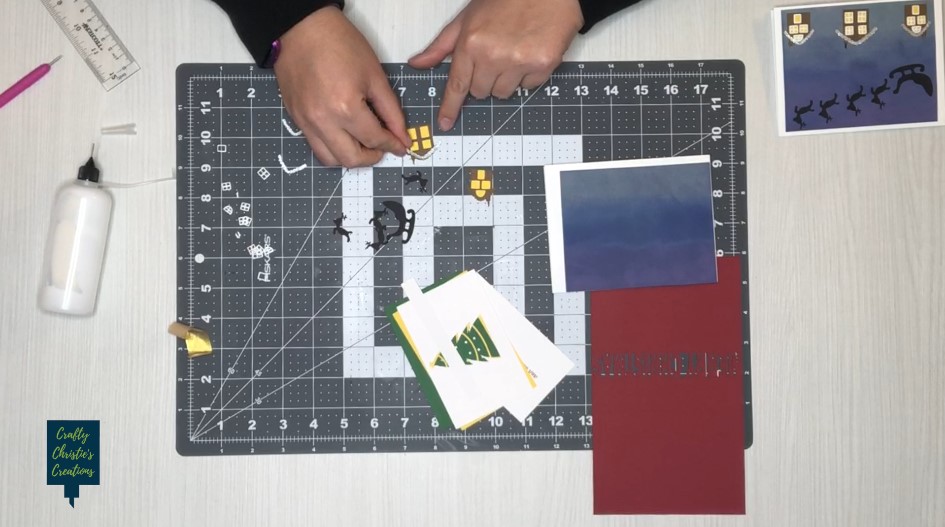
The background for the scene can be cut from a solid color, pattern paper, or use distress inks like I did. Place the houses towards the bottom of the background and add the reindeer and sleid above them. The larger house goes in the middle.
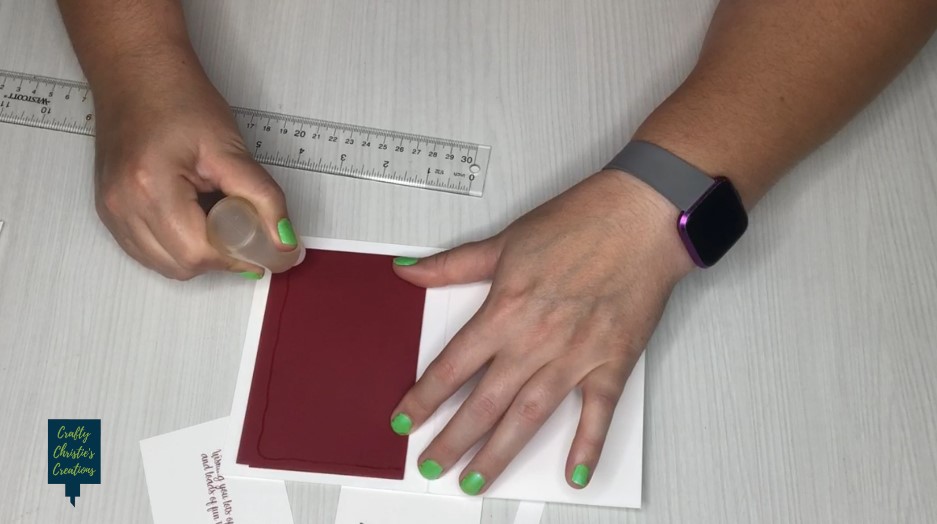
Step 2: Add the Pop-Up
Measure down .75 inches from the scoreline on the card base. This is where the scoreline under the “Merry Christmas” should line up. Glue the bottom of the pop-up in place. Then add glue to the top of the pop-up and adhere it to the top of the card base. Do your best to center the pop-up left to right on the card base.
Step 3: Layer the Christmas Tree
Layer the 3 small rectangles with cutouts to make a multicolored Christmas tree. The red from the pop-up will look like ornaments on the tree. Layer the green, then the yellow and white on top. Center this on the top portion of the pop-up.
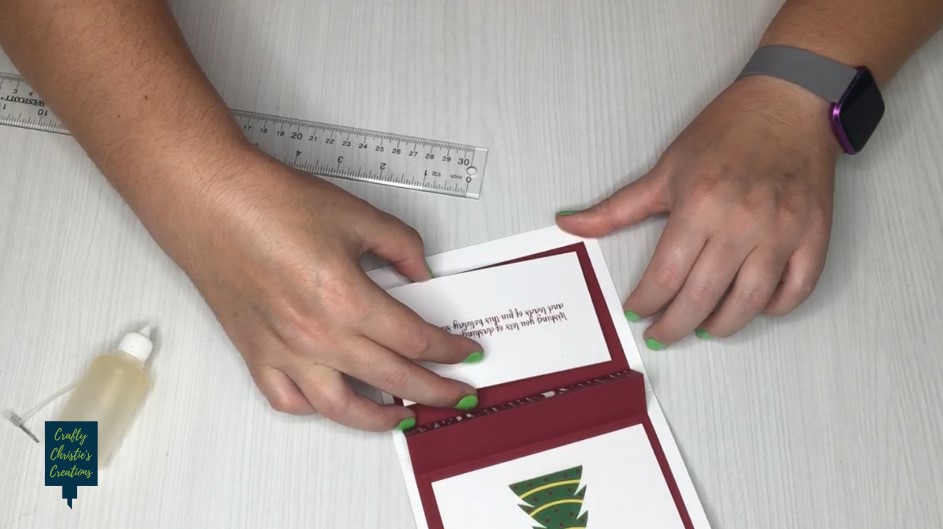
Step 4: Add the Sentiment
The file comes with a print-and-cut sentiment. Add this to the bottom portion of the pop-up. There is still plenty of space to add a personal message. There is also a long rectangle to place on top of the pop-up. This strip would look cute in a pattern paper or stamp another message here.
Step 5: Send the Christmas Card
Open and close the card a few times to train the scorelines to fold. Use an A2-sized envelope and send off the card. Check out this tutorial if you’d like to use your Silhouette to address the envelope.


