Truck or treats, school parties, costume parties, and October 31st! All sorts of reasons to start putting spooky treat bags together. Make it easy on yourself by designing your own diy Halloween treat bag toppers in Silhouette Studio. I’m going to walk you through the process and leave you being the talk of the town and the favorite stop on every kid’s treat route.
Supplies:
Halloween Treat Bag Topper Bundle (see below)
White Cardstock
Plastic baggies
Printer
Cutting Machine
Stapler
In Silhouette Studio
Designing treat bag toppers is a quick and easy way to add a personal touch to any goodie bag. This same process can be used for Christmas, Easter, Valentine’s Day, or birthday treat bags.
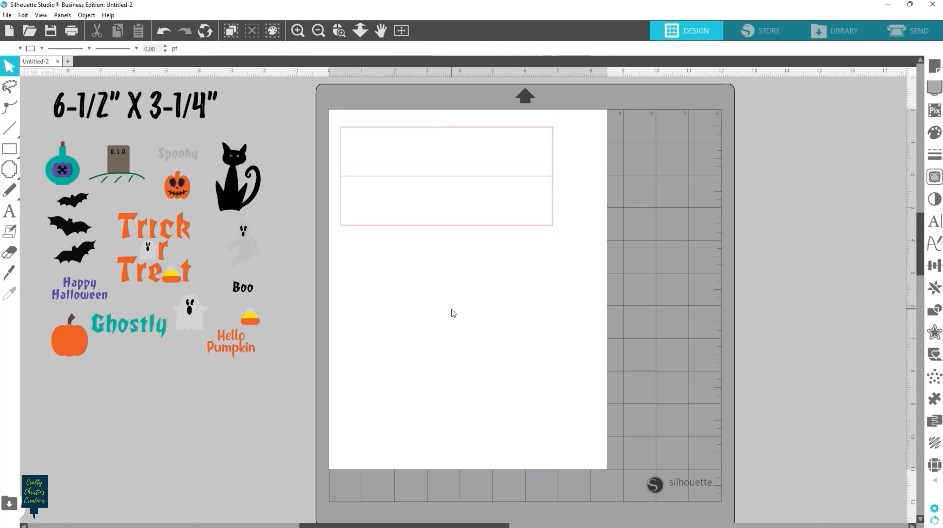
Step 1: Create the Topper
Measure the length of your plastic baggies. The ones I’m using are 6.5 inches long. Decide how tall you want the topper to be. I’m making mine 1.5 inches tall on each side of the bag. Draw a rectangle to match your dimensions and add a scoreline down the middle.
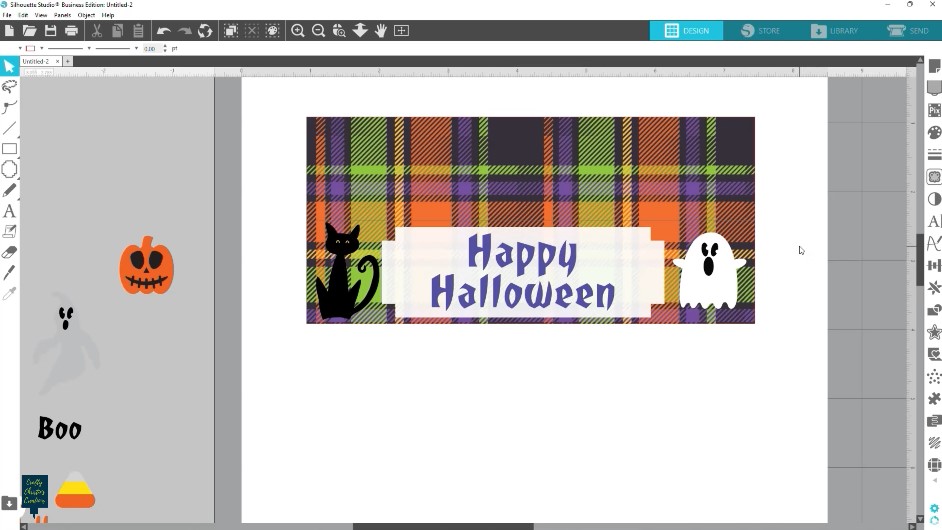
Step 2: Add a Pattern to the Topper
In the fill panel, choose a pattern for your topper. You can grab the pattern I’m using by filling out the form below. Click Here to learn how to add that pattern to your fill panel. You’ll need Business Edition to accomplish this task. Otherwise, Click Here to learn how to add a pattern to a shape.
Step 3: Add Graphics to the Topper
Decorate the bottom half of the topper with any Halloween designs you have. Or grab the ones I’m using by filling out the form below.
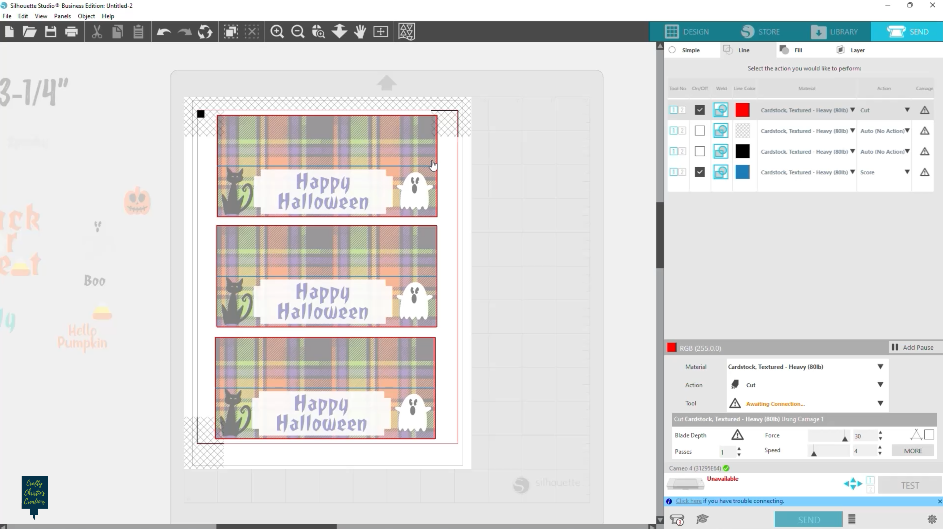
Step 4: Print and Cut the Topper
When you are done designing, give the scoreline and the topper outline separate colors that aren’t used elsewhere in your creation. Turn off the line color for all other elements. Group the topper and make multiple copies. Turn on the registration marks and print your page. Cut by line color to change the action of the scoreline to score and topper to cut.
Assembly
These DIY Halloween treat bag toppers are super fast to assemble.
Step 1: Fill the Baggies
Place a few treats inside the bag. Don’t overfill, you need space for the topper to fit over the top.
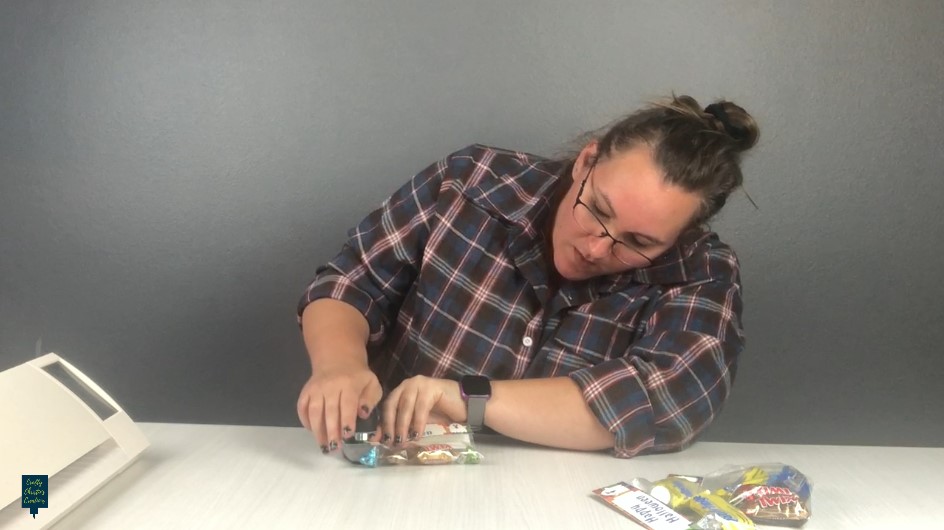
Step 2: Apply the Treat Bag Topper
Fold on the scoreline and place the top of the baggie into the crease of the scoreline. Staple the topper in place. I like to hide the staples in the pattern.
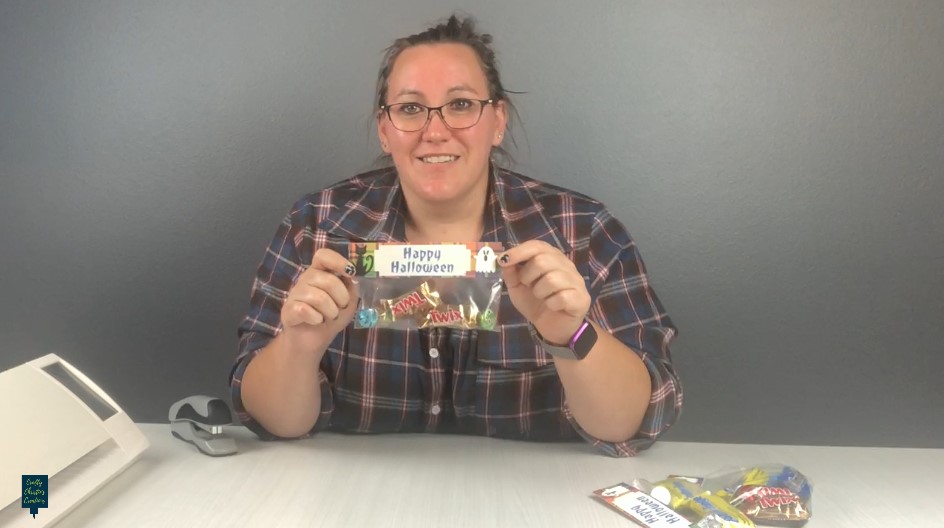
Step 3: Pass Out the Treat Bags
Your customized treat bags are ready to be placed in the hands of trick-or-treaters!