
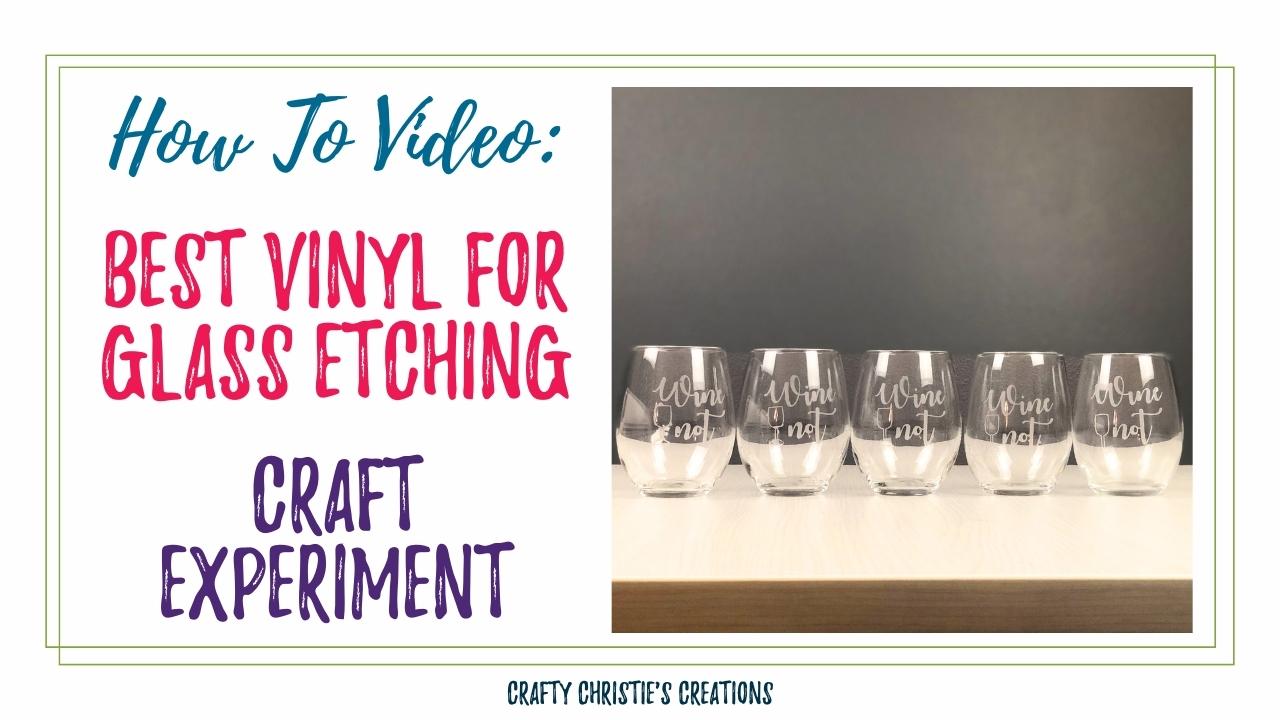
I’ve been doing a lot of glass etching lately and it got me wondering if I’m using the best vinyl for the job. I will test a few different vinyl types and brands and see which provides the best results. Follow along as I make some custom wine glasses and discover the best vinyl for glass etching.
Supplies:
Oramask Stencil Vinyl
Oracal 651 Permanent Vinyl
Oracal 631 Temporary Vinyl
Dollar Tree Permanent Vinyl
Dollar Tree Etched Glass Vinyl
Stemless Wine Glasses
Etching Creme
In Silhouette Studio
Choose the design you want to place on the wine glass. I recommend using a design with thicker lines, so the etching cream has more surface to cover. Resize the design and place a box around the graphic to make a stencil. Centered the svg inside the box and group them together.
The Process
Cut the stencil from each type of vinyl and weed out the graphic. The negative space is where the etching creme will be applied.
Using transfer tape, apply the stencil to the wine glass. You may need to cut the stencil to allow it to stretch over the tapered edges of the wine glass. Be careful not to cut the stencil too close to the open areas to prevent any runoff of the etching creme, where it doesn’t belong. For more information on this process check out this blog post.
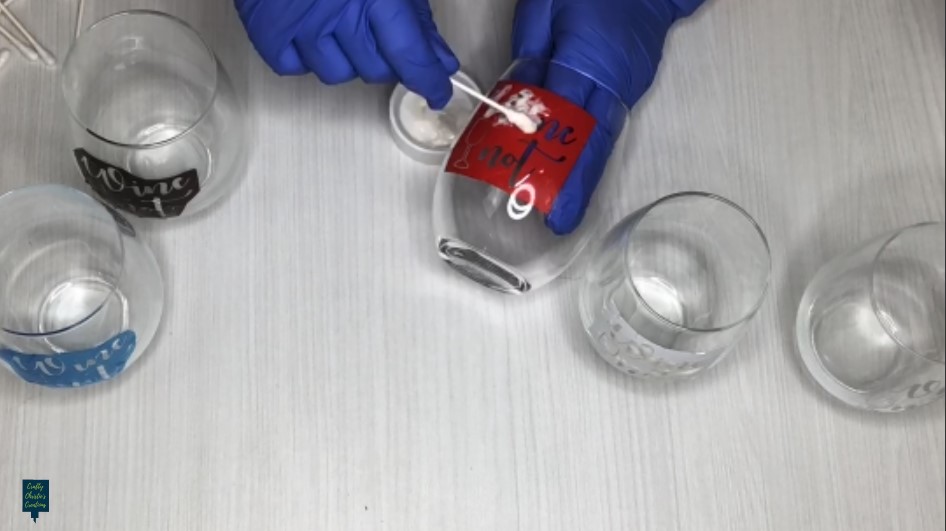
Remove the transfer tape and apply the edging cream. Be sure to wear protective eyewear and gloves, when working with armor etch. It can cause irritation to the skin and eyes. The armor etch states leaving the creme on for 1 to 3 minutes. I waited 15 minutes before cleaning the glass. I wanted a deeper etch.
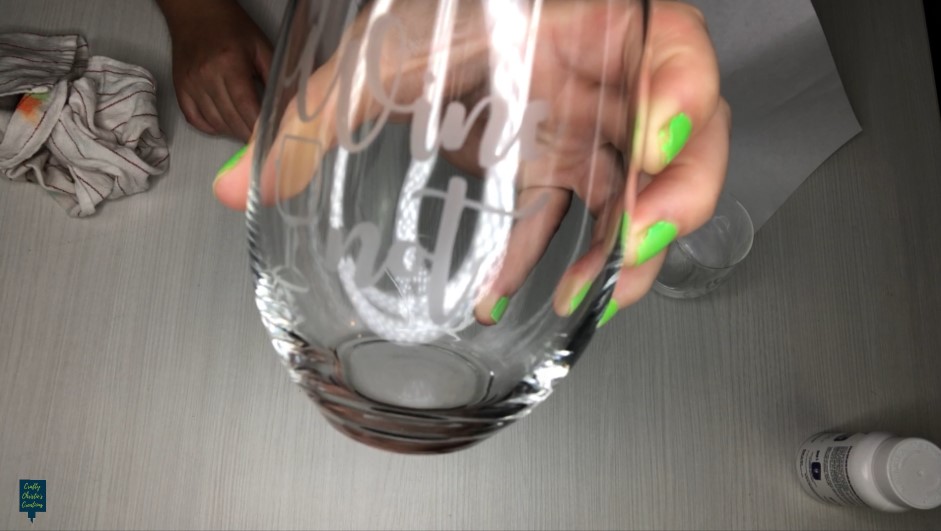
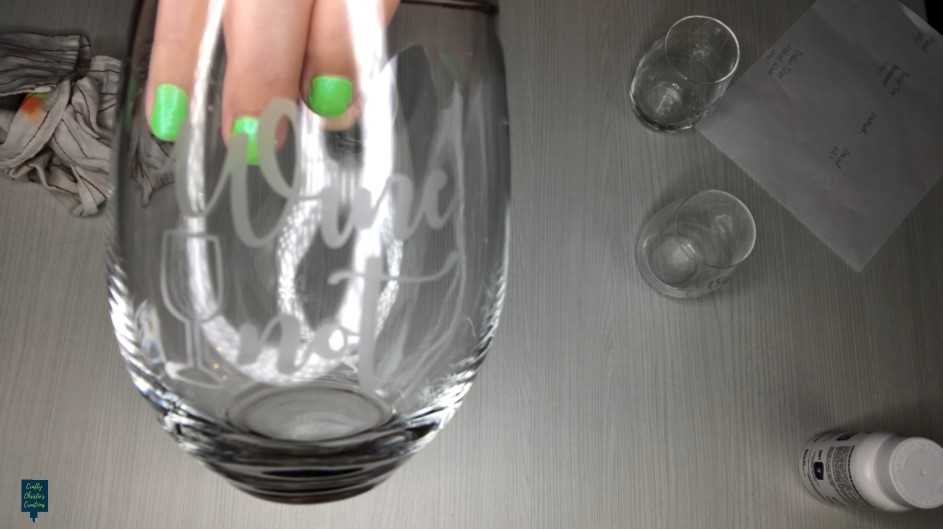
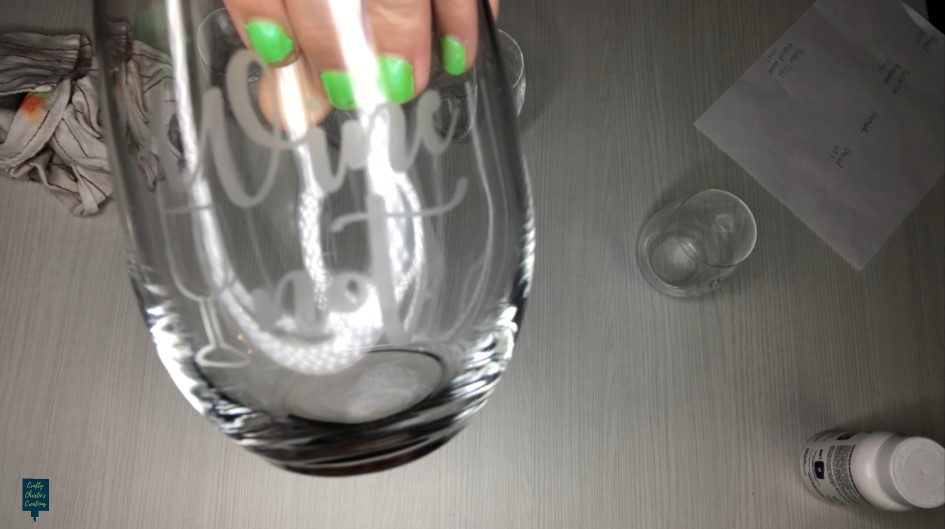
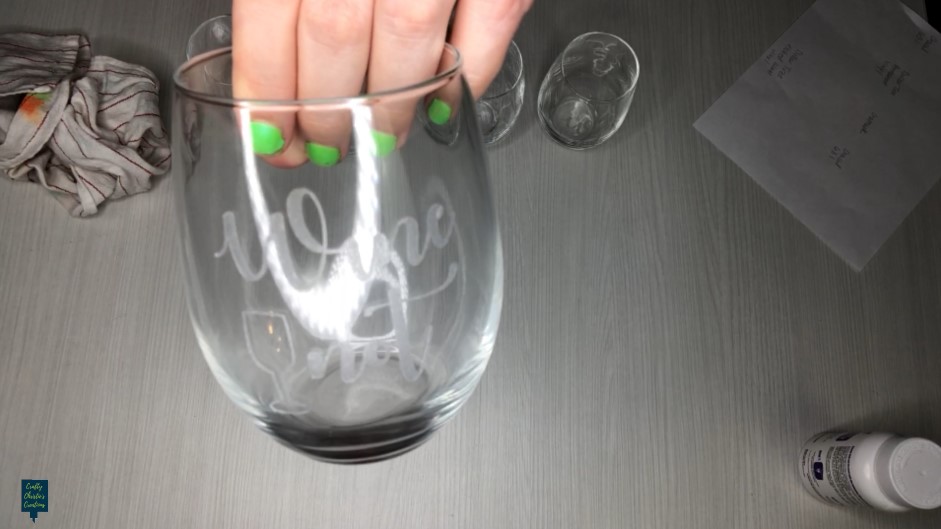
Rinse the wine glass under warm water and remove the vinyl. Be sure all the creme has been removed from the glass to prevent further etching.
The Results
I was shocked by these results, and I think you will be too.
Oracal 651 Permanent Vinyl
There was some runoff the etching creme around the wine glass design, the letter “n” and around the edge of the stencil. Overall, I’d give it an 8/10.
Dollar Tree Permanent Vinyl
There was some leak of the etching creme around the wine glass design and the edge of the stencil. There are a few areas the etching cream didn’t take but I think that I need to mix the creme better before using it, it was pretty gritty. I will also give it an 8/10.

Oramask Stencil Vinyl
There was some bleeding of the etching creme around the wine glass design and on the letter “t”. The “W” also appears to have bleeding. I’d give this 8/10.
Oracal 631 Temporary Vinyl
There was some leak of the creme around the wine glasses design and on the letter “t”. I’d give this a 9/10.
Dollar Tree Etched Glass Vinyl
This vinyl was used as a decal. Compared to the etching creme results the Dollar Tree etched glass vinyl looks pretty similar. The texture on the glass vinyl has some bubbles but overall looks similar. I do not think this etched glass vinyl would survive the dishwasher or hand washing. I would give this a 10/10 for appearance, but not for usability.
Final Thoughts
Overall, each vinyl type gave similar results on the four etched wine glasses. There was some bleeding around the design. I do not favor any vinyl type over the other. I feel the most important part is to choose a design that has thick areas to apply the etching creme. Taking your time to apply the stencil is more important than the type of vinyl. My recommendation is to use the vinyl you have on hand, that will be the best choice.


