top of page

Calibrating the PixScan Mat

The PixScan mat is an amazing tool for the Silhouette Cameo, yet it appears difficult to use. I'm hoping this tutorial will help demystify the PixScan.


The first time you use the PixScan or anytime you delete Silhouette Studio and redownload, you will need to calibrate your device again. Start by clicking the PixScan button on the left side bar.


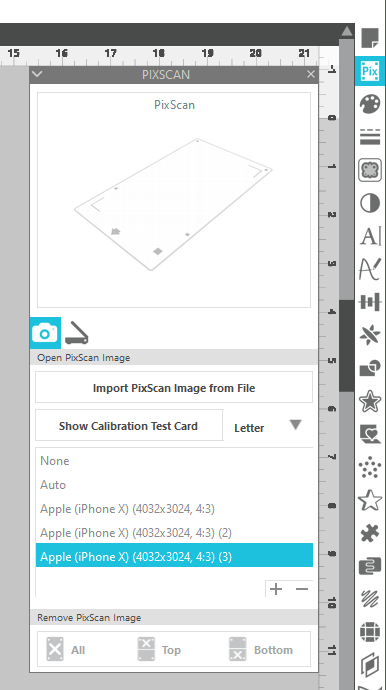
When this screen pops up click SHOW CALIBRATION TEST CARD. You will need to print this page.

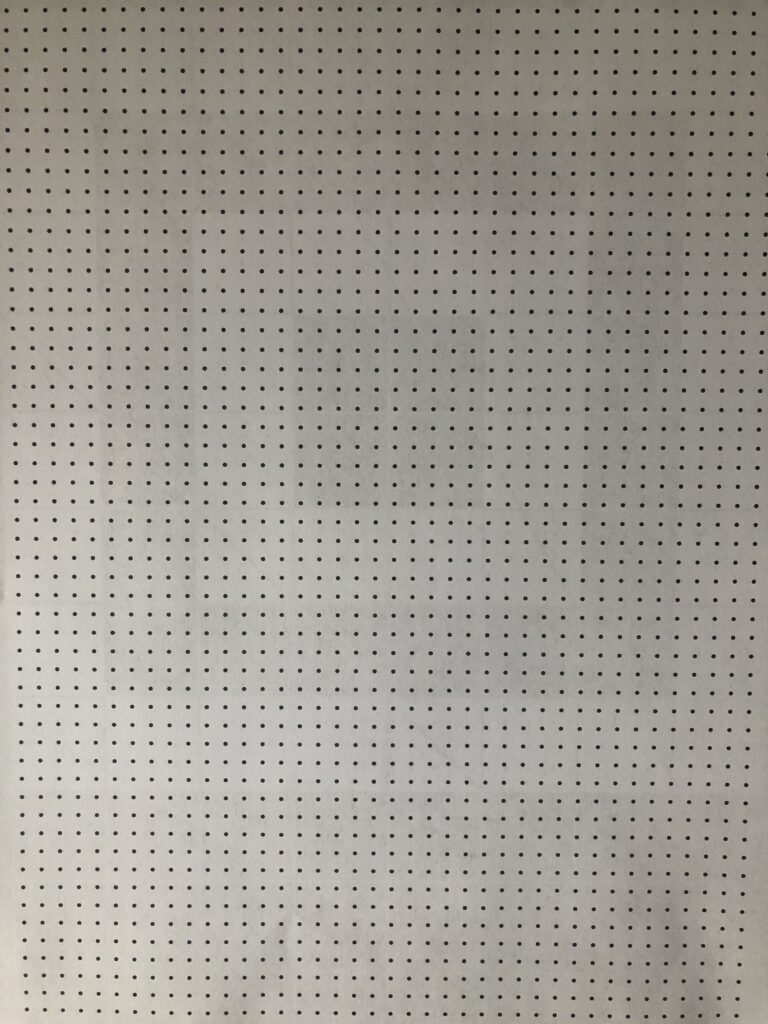
Now it is time to take a photo of the printed sheet with your device of choice. I'll be using my iphone. The entire page of dots should fit within the photo screen, don't leave any border around the printed sheet in the photo. If you have to cut off a row of dots to do this it is okay. As you can see below I did end up cutting off some of the dots but there is no extra border around my photo.


Once you are happy with your photo upload it to your computer. I like to email it to myself and then save the photo in my downloads folder on my computer. When it asks what size photo to email I choose regular size so it doesn't get too blurry. It needs to be a clean photo to read it.


Now it is time to bring the photo into Silhouette Studio. Click the + button on the PixScan screen and locate the photo of your calibration test card. After this is processed it should automatically show the device used to take the photo. If you get an error message saying the photo is too blurry, retake the photo and send as a larger sized file.


Once your device shows up on the PixScan panel you are ready to start using the PixScan mat!


Next week I'll go over using the PixScan mat for cutting scraps.


Until next time! With Love,

Crafty Christie

200 views0 comments
bottom of page