
Do you struggle with getting your vinyl lined up straight on curved surfaces? Me too, the struggle is alive and well. My OCD tendencies really hate when I can tell words are not level.
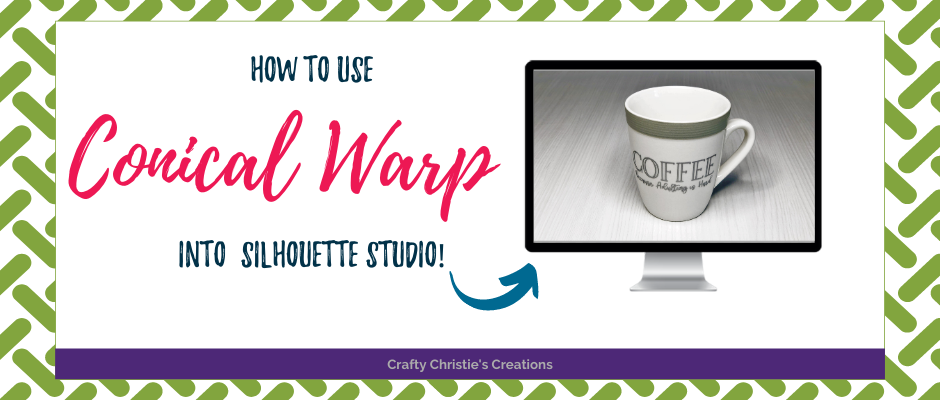
A while back Silhouette Studio came out with a new feature to make those tapered mugs and tumblers a lot easier to work with. It is called the conical warp tool. It is available to users who have Designers Edition + and Business Edition of Silhouette Studio. What it does is take the dimensions of your drinkware and warps your design to appear straight when placed on the cup.
Before this tool, I would draw lines and spend hours trying to align my text and graphics. It was a major nightmare. I have also tried manually adjusting letters of text to achieve this look, but my trials were never very good. Math equations are not my friend.
So now the conical warp tool takes all the guesswork out of the equation. All you need to do now is input the dimensions of your cup and Silhouette Studio does the work. Easy Peasy!
To start off open the warp panel and click on the conical warp tab. Now select the design to make changes. Instantly a tapered rectangle will appear around the graphic.
Measure the top and bottom diameter and the height of the cup. Then fill in these dimensions into the conical warp panel.
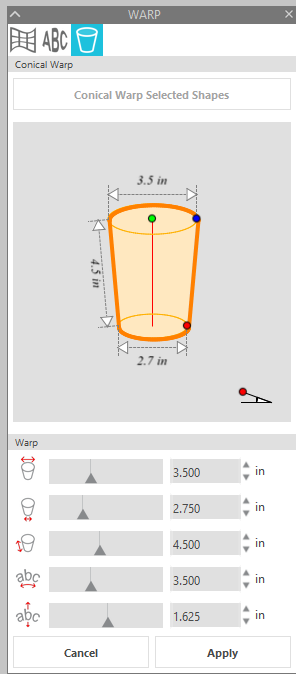
The slider fourth from the top is to increase or decrease the size of the graphic. The bottom slider will dictate how far up or down the cup the graphic is placed. Depending on where the graphic is placed on the cup will determine how much warp is added.
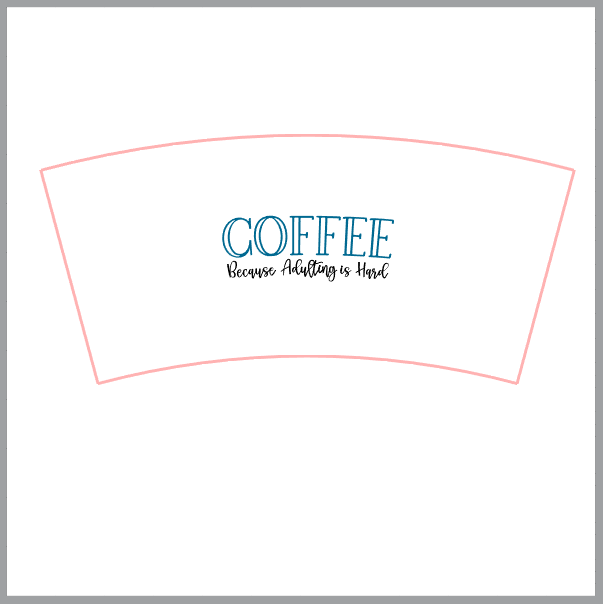
When it looks how you want it, don’t forget to hit apply. This will make the curved rectangle go away and the warp will be applied to the graphic. I forgot to hit apply and just moved my svg to the top of my screen and cut it. It did not affect the cut, but the outer box is a bit distracting.
Because the design is already warped, there is no need to cut up the transfer tape and spend forever lining things up. Take some care with placement, ideally measure down from the top of the cup to the top of the design. In Silhouette measure from the top of the curved rectangle to the top of the design. This will ensure the placement is correct for the curvature of the svg. I skipped this step, and my cup turned out alright. However, I can tell it is not completely straight.
For the full tutorial check out the video below.


