How to use the pop up panel in silhouette studio

Please note: this post may contain affiliate links to products I use. When you purchase items from these links, I make a small commission that helps fund craft projects I share with you. This does NOT cost you anything extra, but it is a great way to show your appreciation for Crafty Christie’s Creations.

How to make pop up cards in Silhouette Studio

Are you sending out a lot of cards right now? I have been and my stash is getting low so I figured this was the perfect opportunity to show you how to make pop up cards in Silhouette Studio. They are very easy to make when using the popup feature.
I’m making a Mother’s Day card that will be a print and cut popup so there are a few extra steps. Not to worry, I’ll hold your hand while we go through the entire process.
 

Step 1: The Card Base

Draw out the size of your card base. Mine is an A2 card size 5.5 inches wide x 4.25 inches tall. The card base will measure 5.5 inches wide x 8.5 inches tall with a scoreline in the middle at 4.25 inches tall.
 

Step 2: Pop Up Size

Draw the popup card base. Mine is 5.25 inches wide x 8.25 inches tall. I made another box that is 5.25 inches wide x 4.125 inches tall (half of the popup card base). Take this smallest box and top align and center align it with the popup card base box.
 
Choose your design and text as usual. If the design you want to popup is an intricate design like mine you’ll want to trace the image and add an offset. If you need more help with tracing and offset visit here or here.
 

Step 3: Pop Up Panel

Take the design (or offset design) and place it in the center of your popup card base. Then open the popup panel, select the design, and then click “convert selected shapes to pop up.”
The best part is that this feature is available for all users, even those using the basic version. The difference is that with Designer’s Edition or higher there are some extra features.
Pop Up Panel
With the panel still open adjust the base width to your liking. I prefer to have it as one large base or 2 chunky bases if it’s a larger design. The minimum strut width is how many pop up pieces you want across the top. Again, I like to adjust it so I don’t end up with tiny slivers. The last option is the dash pitch, this adjusts how spread out the dashed scoreline is, I tend to leave this one alone.
 
Grab the red circles on the bottom dashed blue line and stretch each circle to the edge of the popup card base. This line will be the scoreline for the popup card base. Place that dashed line over the bottom of the smallest rectangle you created at the beginning. Now that your dash line is in the correct place, you can delete the smallest rectangle. Be sure to grab your popup design again and center it left and right to the popup card base, just in case it moved.
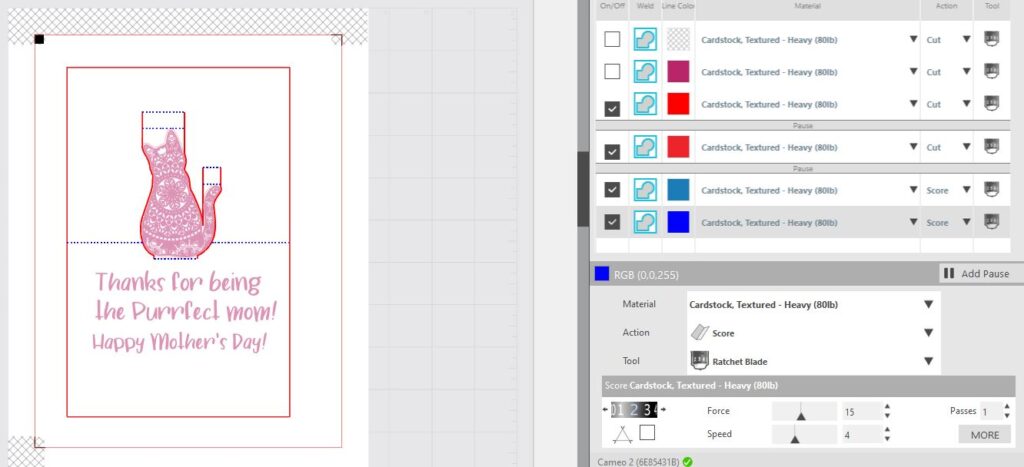
If you aren’t using a design that needs printing, you are ready to go to the send panel. Be sure to cut by line color so you can label the blue lines as score lines. Otherwise, keep following along.
 

Step 4: Printing

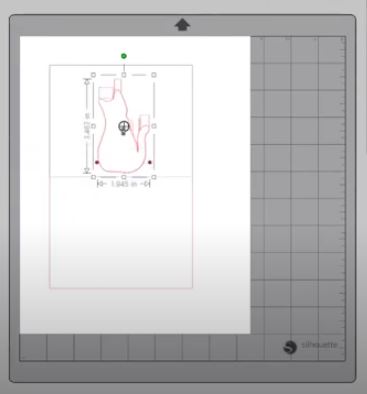
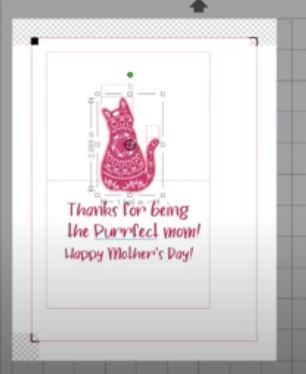
Add registration marks. Place your intricate design inside the offset. Group the popup card base, popup feature, and intricate design. Place them within your registration marks and send to the printer. I like to turn on my cut border when using the registration marks so I know I have everything within the cutting boundary.
 
registration marks in place will print design and text
Because I’m doing 2 print then cuts, the popup and I’m adding words and a picture to my card base, I’ll print then cut one piece at a time so I don’t misalign my registration marks. Or you can put your card base on another page in the software so you can print both and then cut them out.
 

Step 5: Cut the Card

When I’m ready to cut, I’ll use the cut by the line color. The red lines will cut and the blue lines will score. Be sure your text doesn’t have a red outline or it will cut too. Trust me, I’ve done that more times than I’d like to admit!
cut by line color

Step 6: Assemble the Card

Be gentle with the score lines, especially if the pieces are thin, you don’t want them to buckle. The top will fold down, and the next sore line will fold up forming a stair. Do this with each popup leg. Then fold the center score line and practice opening and closing the popup to train the paper.
train scorelines to fold
Fold the card base at the fold line. Center the popup card inside of the card base and adhere them together. Again, open and close the card to ensure all the pieces move smoothly.
 
finished card
Here is the video version for all the visual learners out there!
Picture of Crafty Christie

Crafty Christie

Silhouette Tutorialsist and SVG Designer

Hi! I'm Christie!

I am passionate about helping other crafters unlock their creativity and take their crafting skills to the next level.

Let's Connect!

Blog Categories

Design Faster with Silhouette Keyboard Shortcuts